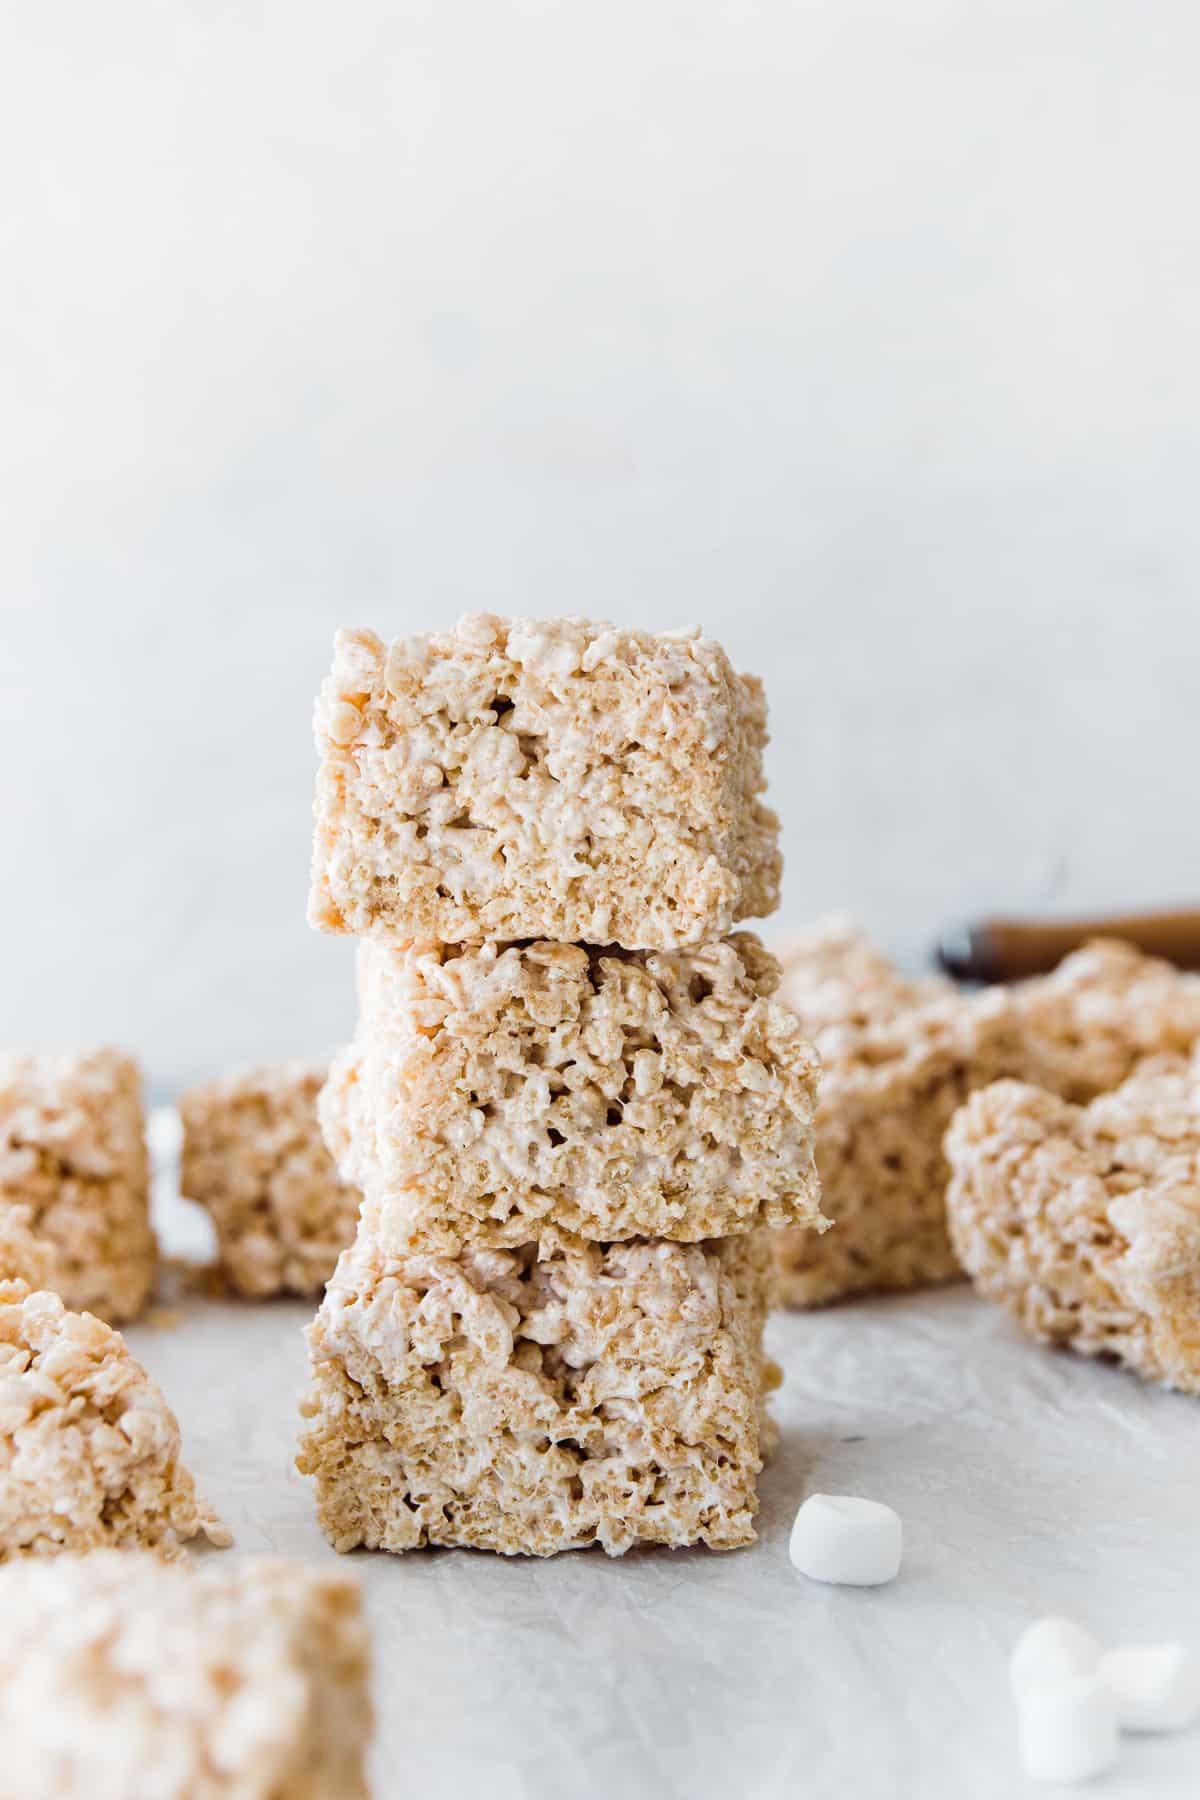
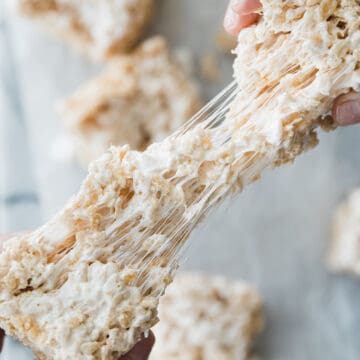
These Brown Butter Rice Krispie Treats take the iconic American snack to the next level! The brown butter adds a nutty, caramel-like flavor which is the key to making these the best Rice Krispie treats ever! Perfectly chewy and full of gooey marshmallows in every bite, this recipe is sure to be a hit with both kids and grownups alike.
Why You’ll Love This Recipe
- Easy to Make: You only need 3 simple Rice Krispie treats ingredients to make this tasty snack and dessert.
- No-Bake: It takes just a few minutes of stovetop cooking to prepare these browned butter Rice Krispie treats - no baking required!
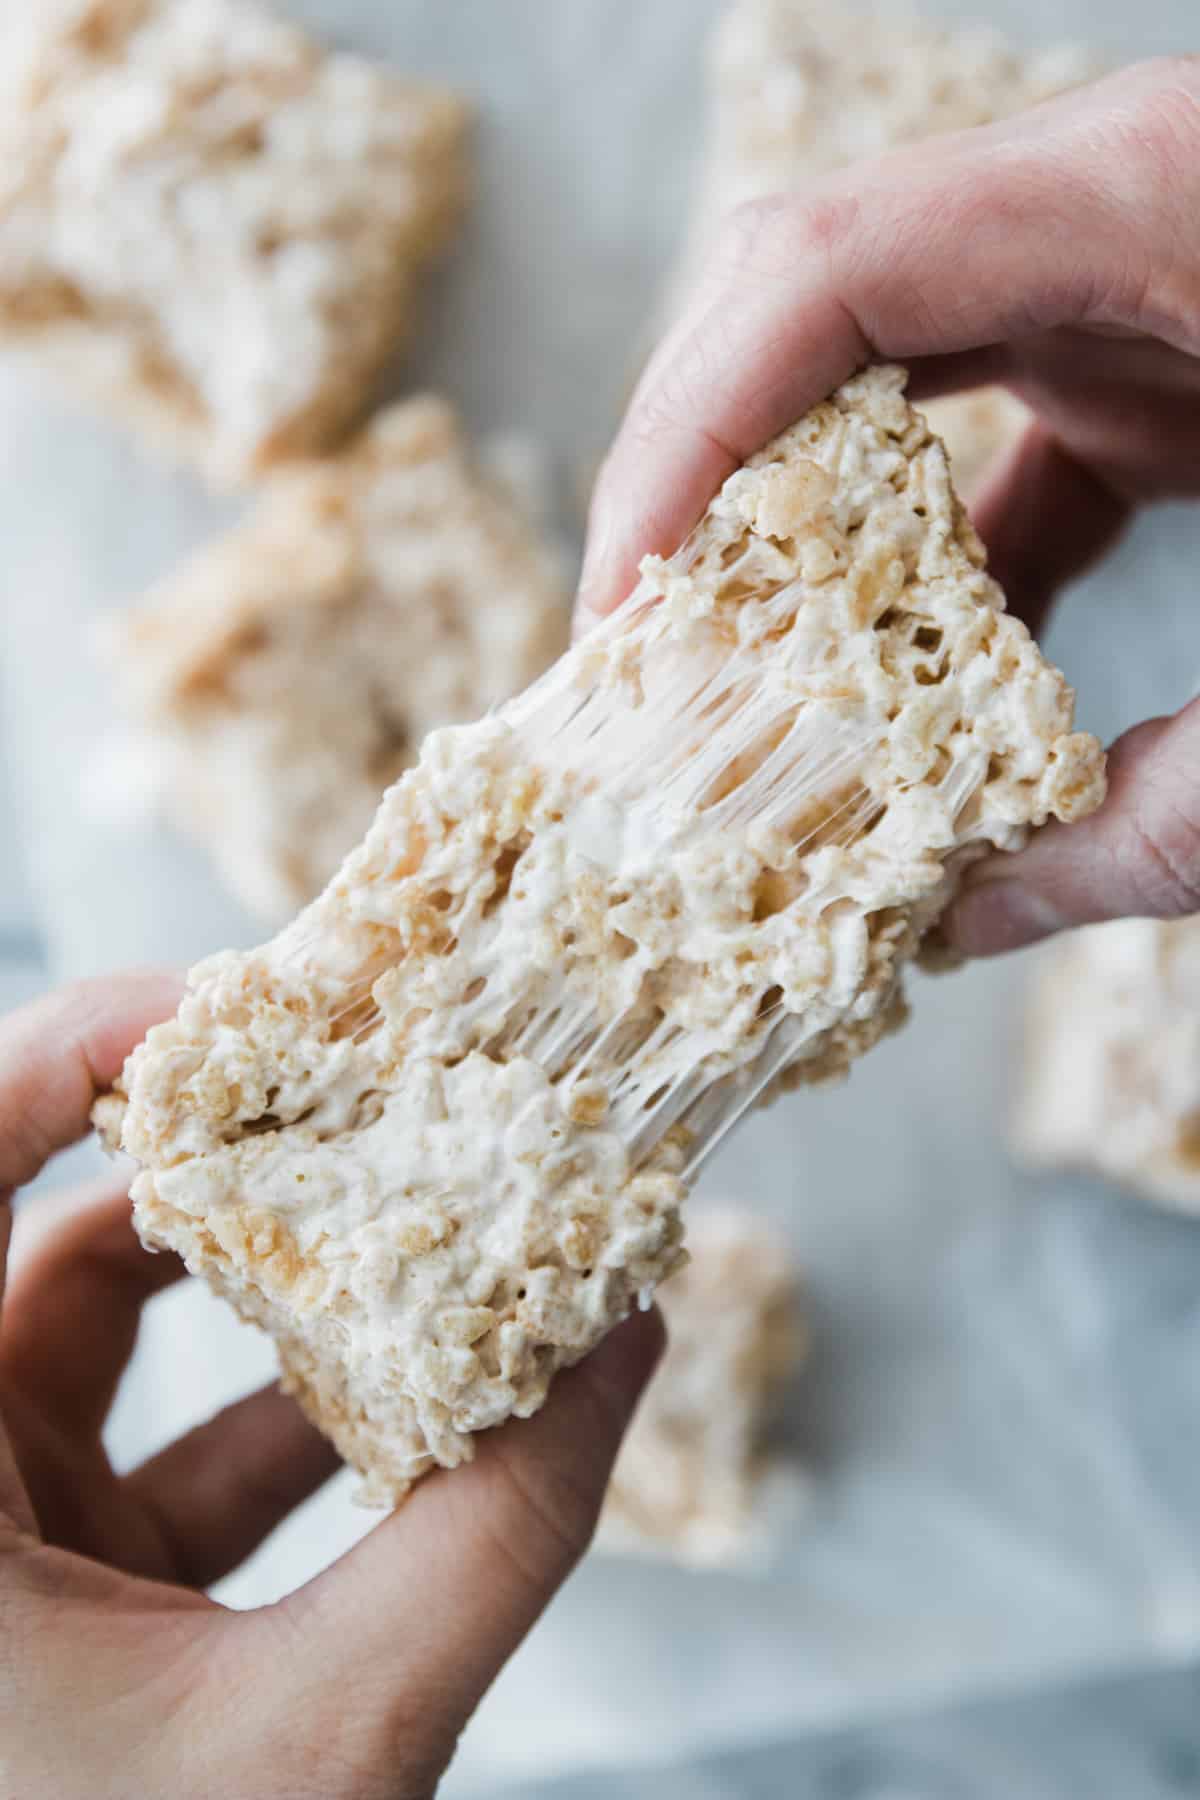
- Incredible Flavor and Texture: The brown butter melts into the marshmallows adding a rich depth of flavor, while the crispy rice cereal gives these treats the perfect texture.
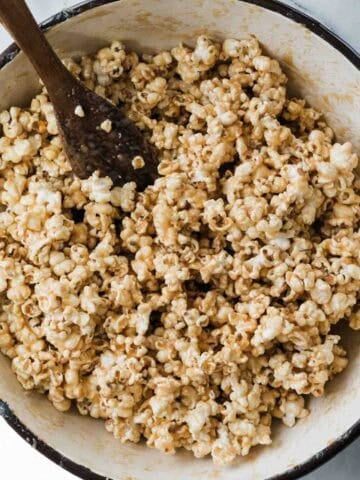
For more marshmallow desserts, check out our chocolate marshmallow cookies, marshmallow popcorn, and rainbow s’mores dip next.
Ingredients
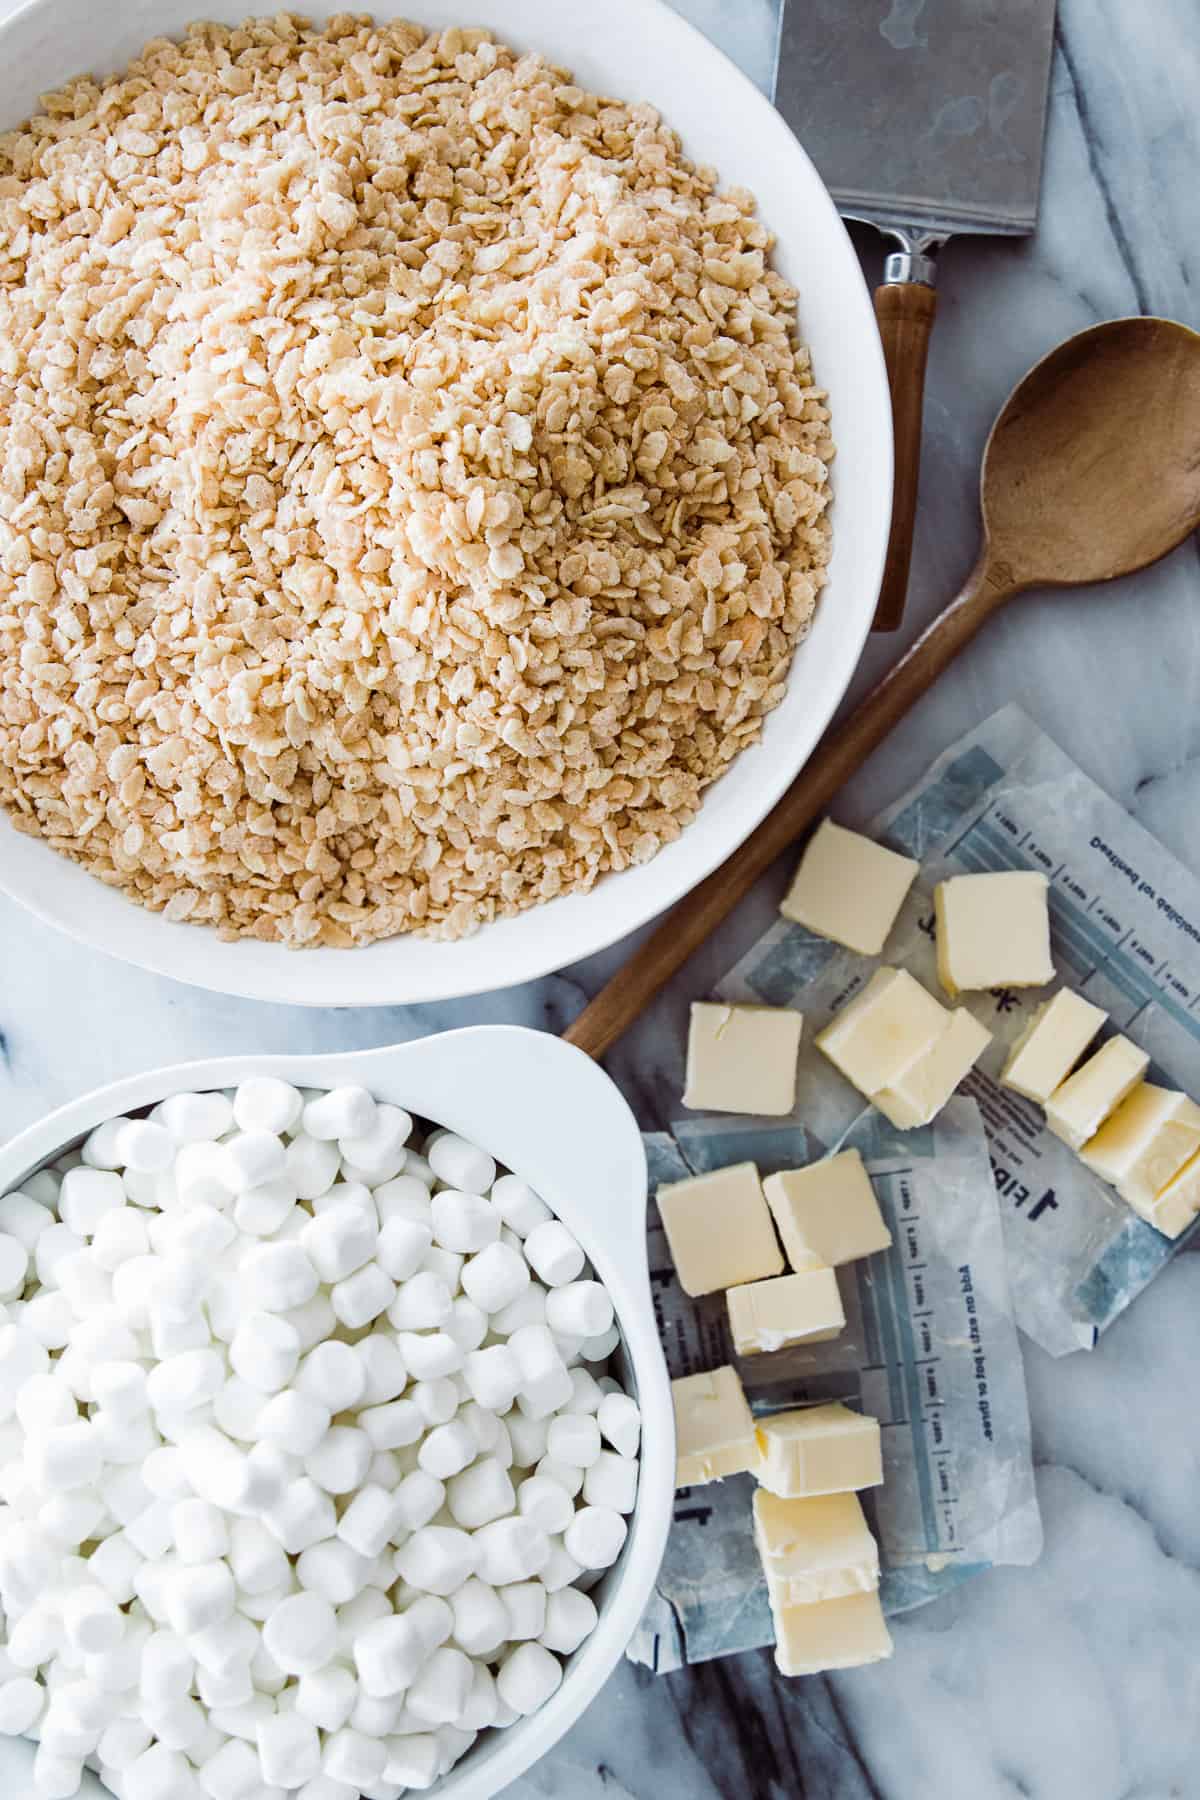
- Rice Krispies: You can use any brand of crispy rice cereal, but I like to stick with the original.
- Butter: I recommend using salted butter to enhance the flavor and balance the sweetness. If you only have unsalted butter, add a pinch of salt to it while melting.
- Mini Marshmallows: The minis melt more quickly and work better to evenly coat the cereal than the regular-sized ones.But if you’ve only got the larger marshmallows on hand, feel free to use them. You can cut them into smaller pieces to help them melt more quickly.
See the recipe card below for exact ingredient amounts, nutritional information, and detailed instructions.
Variations
- Chocolate: Use Cocoa Krispies to give this recipe a chocolaty twist and/or drizzle some melted chocolate on top of the bars after cooling.
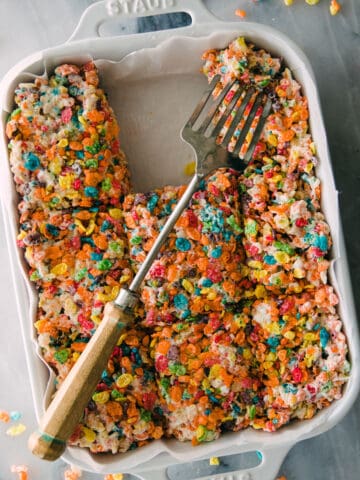
- Colorful: Use colored marshmallows like the Jet-Puffed flowers or the Lucky Charms shapes to add fun colors to the treats.
- Peanut Butter: Stir some creamy peanut butter into the marshmallow mixture or drizzle a bit of melted peanut butter on top of the cooled squares.
How to Make the BEST Rice Krispie Treats
To get started making this brown butter rice krispie treats recipe, you’ll need to prepare the butter. Add it to a saucepan and melt over medium-low heat, stirring constantly. It will change from light yellow to golden yellow to tan/medium brown. Be sure to save the butter wrapper because you’ll need it later!
- Step 1: Add the marshmallows. When the butter starts to foam and becomes tan/medium brown in color, turn off the heat and stir in the marshmallows.
- Step 2: Mix in the Rice Krispies. When the marshmallows begin to melt, stir in half of the Rice Rice Krispies until they are fully incorporated. Then, stir in the rest of the cereal.

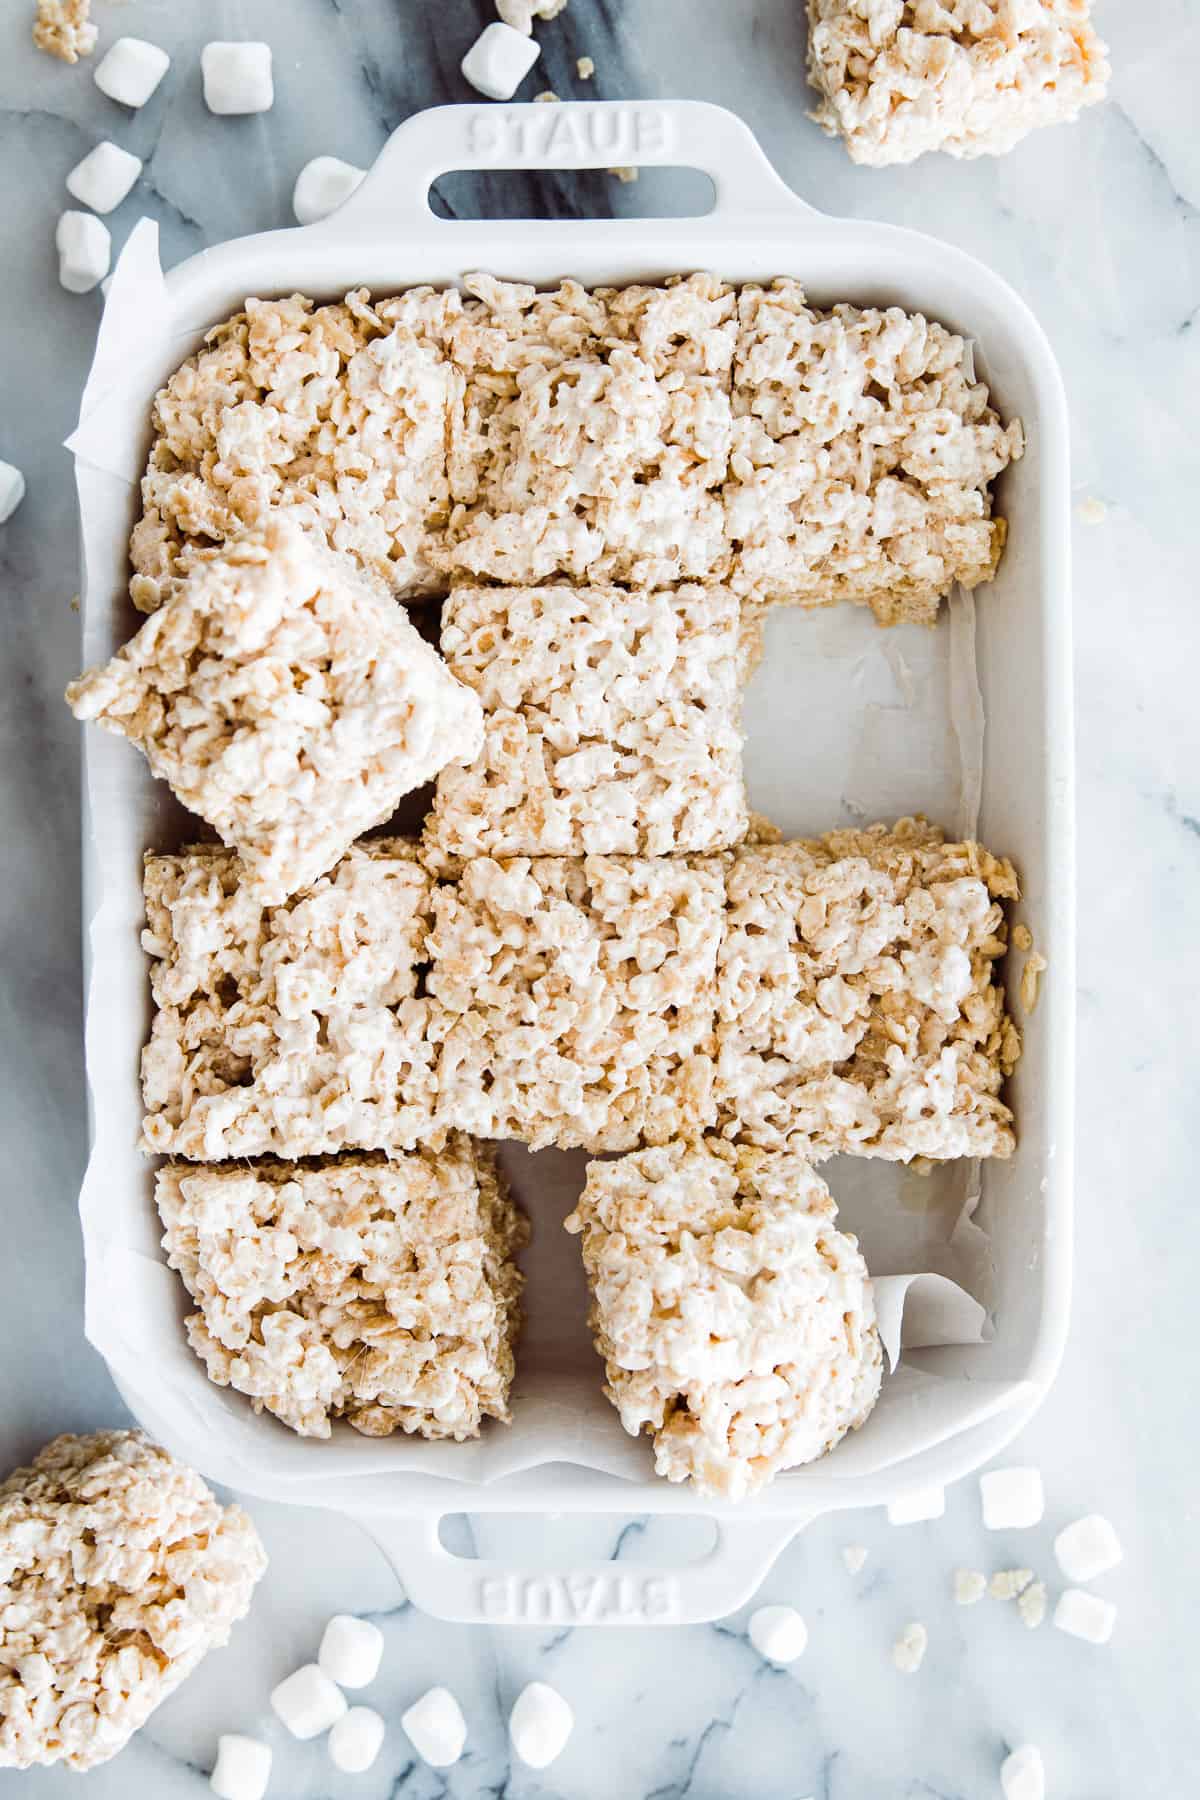
- Step 3: Place in pan. Spread the Rice Krispie mixture into a greased or parchment-lined 9x13-inch baking dish. Use the reserved butter wrapper to press down on the mixture to make it firm and ensure it is spread evenly.
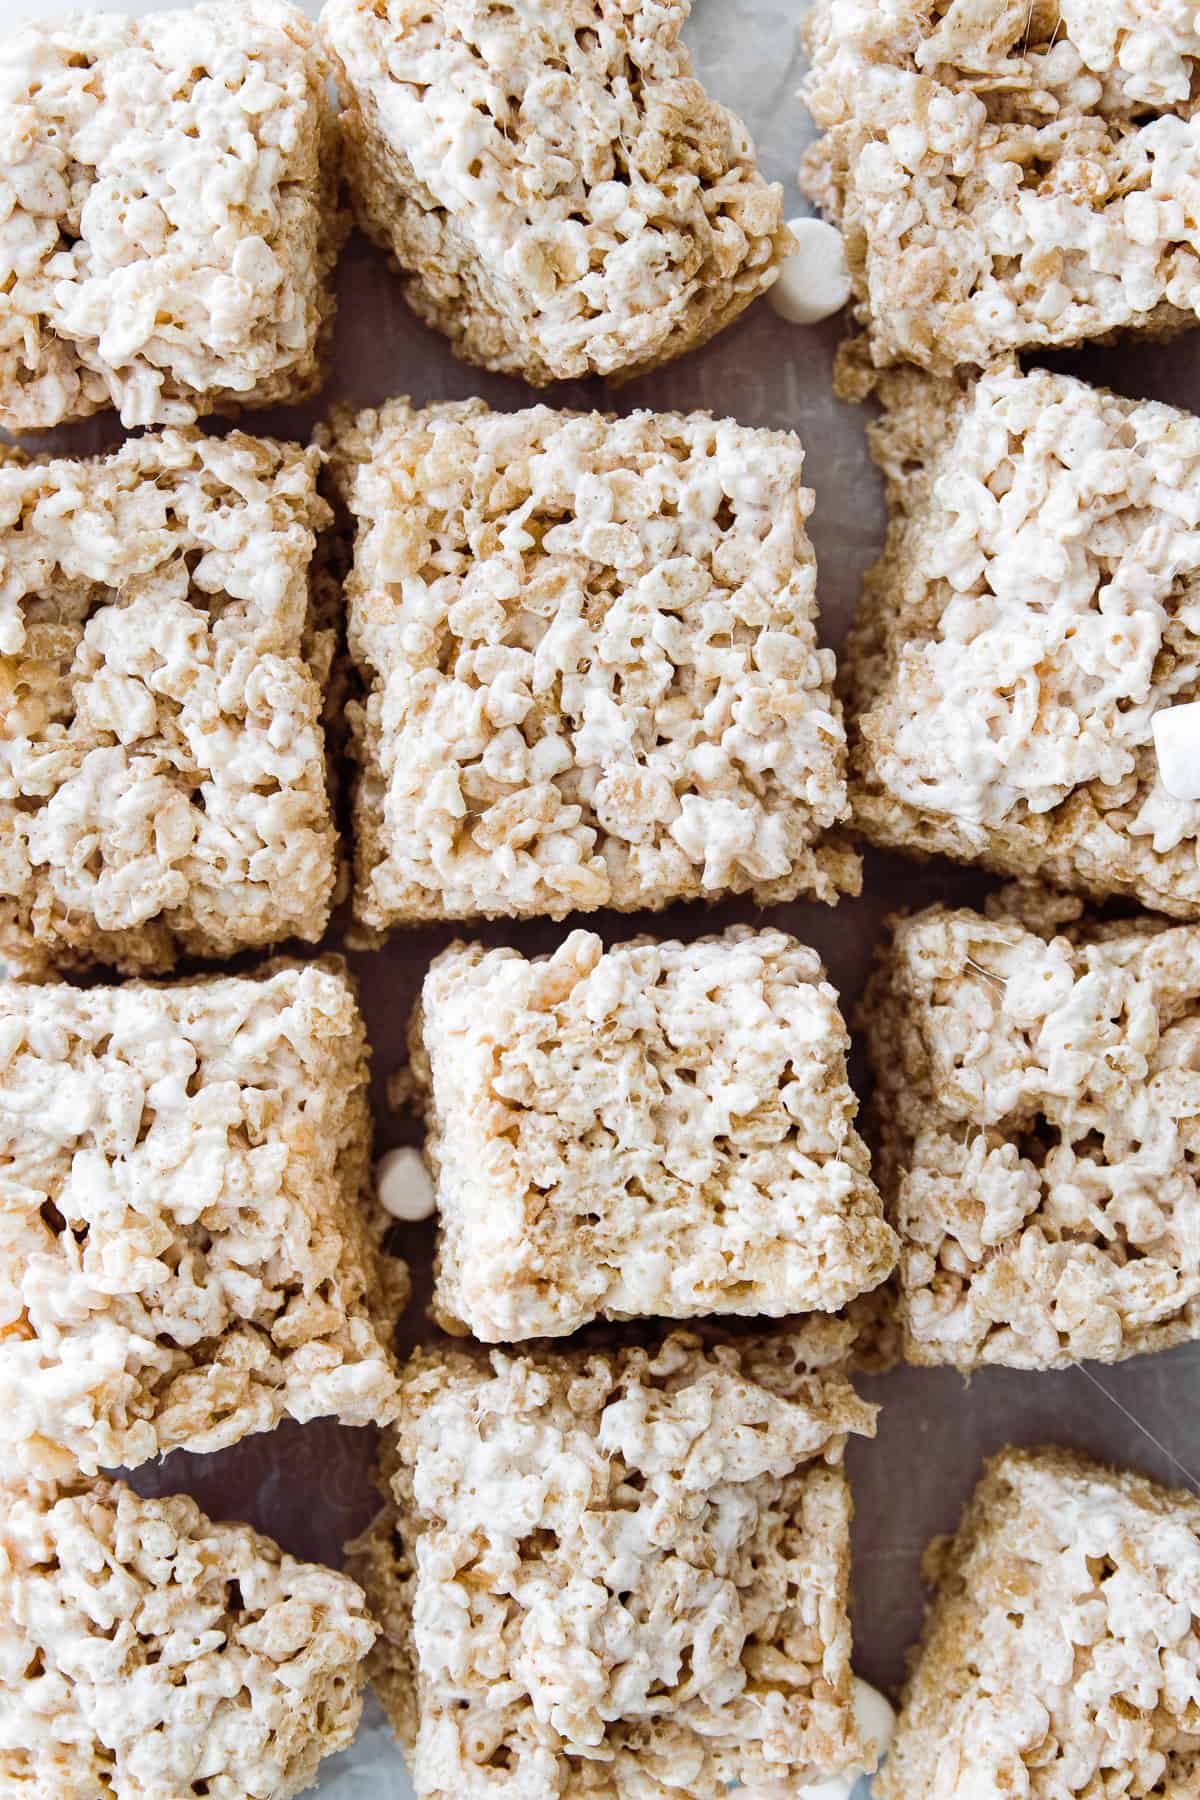
- Step 4: Cool and cut. Allow the mixture to cool completely at room temperature. Once cooled, cut into squares and serve.
Serving Suggestions
Here are some tasty ways to enjoy these best ever rice krispie treats:
- Make them for a bake sale along with these s’mores bars and these browned butter chocolate chip cookies.
- Pack them for lunch for work or school with an egg salad sandwich and some hummus with veggie sticks.
- Serve them as part of your Easter brunch spread alongside tea sandwiches and deviled eggs.
Expert Tips
- Use parchment paper: While you can grease the baking dish, I recommend using parchment paper instead for easy removal and cleanup. Simply lift the sides of the parchment to pull the cooled mixture from the pan. Then, cut into marshmallow treats.
- Add the cereal in batches: Adding half of the Rice Krispies, stirring, and then adding the rest makes it easier to mix everything together.
- Don’t overmix: You only want to mix until everything is just combined. Stirring too much can cause the butter to separate, but note that as the mixture cools, the butter will re-incorporate into it.
- Storing: Store the treats in an airtight container at room temperature for up to 3 days to retain their texture. Alternatively, you can refrigerate them for up to 5 days or freeze them for up to 3 months, but they will get hard. Leave them at room temperature for about an hour before eating.
Recipe FAQs
This can happen if the butter was overheated or if too much butter was used. Be sure to melt the butter over medium-low heat, not too high, and stir constantly while browning. Also, ensure you are using the correct butter-to-marshmallow ratio.
Traditional marshmallows are not vegetarian-friendly, as they contain gelatin. Use a plant-based brand like Dandies to make this snack suitable for vegetarians. To make it vegan-friendly, use non-dairy butter and a crispy rice cereal that does not contain Vitamin D that has been derived from animals.
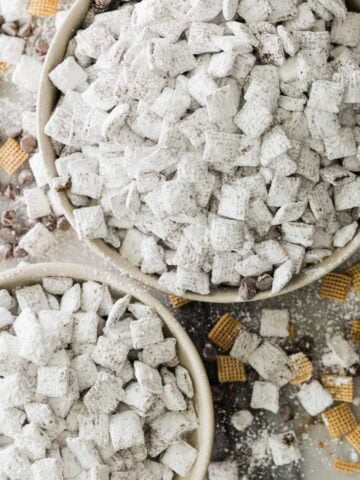
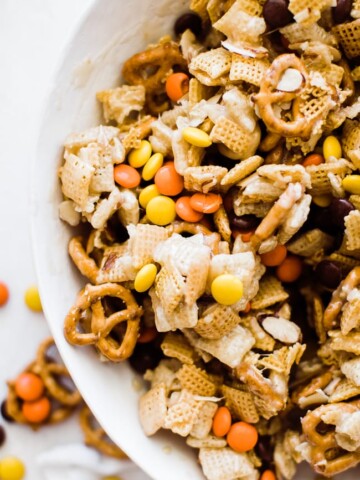
More Sweet Snacks
Don't Be Shy
If you tried this Marshmallo Treats recipe or any other recipe on the blog then don’t forget to rate the recipe and leave us a comment below. You can also follow us on Facebook, Twitter, Instagram and Pinterest to see what else we’re getting up to!
Brown Butter Rice Krispie Treats
Equipment
- 1 large stock pot
- 1 9 x 13 pan
Ingredients
- 1 cup salted butter
- 2 10-ounce bags mini marshmallows
- 10 cups rice krispies
Instructions
- Cut your butter into even slices. On med-low heat, melt butter. Stirring continuously as it goes from light yellow, to golden to a med brown. When the butter starts to foam it will quickly turn from golden yellow to a tan. Turn off heat and immediately add marshmallows.
- Stir in marshmallows in warm pan and toss with the hot butter. This will start to melt the marshmallows. When the mallows turn melty and starting to puff up add in half your Rice Krispies .
- Stir together, add in remaining Rice Krispies. When just combined place in a parchment paper or non-stick 9x13 pan. Using the butter wrapper or buttery fingers press down on Rice Krispie treats to make them nice and firm.
- Let cool. Cut into squares and devour!
Video
Notes
- Mini marshmallows work best in this recipe, but you can use the regular-sized ones if that’s what you’ve got in your pantry.
- Line your baking dish with parchment paper to make it easier to remove and cut the treats.
- Keep the treats stored in an airtight container at room temperature for best results. They will keep for up to 3 days.
Katie says
10/10, no notes. Perfect texture, perfect amount of nuttiness from the browned butter. New go to recipe.
Desarae says
Ahhh! yay! I'm so happy you love them as much as we do. Thanks for taking the time to leave a comment ;)
Ella says
My sister made these and they were so good I had to make them again myself! 10 out of 10! 👏🏼
Emilee says
These are incredible!! The marshmallow/rice crispie ratio makes for big gooey treats, not the little hard ones many recipes make. I add in some extra mini marshmallows right before scooping it into the pan so you get full marshmallow bites. Sprinkle some sea salt on the top to truly blow your mind!
Maelani Valentine says
I made these for a work party and they were a hit! Many comments about the richness of the flavor. I sprinkled them with gold sugar sprinkles (larger size) and they were beautiful! I used a round cookie cutter so they’d fit nicely into gold foil cupcake liners and they were so easy to cut thanks for the recipe and tips! Aloha!!
Gloria says
Can these be made a week in advance
Kadee says
I would not recommend making that far in advance - they will get hard and stale. Best made the day before.
Isabel says
Made these for my granddaughters tonight. They are delicious. I am eating them for dinner. Thank you for your fun recipe and instructions.
Melissa says
That's hilarious. Now I KNOW I have to try these. 😁
Kelli says
I'm making these for a BBQ competition we are hosting tonight. I am so excited to try them out and see what everyone thinks.
Jess says
I can't get over the buttery, delicious marshmallow proportions. I can't stop eating them. Literally could eat the ENTIRE pan.
Bree says
I LOVE these. I made them for a church activity and had all the parents asking for the recipe by the end.
Kimberly says
I made these for a party and literally the girl sitting next to me said "These are the best I've ever had in my life" They legit are that good.