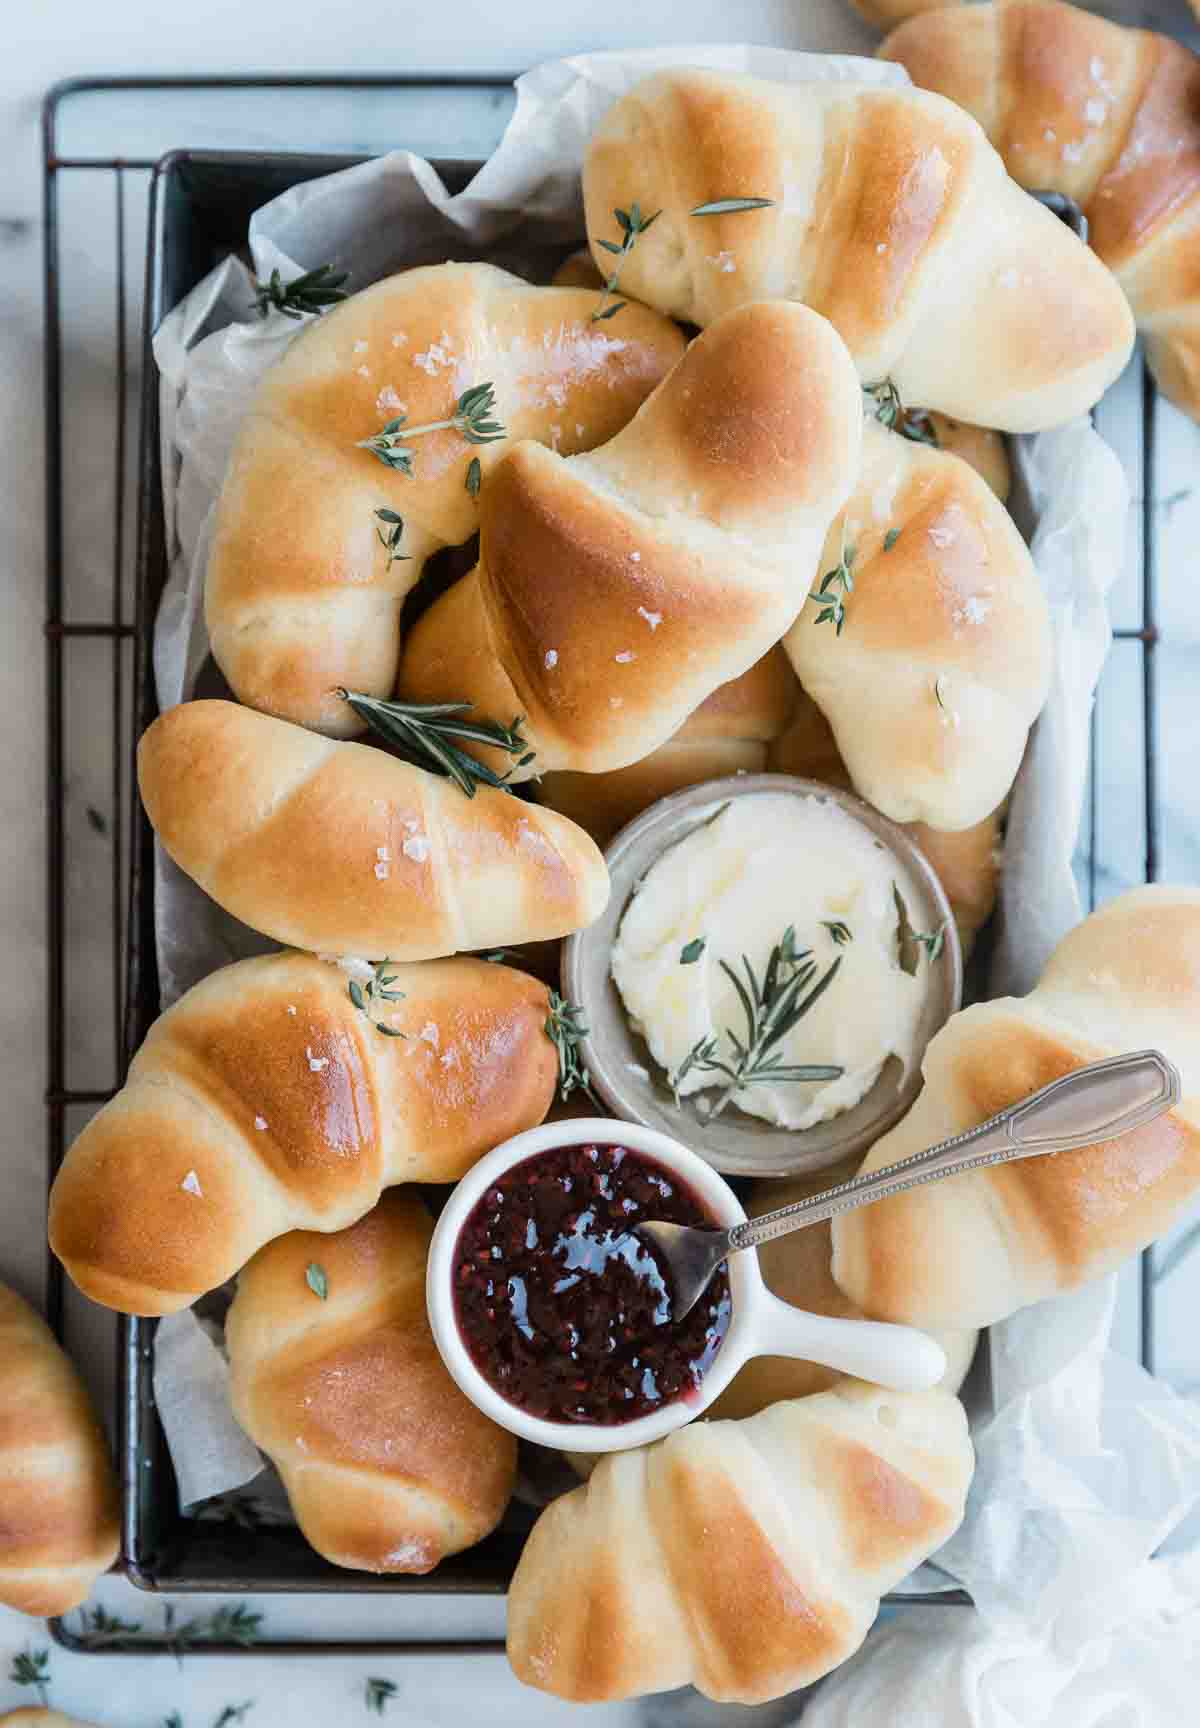
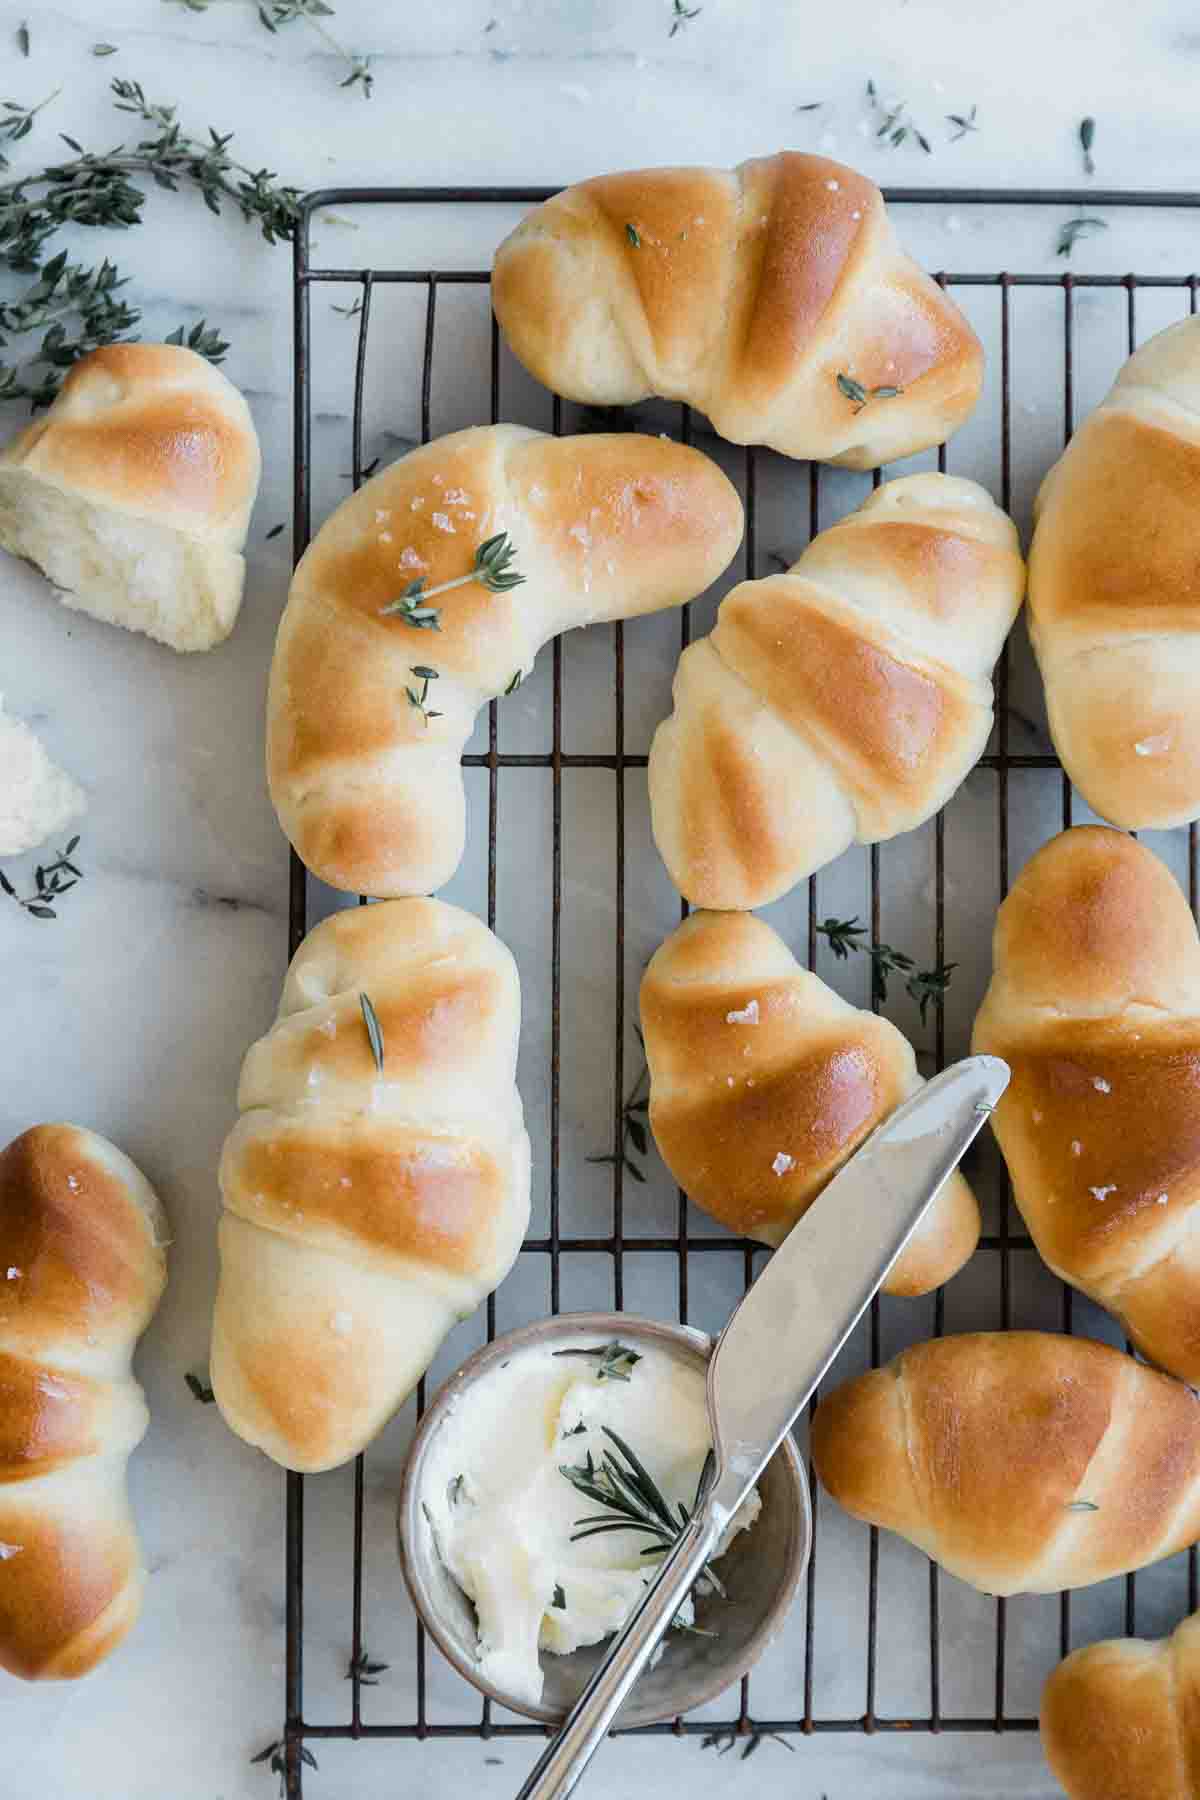
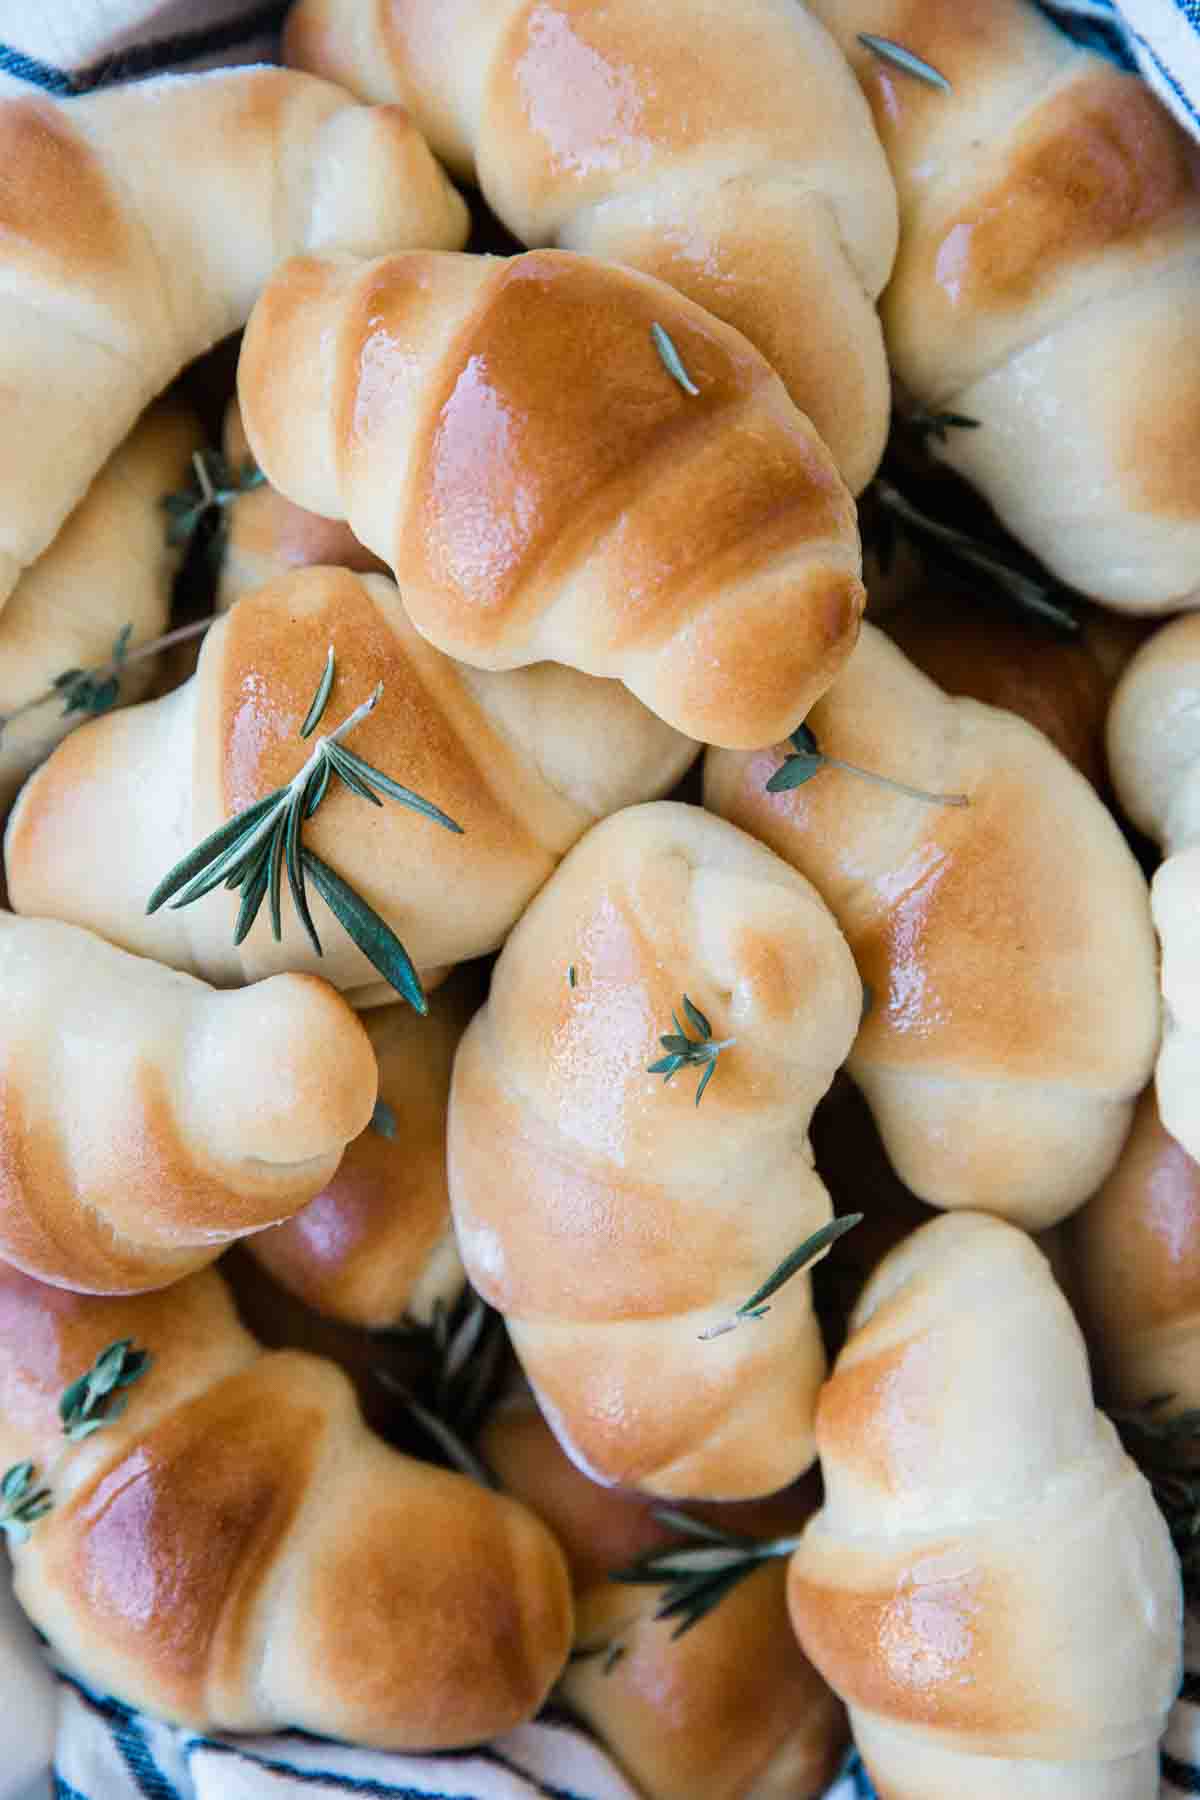
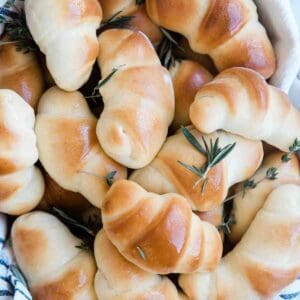
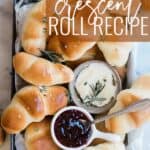
Soft, pillowy, flaky crescent rolls. These rolls are truly the world's best homemade crescent roll recipe. These are perfect for a holiday or Sunday dinner. This fool-proof recipe will be loved by all.
This recipe is the perfect addition to Brined Turkey, Mashed Potatoes, and Gravy. It is also delicious with any Chicken Dinner, slow cooker soup, or Sunday meal.
Why You'll Love This Recipe
My mother-in-law, Mary, was kind enough to share the recipe with me and I have made them for special dinners ever since. I have been to numerous dinners where she served these rolls and if you were to ask ANYONE what their favorite part of the meal was. They would tell you, without hesitation, the rolls! You're going to love this recipe just as much as my family does because:
- The dough is made the night before, leaving you extra time to prep for your meal.
- The results are fool-proof. I will show you step by step how to make these rolls, but it is really really easy! We love easy recipes around here.
- When it comes to crescent roll recipes this is the best there is. The rolls are pillowy and delicious.
- The are the perfect addition to any meal!
What Is A Crescent Roll?
Classic crescent rolls are made from a bread-like yeast-raised dough enriched with softened or melted butter. It is the addition of butter that accounts in large measure for the rolls' appealing taste. The butter is what makes flakey crescent rolls.
About The Ingredients
All of the ingredient for this crescent rolls recipe can be purchased at your local grocery store. You probably have many of them in your pantry already. Here are a few items to note:

- Yeast - the most important part of bread making is leaven. Leaven is what makes your bread rise and creates all of those lovely pockets of air between the dough that make the bread light and fluffy. For this recipe we are using dry active yeast. You can purchase yeast in the small packets, or in bulk. I've had better luck with the bulk yeast, but will use the packets in a pinch. Both can be located on the baking aisle of your grocery store.
- Salted butter - butter is what makes a crescent roll a crescent roll, so make sure you are using a nice quality salted butter for this recipe. Everyone loves buttery crescent rolls.
- Pantry Items - other pantry items that you'll need include all purpose flour, sugar, and salt.
- Eggs - the eggs act as a binder in this recipe. They keep all of the other ingredients together and add some bulk as well.
A complete list of ingredients and amounts can be found in the recipe card below.
How to Make Homemade Crescent Rolls From Scratch
I really recommend making this recipe in a stand mixer like kitchenaid or bouche. You can do it using a dough whisk and some elbow grease, if you don't have access to a stand mixer. Let me show you exactly how to make these delicious dinner rolls.
Prep
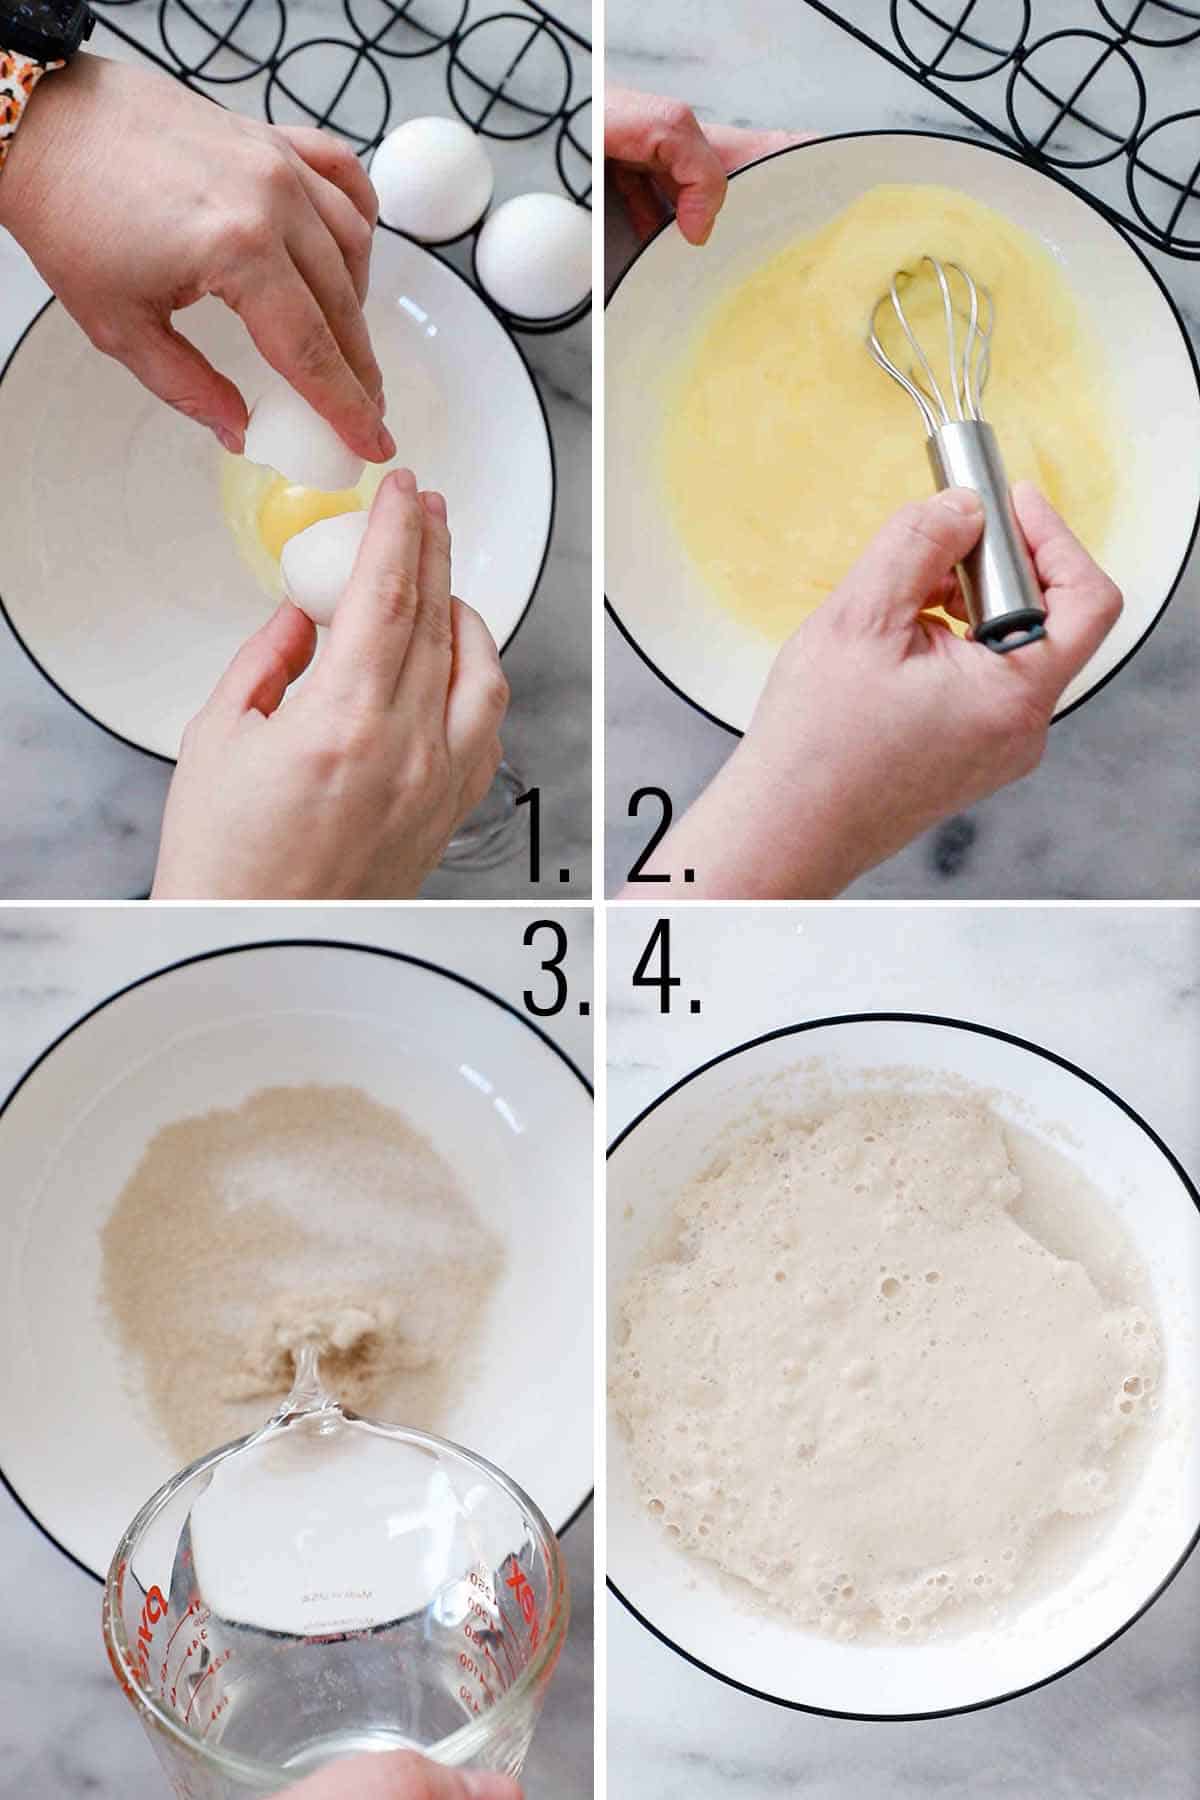
Step 1: In a medium sized bowl, add eggs.
Step 2: Whisk until smooth.
Step 3: In a separate medium sized bowl, add active dry yeast, sugar, and 1 cup warm water.
Step 4: Set aside for 5-10 minutes. Your yeast should begin to bubble up. If it does not, your yeast is dead, and you'll need to use new yeast and start over.
Making the Crescent Roll Dough
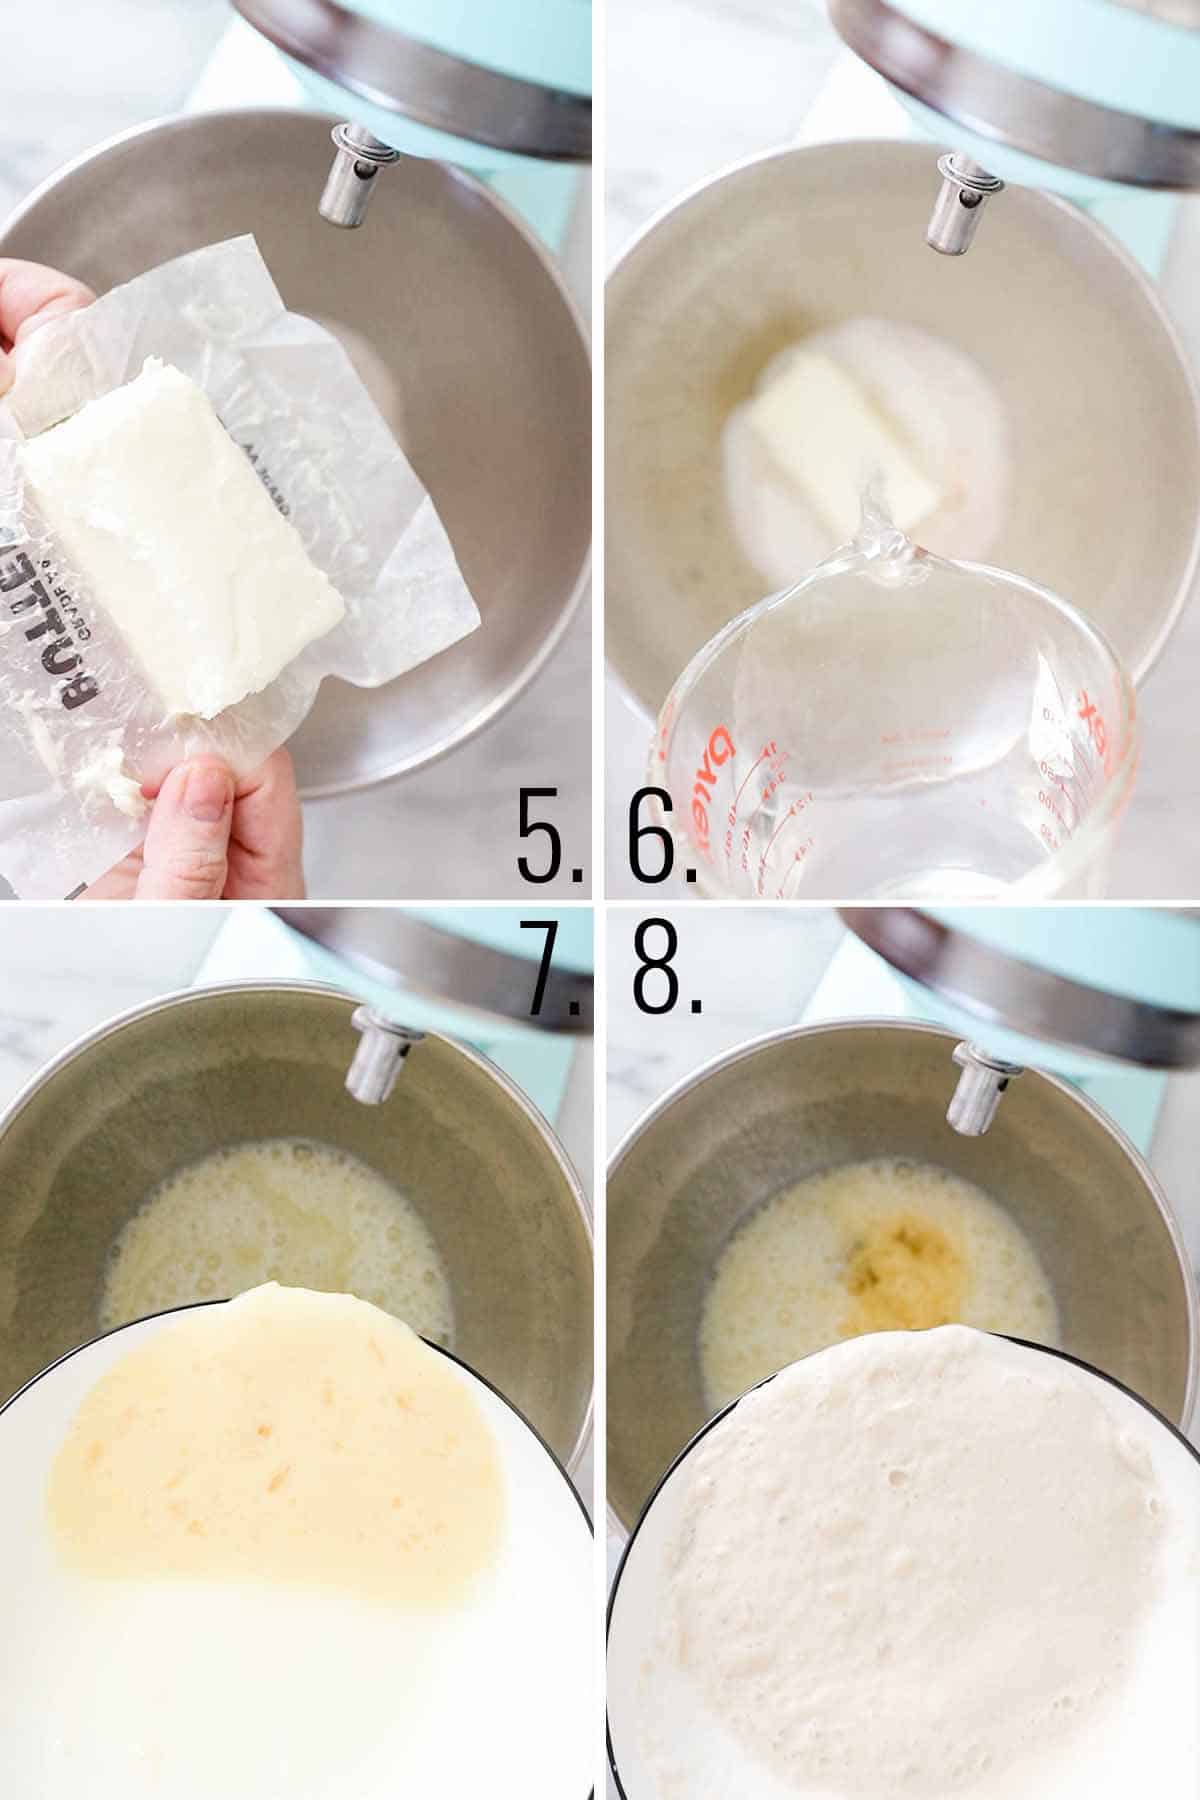
Step 5: In a stand mixer add Add sugar, salt, and softened butter to the mixing bowl.
Step 6: Pour in boiling water. With care, using your paddle attachment, mix all ingredients together until butter is melted and mixture is cooled. Be careful not to splash boiling water up out of the bowl.
Step 7: Pour whisked eggs into your mixing bowl.
Step 8: Pour yeast/water mixture into your mixing bowl. Stir to combine.
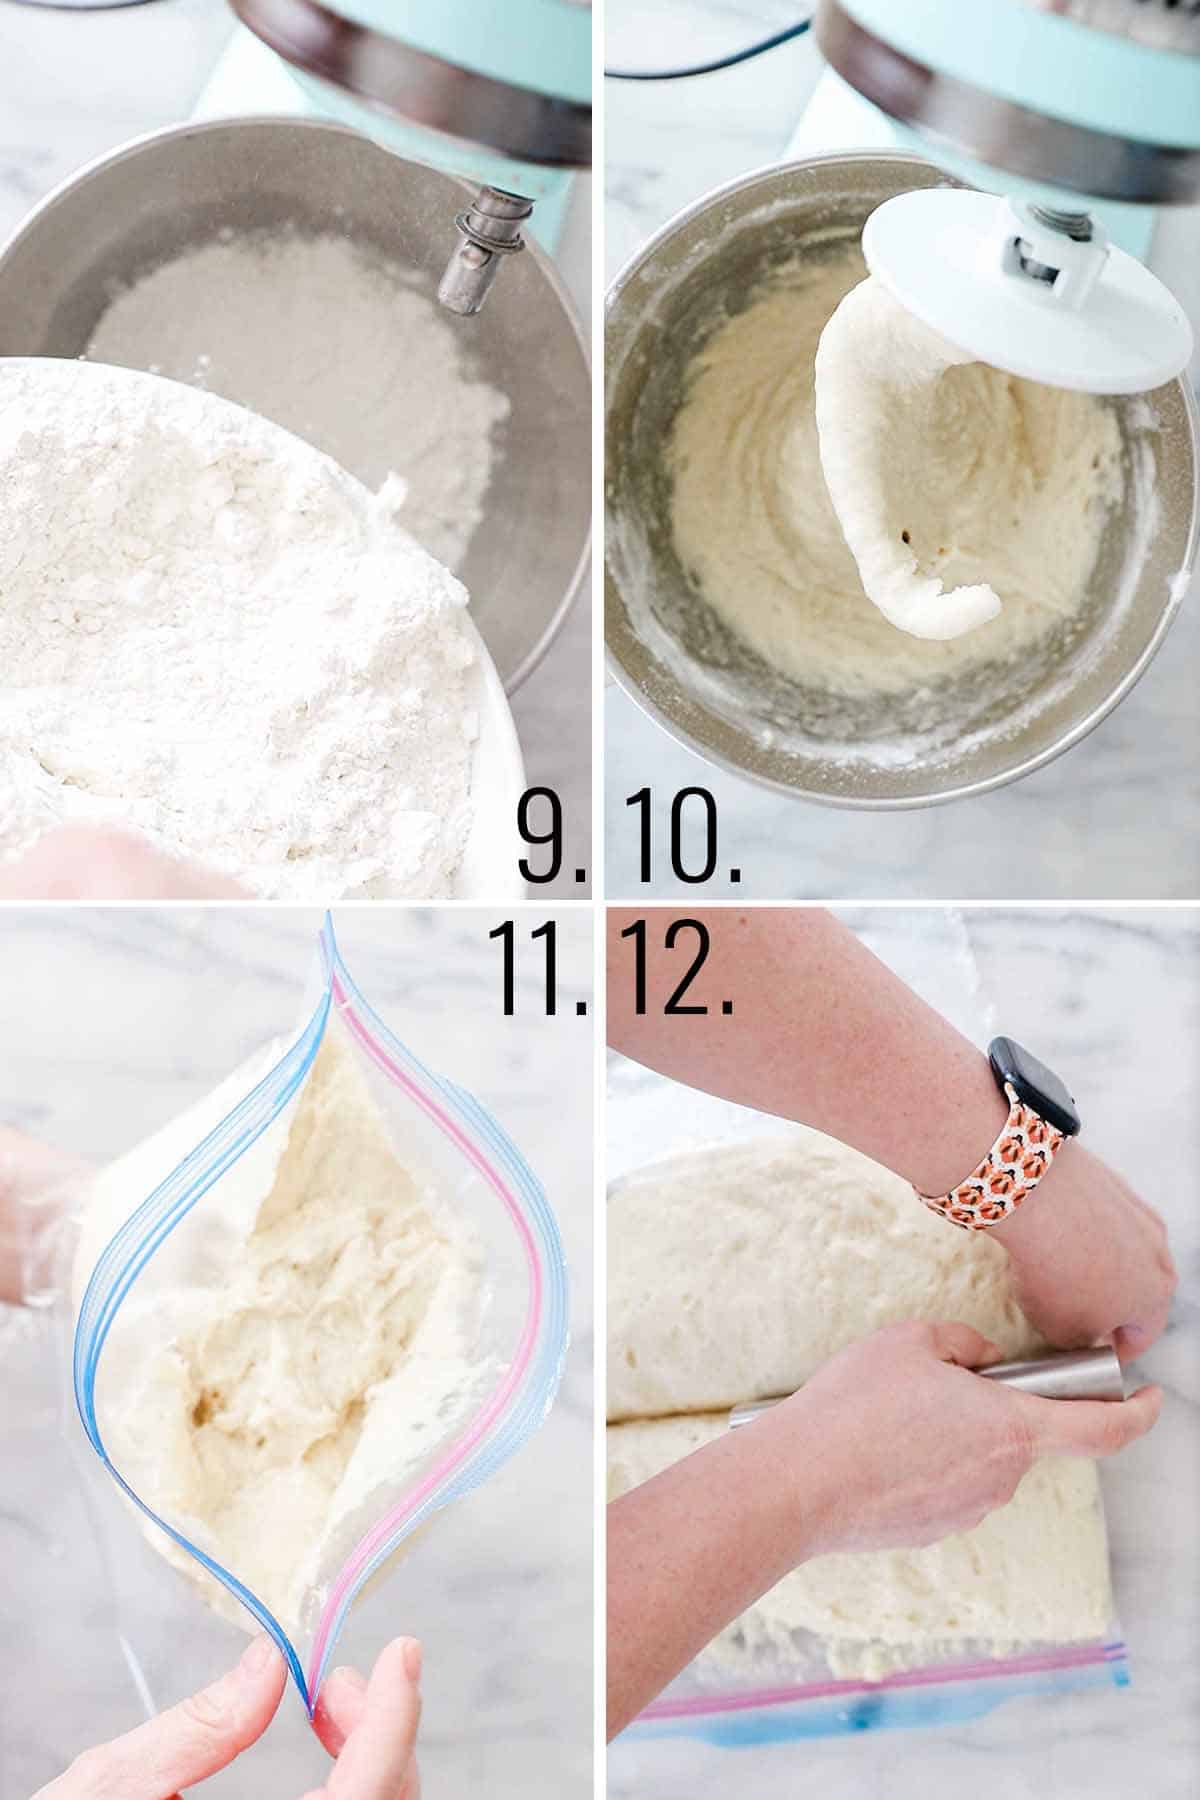
Step 9: Switch to the dough hook attachment. Add 6 cups flour, a cup at a time until dough forms.
Step 10: Dough will be very soft and sticky.
Step 11: Transfer to a large ziplock bag. Chill for 3 hours, up to overnight.
Pro Tip: One of my FAVORITE parts about this roll recipe is that you make the dough the night before. You put it in a ziplock bag, refrigerate overnight, and roll them out the next day. The dough comes together very easily, and is basically fool-proof.
Step 12: Divide dough into two sections.
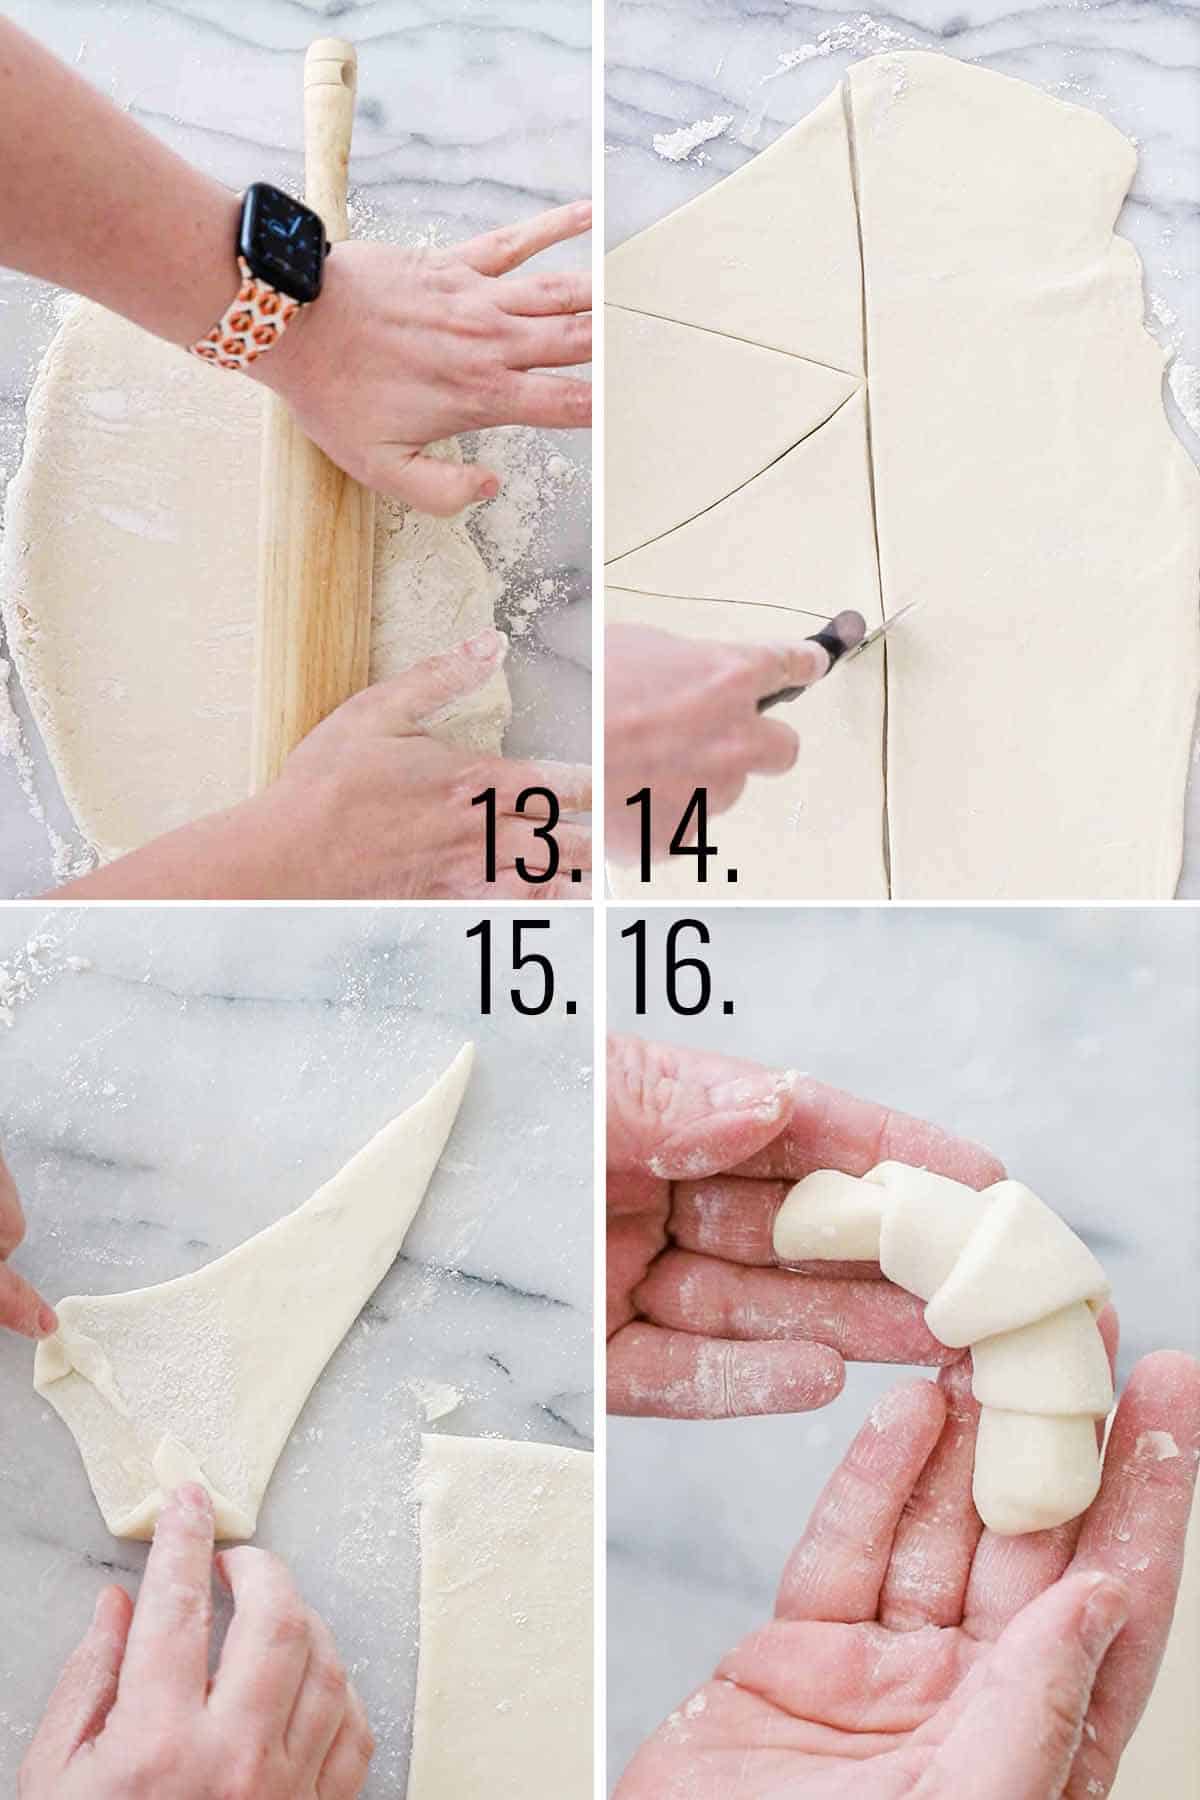
Rolling Out The Rolls
Step 13: Roll dough out on a lightly floured surface into a long rectangle.
Step 14: Cut into triangles using a pizza cutter.
Step 15: Roll up, starting at the larger end of the triangle.
Pro Tip: I like to tuck the ends of the triangle is, so they don't hang out like little ears after baking.
Step 16: Place on a greased cookie sheet or parchment lined baking sheet.

Step 17: Cover with a clean kitchen towel. Let rise for 2.5 hours.
Pro Tip: Room temperature matters. The best place to let dough rise is a very warm place. On a warm day, your counter will probably do just fine. In a cold kitchen, you can Preheat oven to 200 degrees for 1-2 minutes then turn it off. Place your covered rolls to rise inside of the oven.
Step 18: Bake at 400 degrees Fahrenheit for 8-10 minutes until golden brown. Brush with melted butter if desired.
Expert Kitchen Tips on Shaping Crescent Rolls
- Start at the larger end of the triangle and fold in the two edges.
- Roll up the crescent dough, slightly stretching as your roll.
- Place on your baking sheet with the tip facing down.
- You can leave them straight, or bend a slight curve into the rolls for that crescent shape before baking.
- If you're looking for a Parker house roll recipe - check out our delicious dinner rolls.
Variations
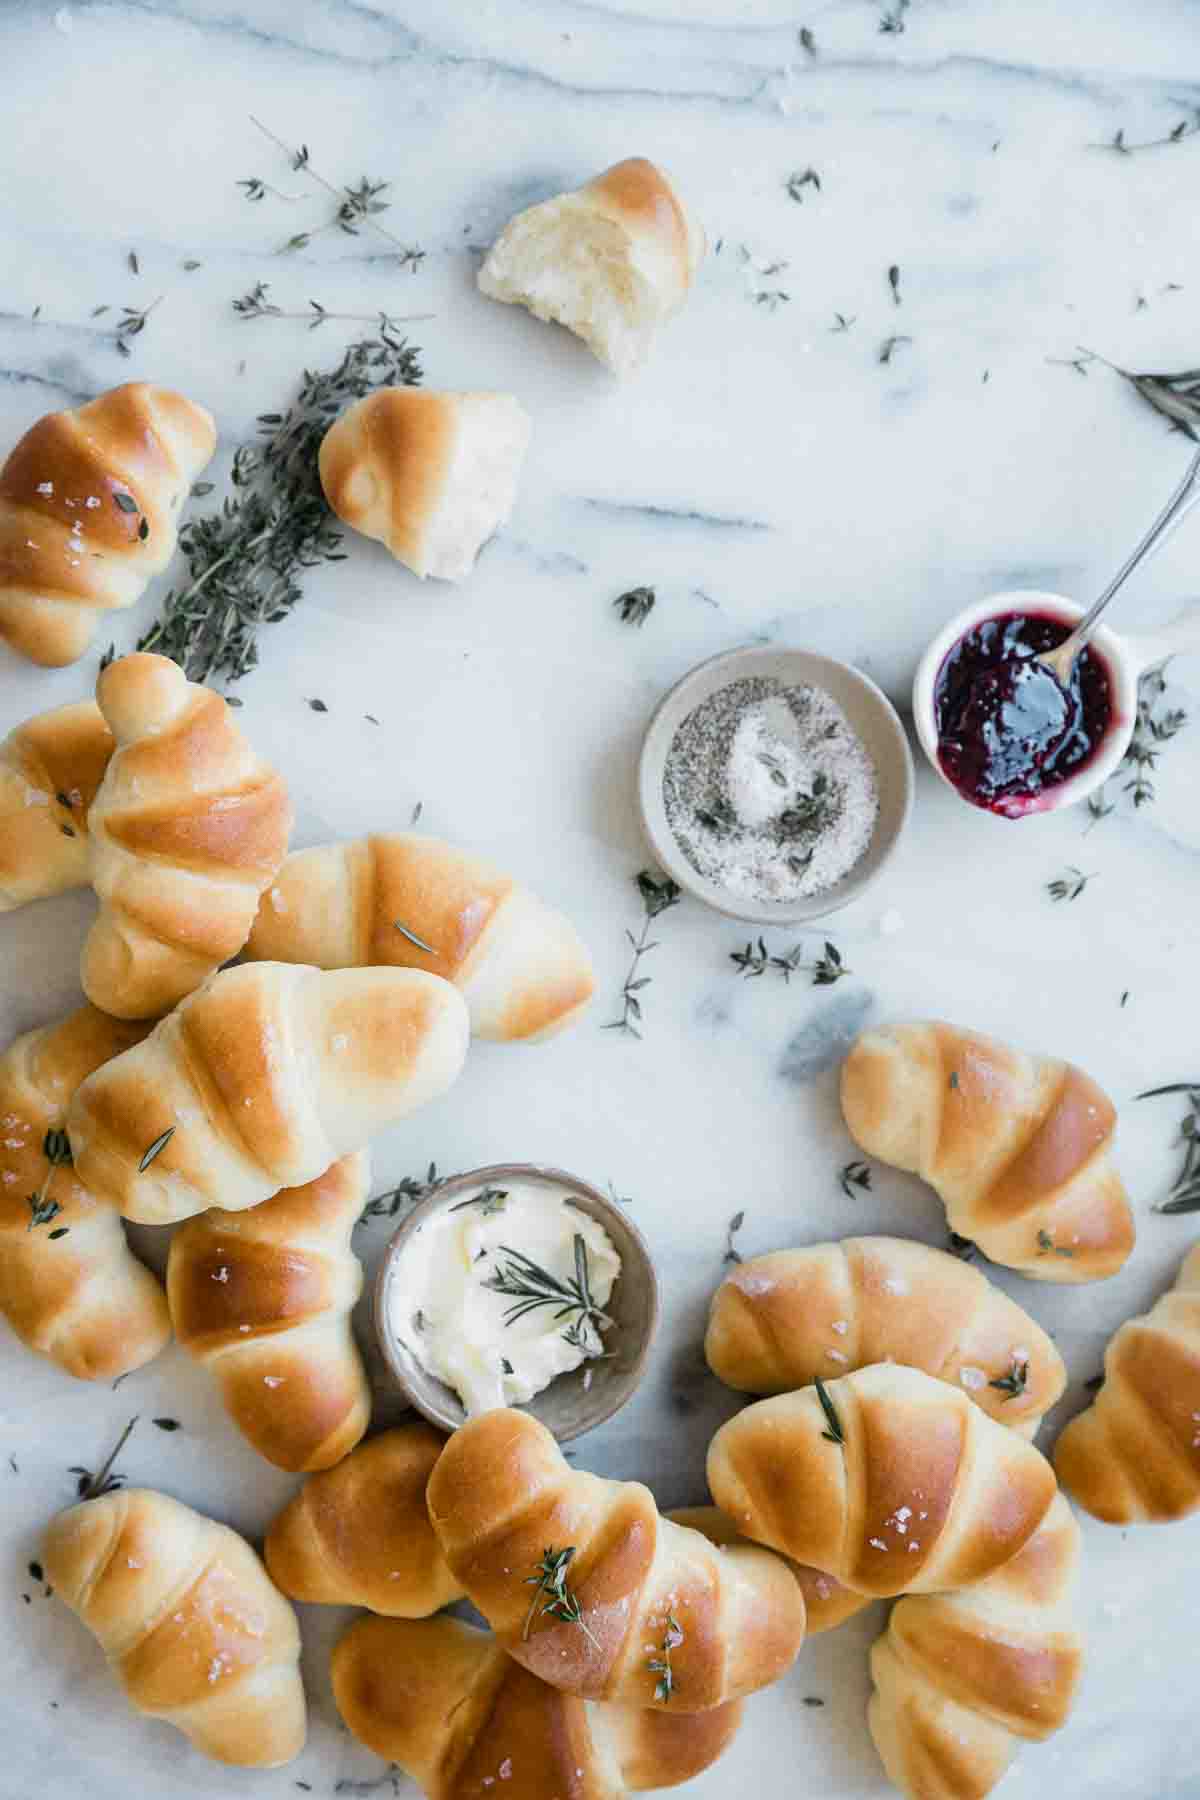
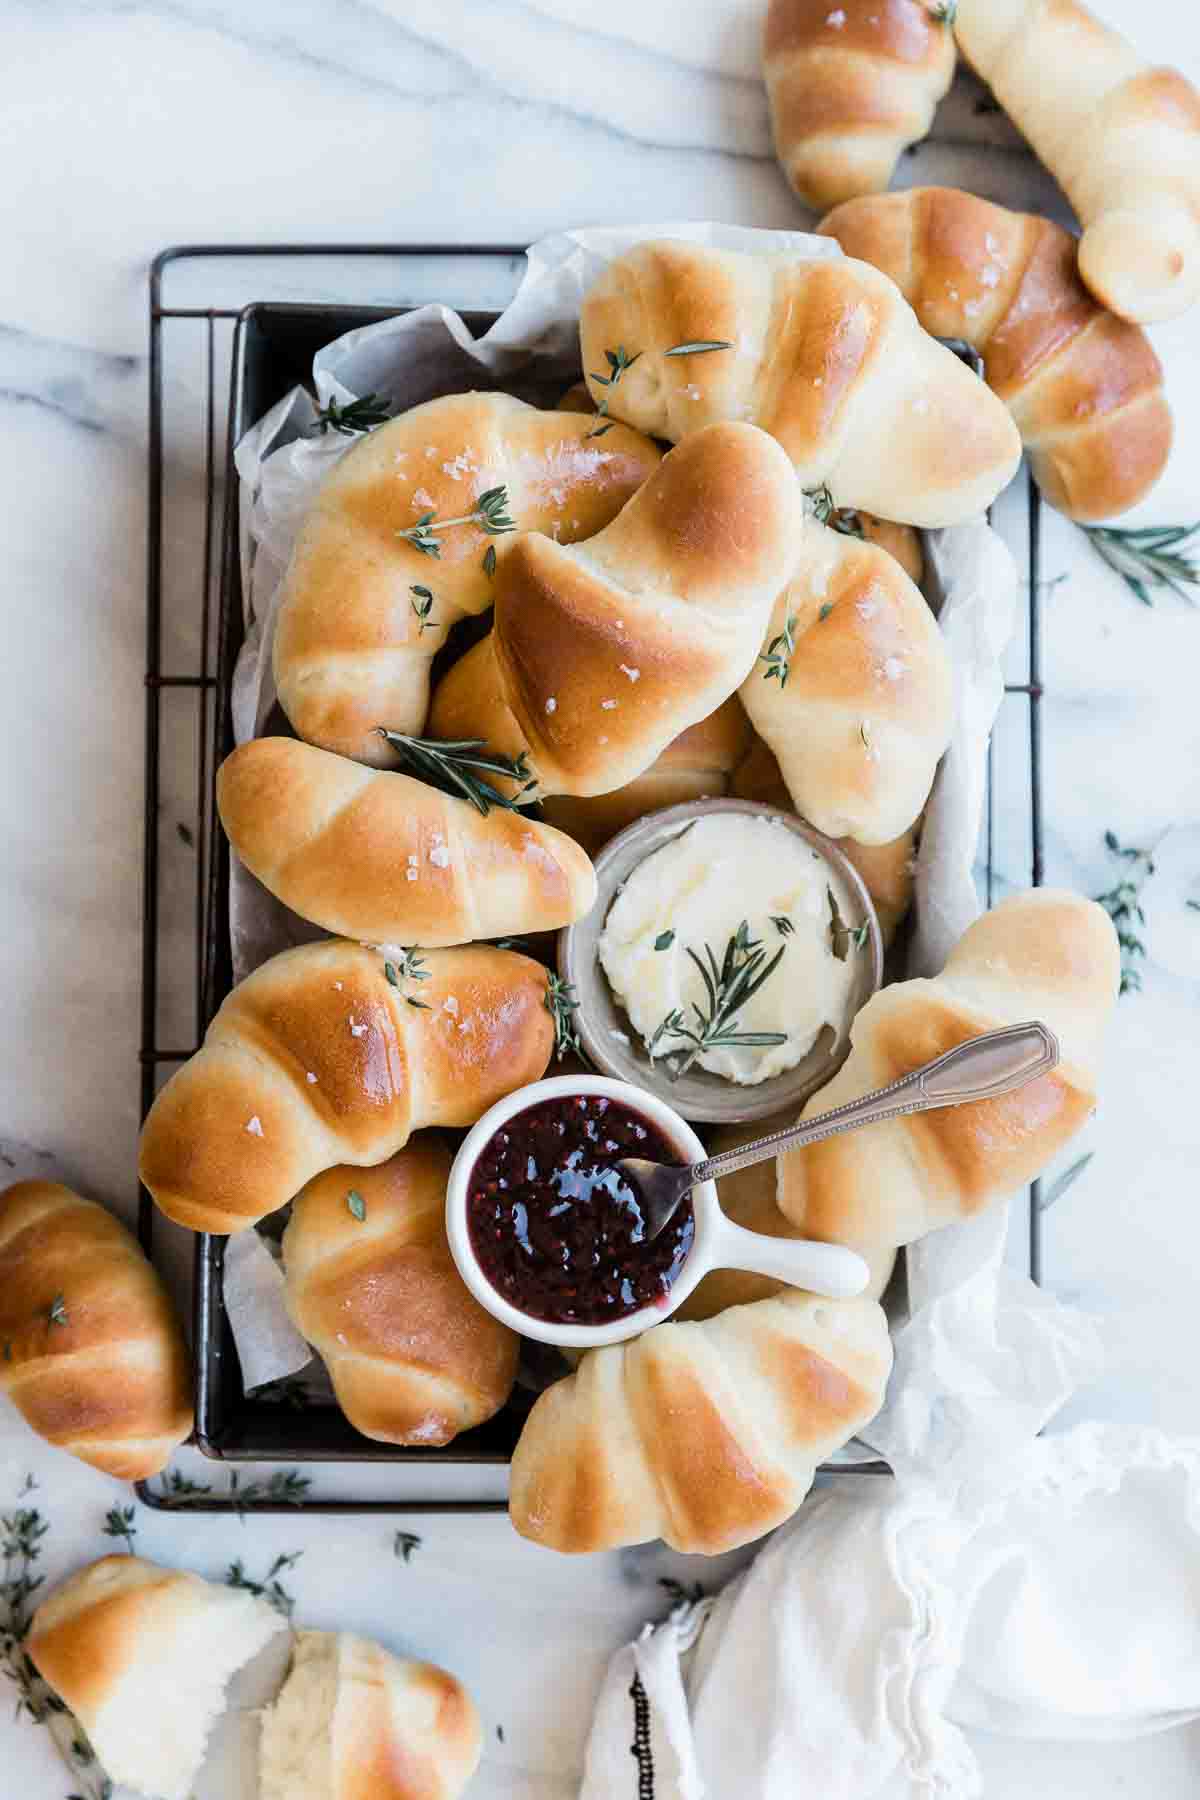
I love to serve these rolls with a holiday meal, or Sunday dinner. They are amazing with butter, or jam. We also like to eat them as the bread for turkey sandwiches with Thanksgiving leftovers. But here are a few variations for those who are adventurous:
- Orange knots - rather than rolling them into crescent rolls, roll them into a long strips and tie into knots. In a small bowl combine granulated sugar and orange zest. Dip the knots in the mixture and place on baking sheet to rise. This is a delicious sweet twist.
- Egg wash - for a nice browned top for your rolls, try an egg wash. Whisk one egg white and 1 tablespoon of water in a small bowl. Brush the tops of the rolls just before baking.
- Garlic crescent rolls - once your dough is rolled out into a large triangle, add minced garlic, and dried rosemary. Roll up and rise before baking. You could even add a sprinkle of parmesan cheese.
- Crescent ring - you can use this dough to make a crescent ring. Roll out your dough and cut into triangles. Rather than rolling up into crescents - place them small point out in a circle with the corners overlapping on a baking tray lined with parchment paper. Fill with cream cheese, and desired fillings. Some ideas are to do a pizza crescent with marinara sauce, pepperoni and cheese. Or maybe taco meat, cheese, and salsa. Pull the small corner towards the middle and tuck under. bake for 10-12 minutes or until golden.
- Pigs in a blanket - this dough works great for making pigs in a blanket. Simply roll out, cut to size, and wrap around hot dot. Bake at 400 degrees Fahrenheit for 8-10 minutes or until golden.
FAQs
While they might look similar, they are not the same. Crescent rolls are bread and croissants are a pastry. Crescent rolls use yeast, often called yeast rolls, and rises to make them lighter. Croissants, have layers of dough and butter to create a flakey crust.
Many think of the refrigerated Pillsbury Crescent rolls when they think of crescent rolls. There are made with lots of preservatives, oils, and ingredients you can't pronounce. What's great about making them homemade is you can use items from your pantry. What makes crescent rolls different than regular dinner rolls are their shape, and the butter in the dough.
You can. I recommend cooking at 400 degrees for 7-8 minutes or until golden. The size and brand of air fryer will affect the time greatly, so keep an eye on them. While you CAN cook these in the air fryer, I really do think the oven in the way to go. You can cook more at one time.
How To Store
Freezing
- Before baking - form rolls into crescents, place them up on a baking sheet and freeze. Once solid, transfer the individual rolls into a large freezer zipper bag. Freeze for up to 6 months. When ready to bake, place frozen rolls on a greased baking sheet, cover with plastic wrap, and let thaw and rise.
- After Baking - I like to underbake them slightly. Let them cool completely and then transfer to a freezer safe container. Freeze for up to 3 months. When ready to bake, thaw and then bake at 400 degrees Fahrenheit for 2-3 minutes until golden.
Storing After Baking
If you have leftover rolls, you can keep them at room temp, in an airtight container for 3-4 days. These rolls don't have any preservatives, so they will only keep for a few days before they are stale.
More Recipe You May Enjoy
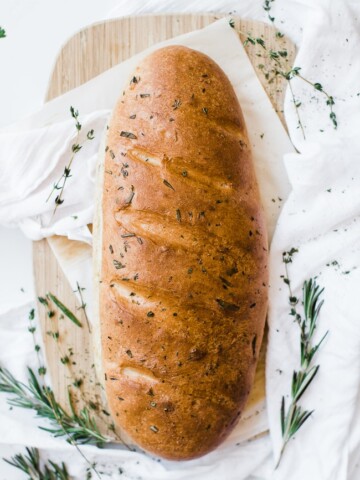
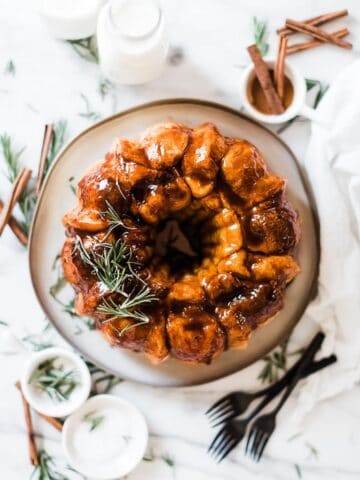
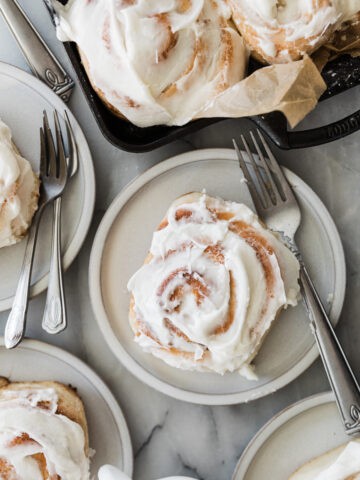
We love bread around here, so be sure to check out our cinnamon rolls, and double orange bread, as well as these:


Leave Us A Comment
If you tried these Homemade Crescent Rolls or any other recipe on the blog then don’t forget to rate the recipe and leave us a comment below. You can also follow us on Facebook, Twitter, Instagram and Pinterest to see what else we’re getting up to!
Homemade Crescent Roll Recipe
Equipment
- stand mixer with dough hook attachment
Ingredients
- 2 Tablespoon active dry yeast two of the small packets of yeast =2 tablespoon dry yeast
- 1 cup barely warm water
- pinch of sugar
- ⅔ cup sugar
- 1 ½ teaspoons salt
- ½ cup salted butter
- 1 cup boiling water
- 3 beaten eggs
- 6 cups all purpose flour
Instructions
- In a bowl combine the yeast, warm water, and pinch of sugar. Set aside. It will foam up a little bit.
- Meanwhile combine ⅔ cup sugar, salt, butter, and boiling water in a large bowl. I put it directly into my kitchen aid mixer bowl. Using the paddle attachment, stir until the butter melts and the water is cooled. Use the lowest setting, or even half a notch to the lowest setting to avoid splashing hot water everywhere.
- Add the beaten eggs and your yeast mixture to the ingredients in the kitchen aid bowl Mix to combine.
- Switch from your paddle attachment to your dough hook and add about 6 cups of flour. Once cup at a time. Dough will be sticky.
- Transfer to a gallon sized ziplock back and refrigerate overnight. This is my FAVORITE part (other than eating them) about making these rolls. I love that making the dough is done the night before. If gives you time to whip up another delicious side dish. The dough will firm up in the fridge making it easier to work with.
- The next day roll out the dough onto a floured board. I usually do it in 2 batches. Roll the dough out so that it is about ¼ inch thick and into the shape of a rectangle. Using a pizza cutter cut the rectangle in half length-wise and then into triangles. Roll the triangles up, starting at the wide end.
- Place the rolls with the point down so there are no "ear" sticking while they rise or bake. Place rolls on a baking sheet that has been lined with foil and sprayed with non-stick spray.
- Let rise for 2.5 hours. Rolls will double in size.
- Bake at 400 degrees for 8-10 minutes or until light golden
Video
Notes
Nutrition
Save this Recipe for later!


Adelyn says
Okay! Thank you so much--God bless!
Adelyn says
I have a question. Does 1 batch actually make 48 rolls? I'm hoping to try out this recipe really soon.
Thanks!
Kadee says
Yes - one batch makes about 48 small rolls.
Mary Beaubien says
i made these for thanksgiving. they were great. but i did have a problem. what part of the country,(what brand of flour) did you use? i live way up north and have found i need a lot more flour than most recipes call for because our flour is different from that "down" south. i bet i added almost another cup as i was trying to roll them up. but they sure were great.
Kadee says
We are in Southern California and I use all purpose flour. Usually gold metal brand. The dough will be VERY soft and sticky before you chill it. I probably use about a cup to dust my board as I roll them up. Glad you liked them!
Emily Kemp says
These look so delicious and easy!
Carly says
Hey Mama! So I am wondering HOW sticky. Mine was pretty dang sticky:)
Melissa says
Love these rolls! So perfect for Thanksgiving! One less thing to do that day :)
Elaine Moon says
Thanks, Steph, for making these rolls a staple at all our gatherings!