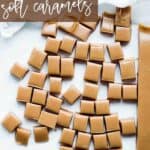
Soft chewy sea salt caramels are one of the very best holiday treats! I LOVE them and make a batch every single year. They are great to give as gifts, to share with friends, and bring to all the parties and get togethers. They are extremely delicious and addicting! Once you eat one you cannot stop!!
Why This Homemade Caramels Recipe Works
Making sea salt caramels is really easy- only a few ingredients and a few steps HOWEVER it can be tricky if you don't do it right and don't read all the tips below.
This easy soft caramels recipe includes lots of step-by-step instructions and with all the tips so you won't mess up a thing!
No need to just make one type of caramel! Try out making different flavors such as cinnamon caramels and licorice caramels.
Ingredients You Need
Making the best soft caramels starts with a few simple ingredients. Here's what you need:
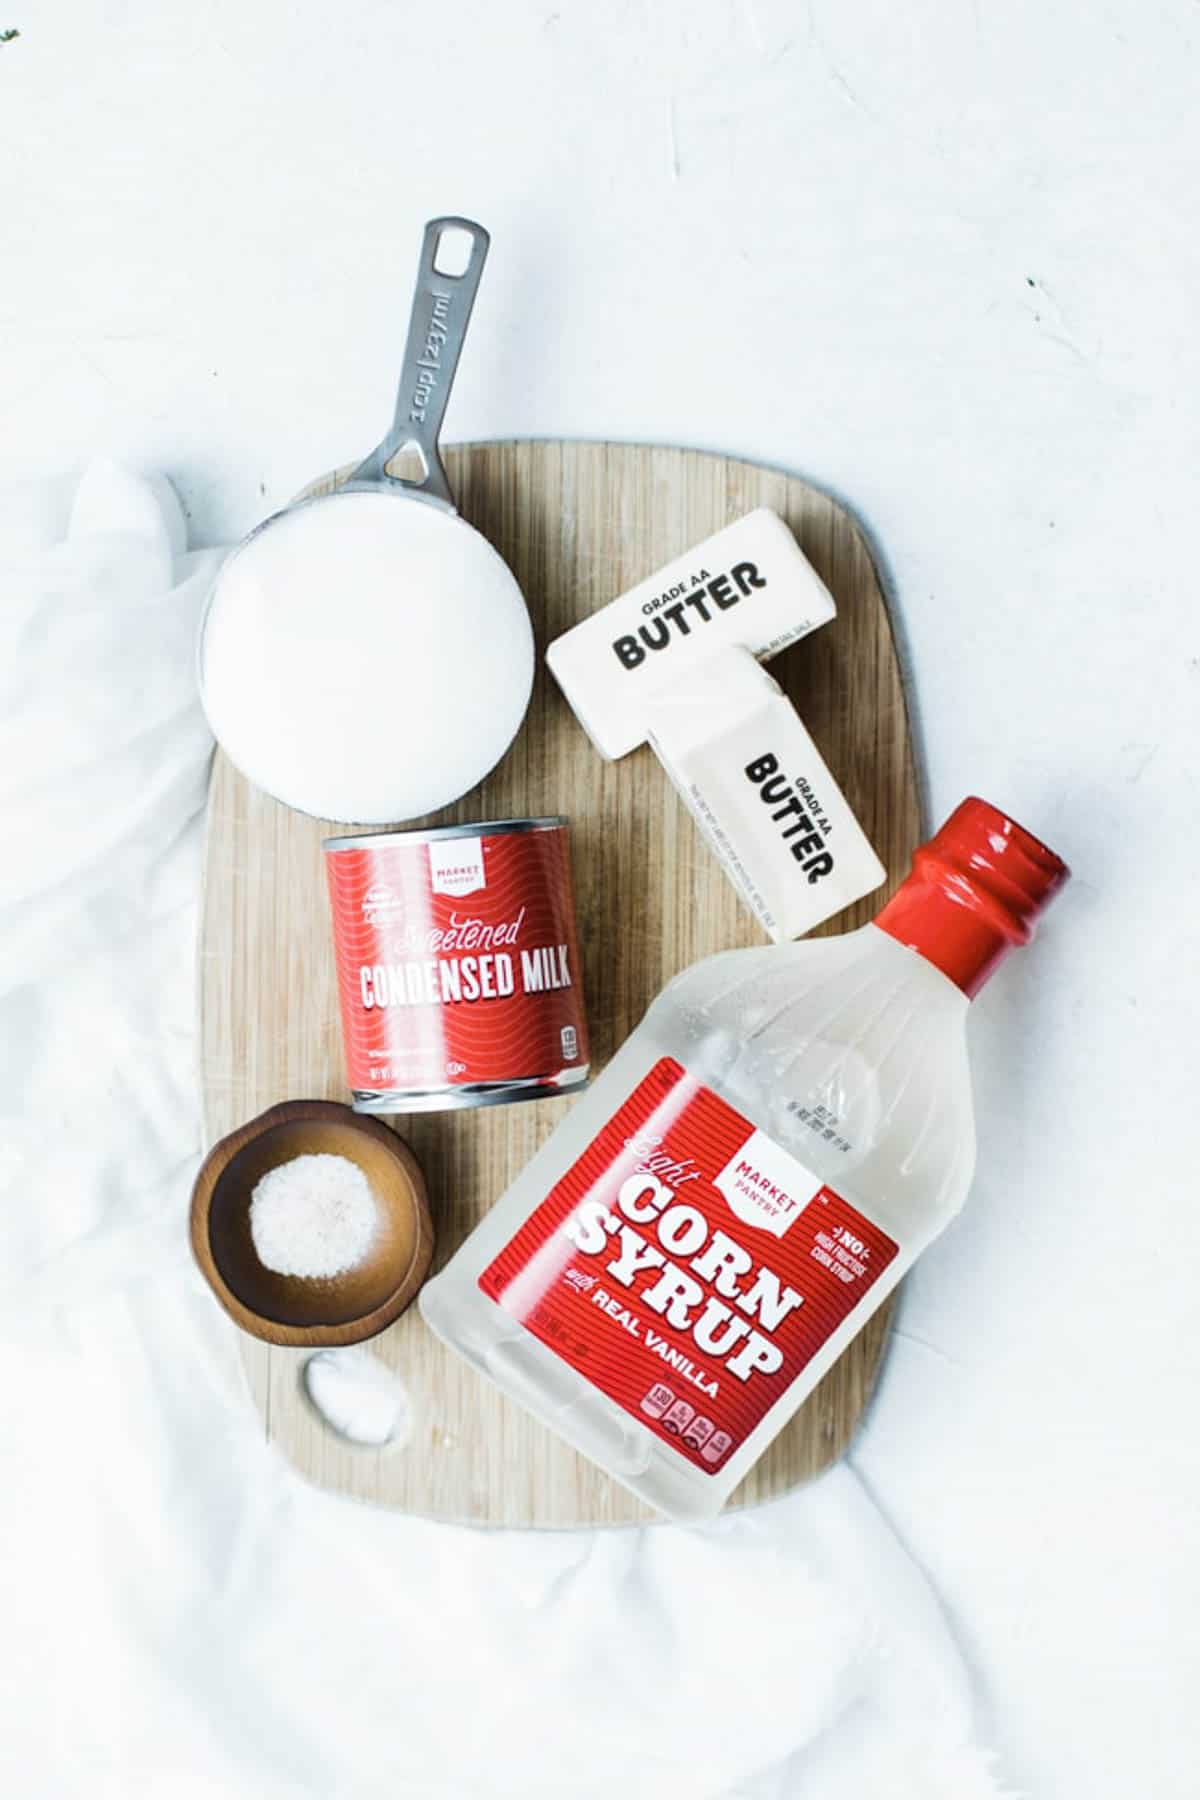
- Sugar: Regular granulated white sugar will work just fine!
- Corn syrup: Use light-colored corn syrup for the best results.
- Butter: You can use salted or unsalted butter. You're adding salt on top too so keep that in mind.
- Sweetened condensed milk: The combination of milk and sugar is what gives caramel its luscious color!
- Sea salt flakes: A flaky salt is best. I use Maldon Sea salt. It is a high-quality sea salt flake. I grab it from Amazon. Might as well grab the bucket because you will be addicted.
How to Make Soft Caramels
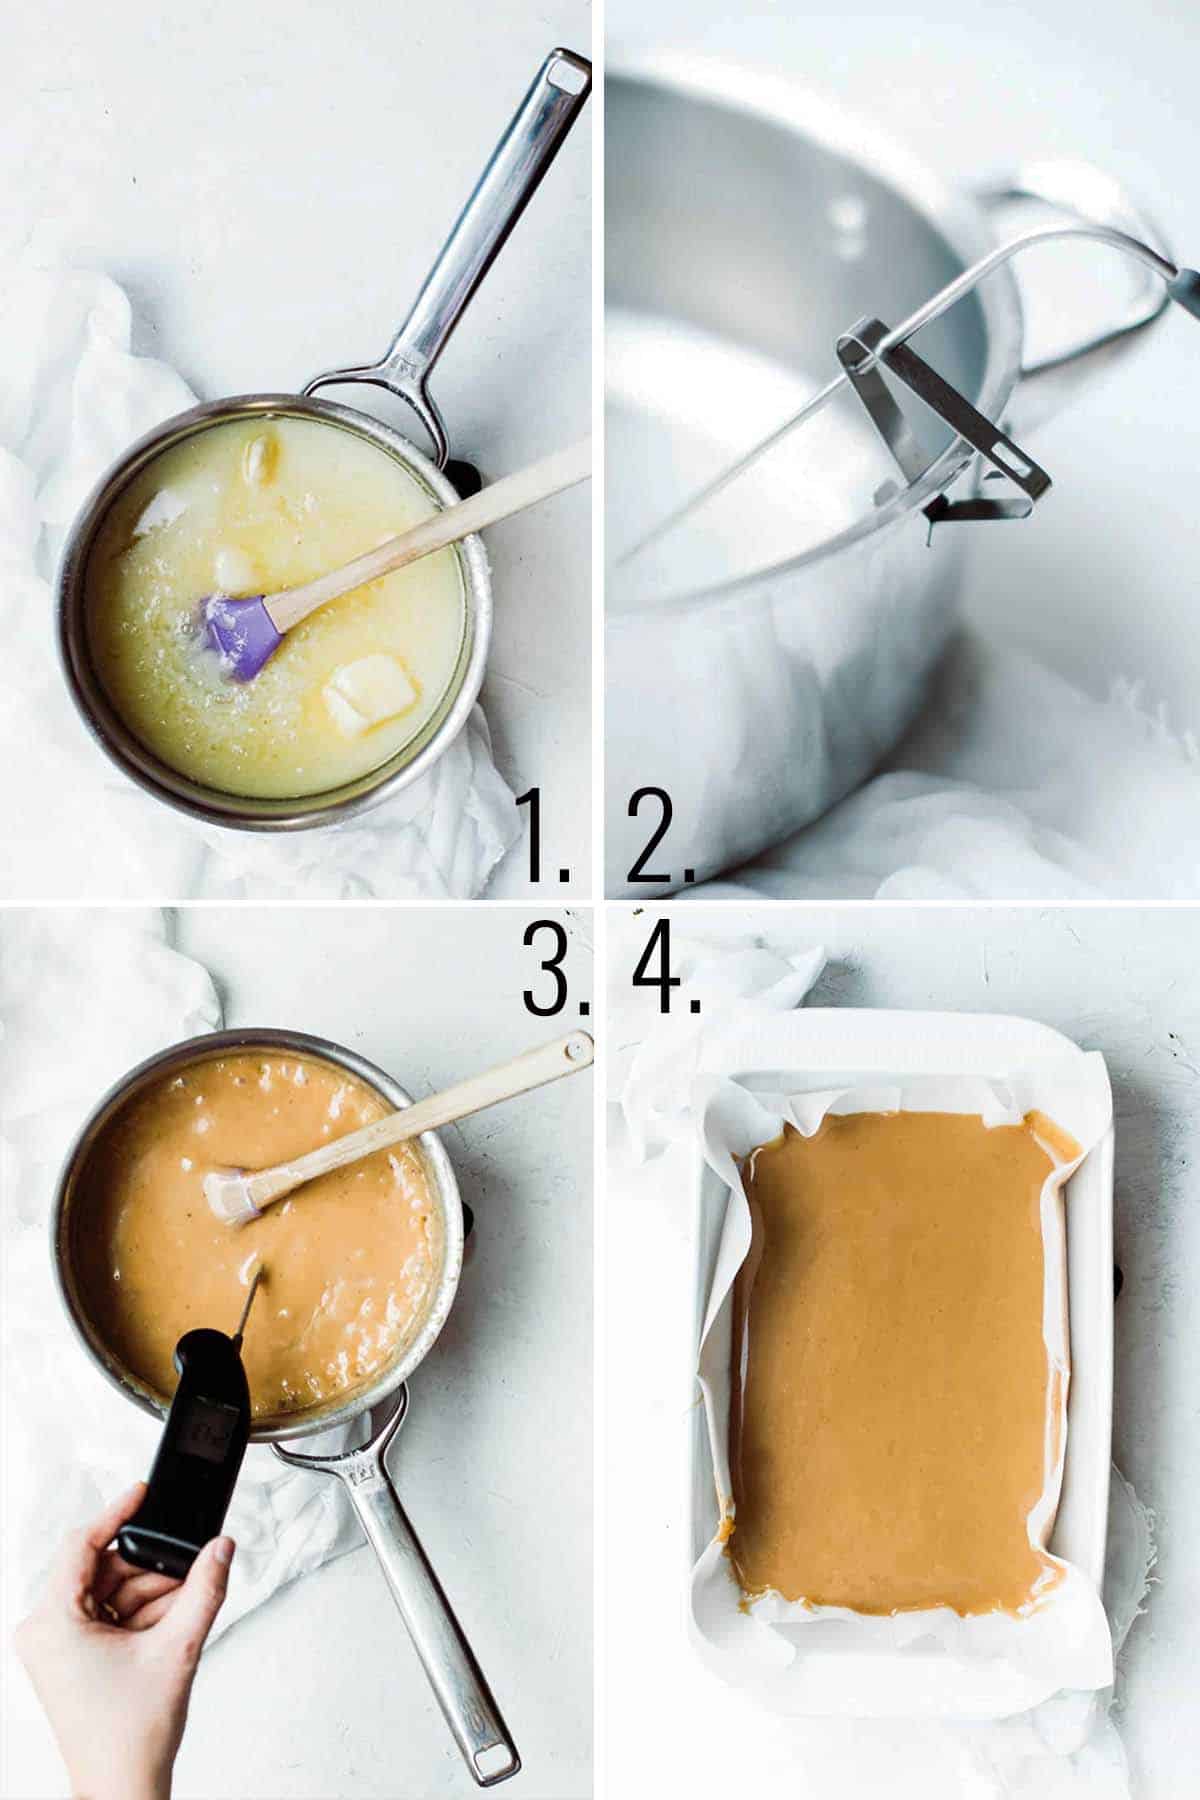
- In a heavy-bottomed pan combine all your ingredients on low and stir. When butter and all ingredients are combined and melted turn the heat up to med. Bring to a low boil, stirring constantly.
Pro Tip: Use a good quality heavy-bottomed pan. DO NOT USE a cast iron pan. They retain heat which will overcook your caramels and basically make them rock hard. If your pan is too thin, the caramels may get too hot or cook unevenly.
- Bring your caramels to a slow boil over medium to medium-high heat. Stirring the entire time until your caramels come to a golden caramel color and the temperature reaches 244 degrees F.
- Remove the pot from the heat and add flavor or food coloring if desired! More on that below!
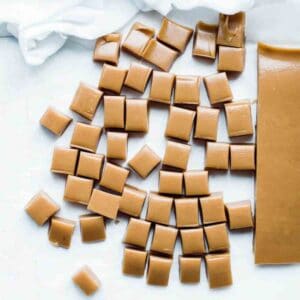
- Pour caramels into a 9x13 pan lined with parchment paper (I love these precut parchment paper sheets). and add your sea salt!
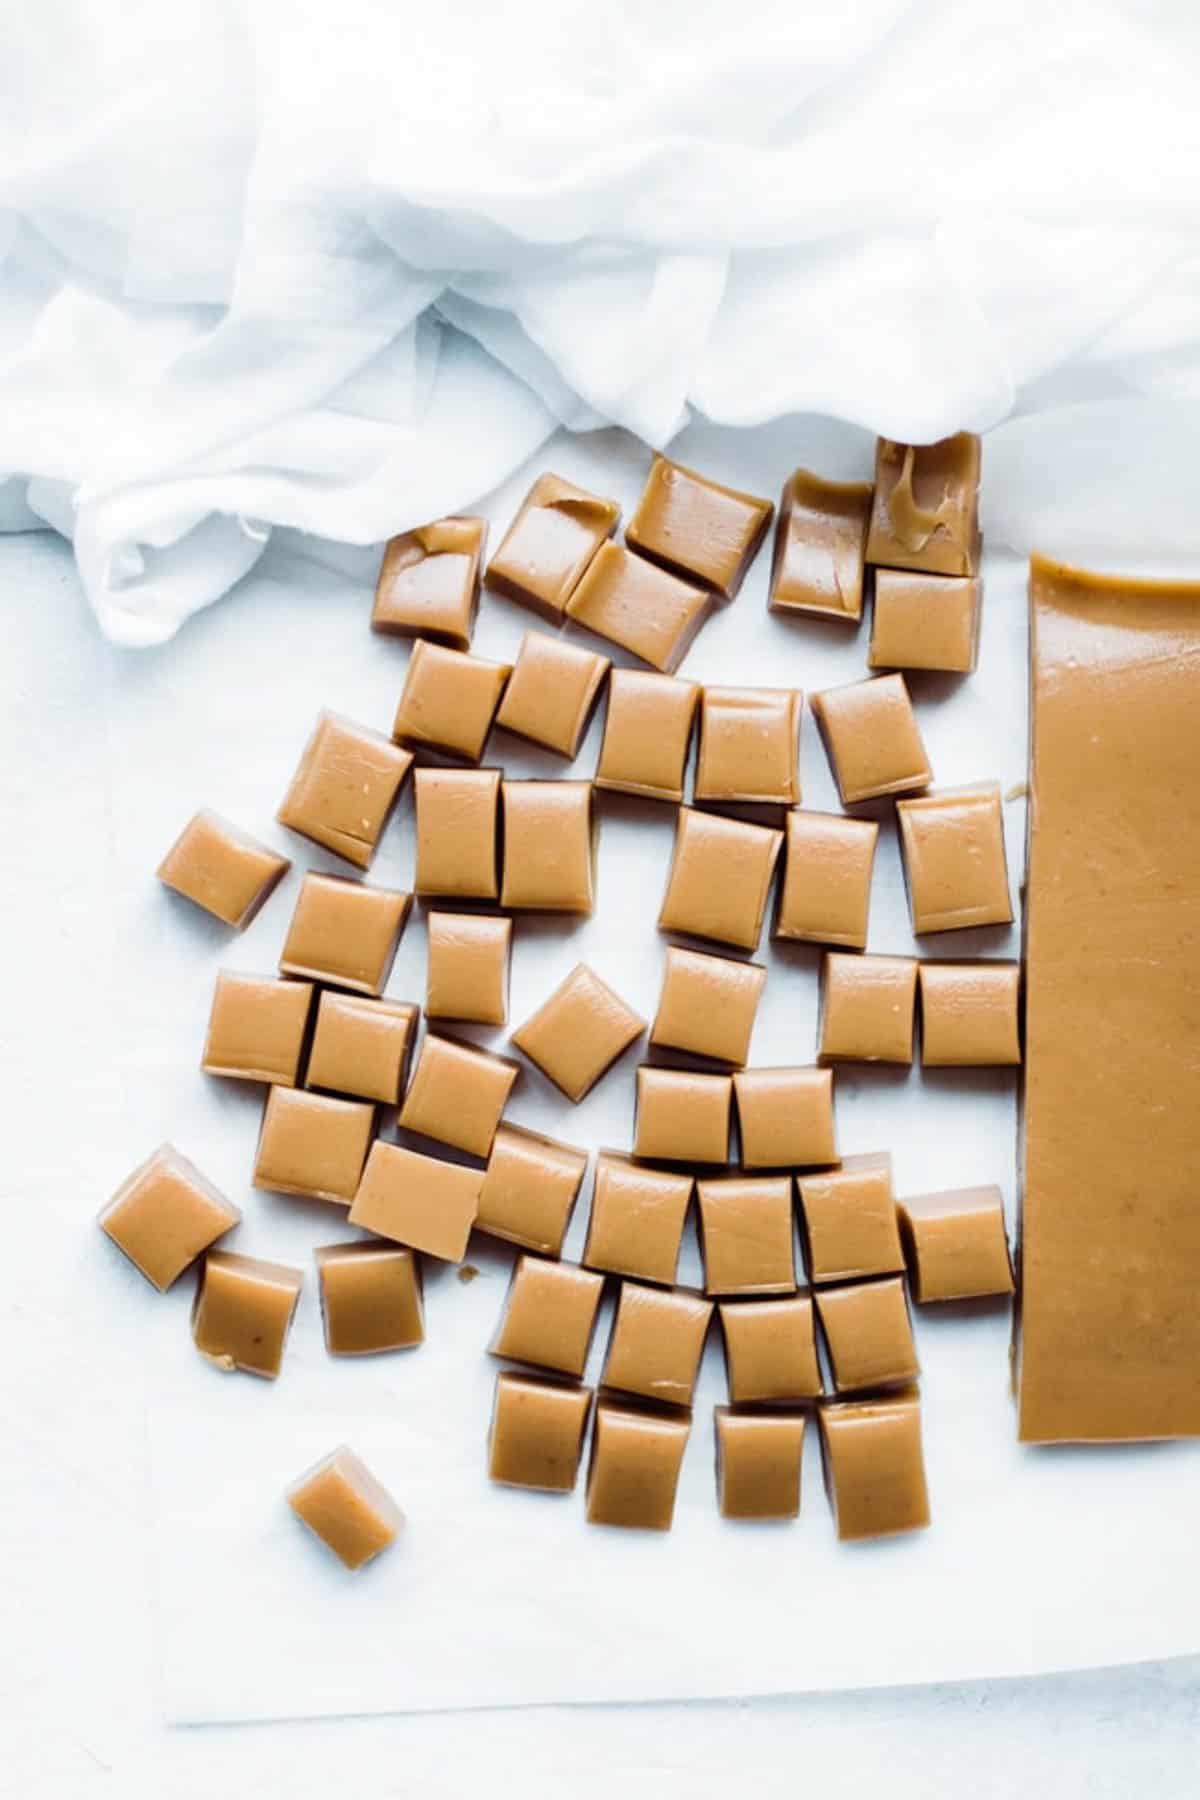
- Once the caramels are completely cooled and set, cut them into small bite-sized squares or rectangles. For best results, let the caramels cool overnight, or for several hours.
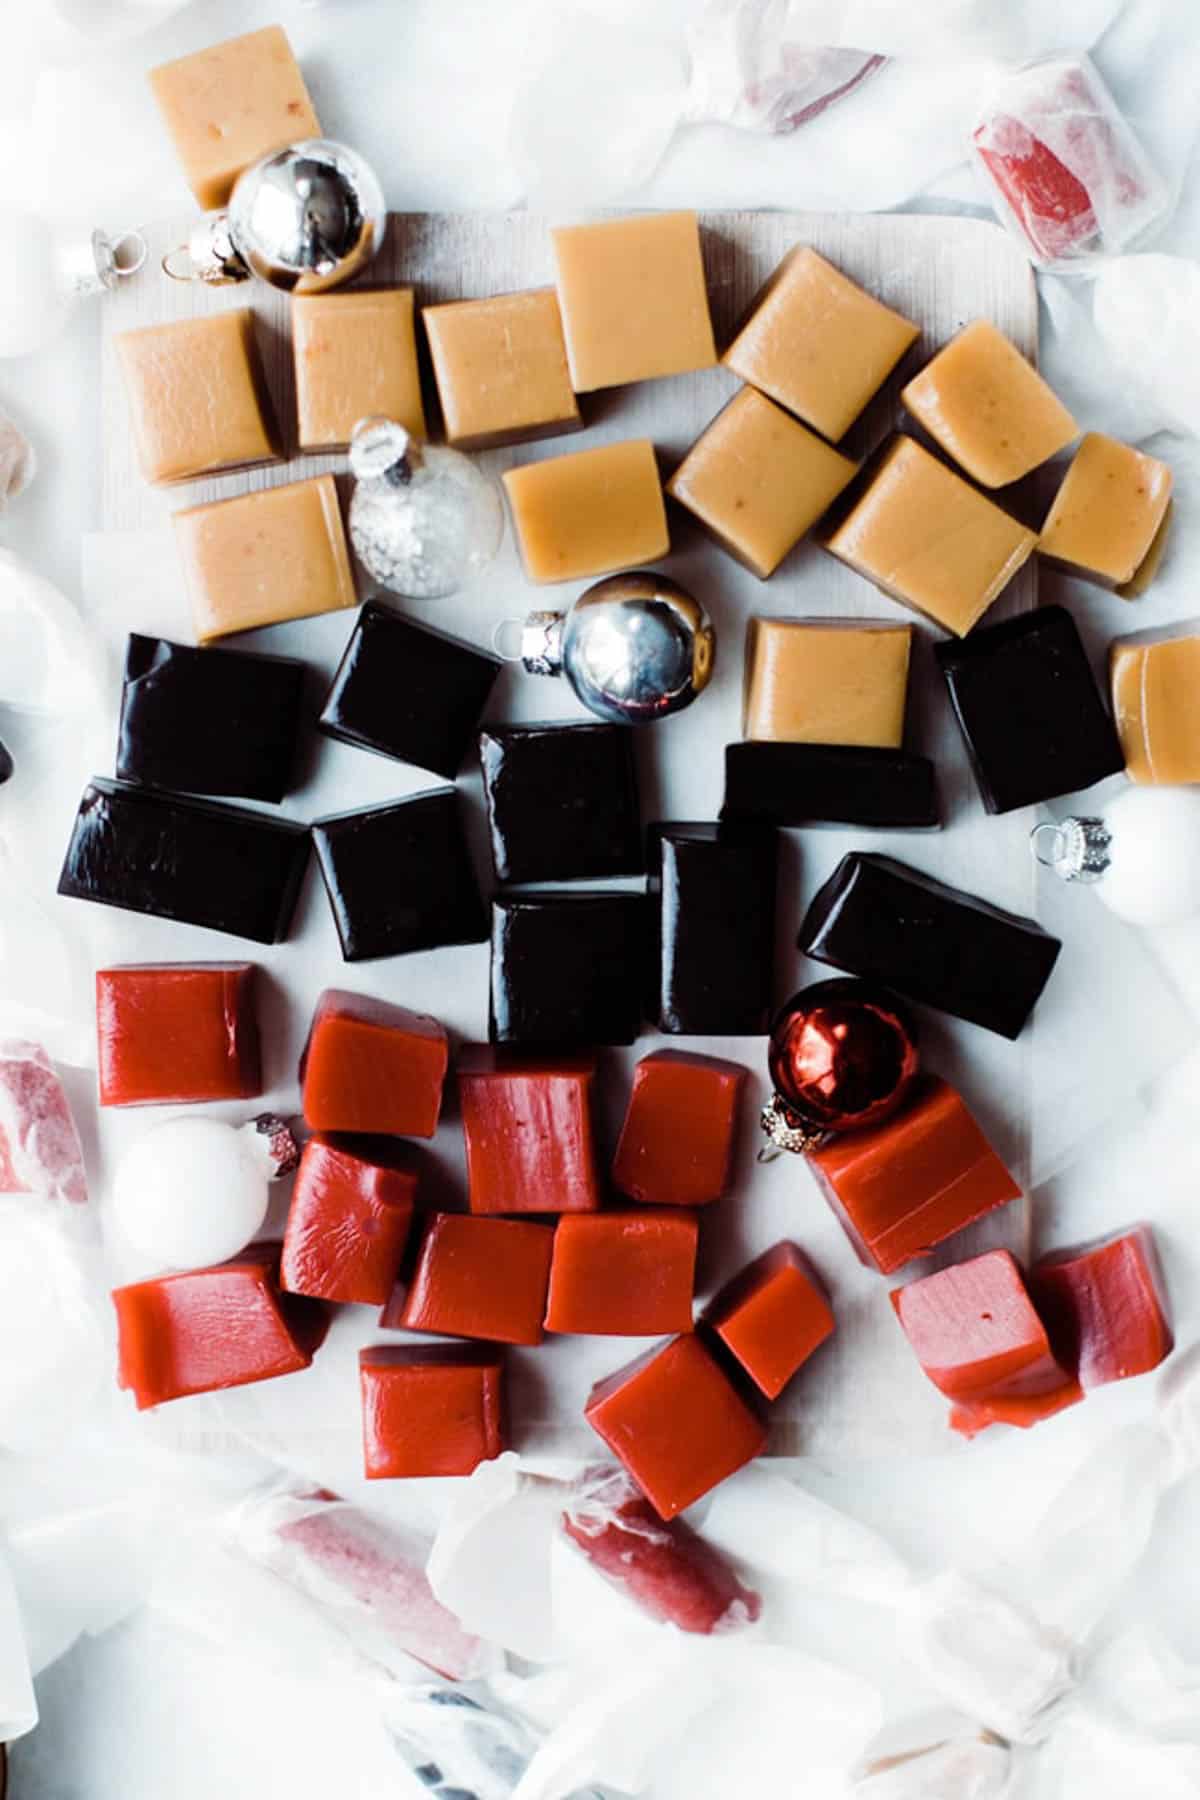
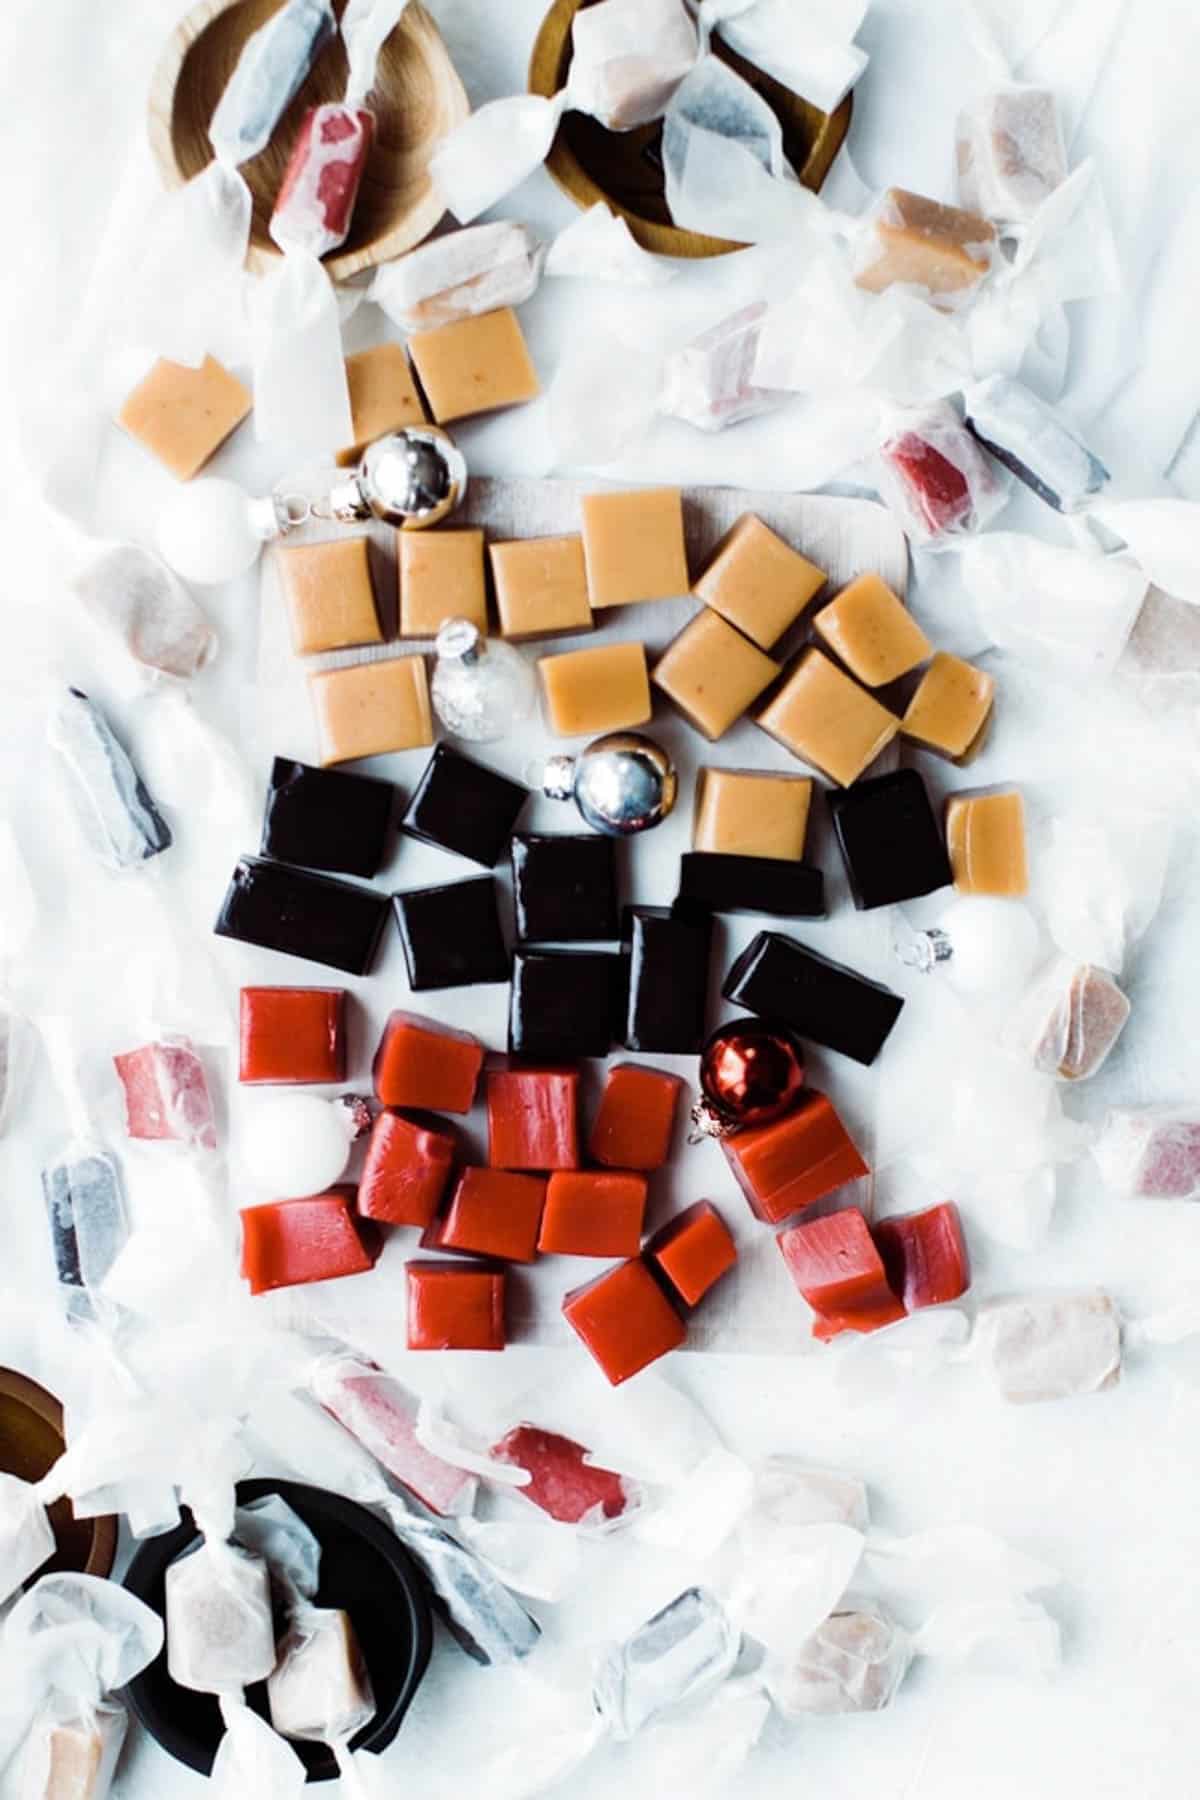
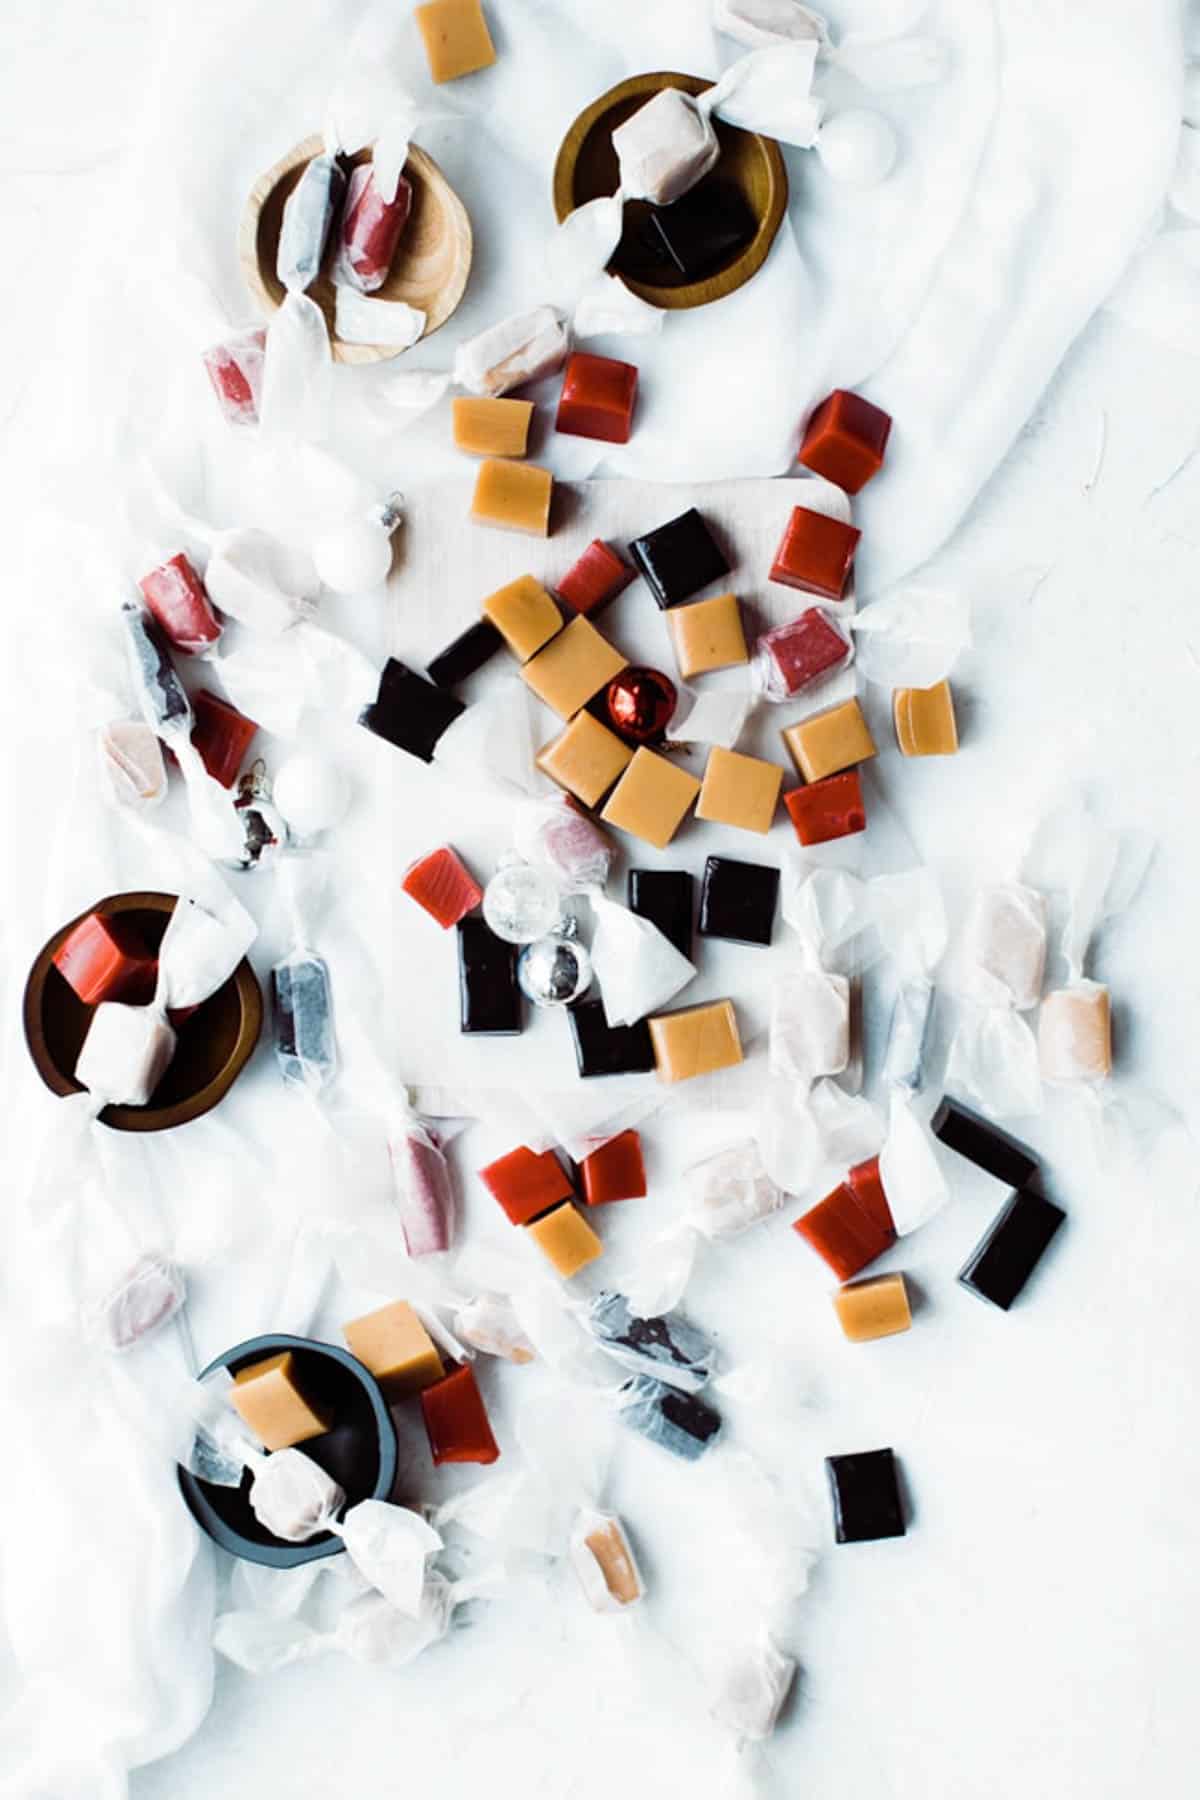
How to Make Cinnamon Caramels or Licorice Caramels
Every year I grew up with a friend who would bring us regular, red, and black caramels... cinnamon, and licorice caramels.
I loved EVERY ONE of them...even though I don't even love black licorice, the mix of the anise flavor with the creamy buttery caramel is like no other! You have to try these!
Here is what you need:
- Black licorice caramels: Black food coloring + anise extract.
- Cinnamon caramels: Red food coloring + cinnamon oil.
- Follow all the exact same steps to cook the caramel as noted above.
- When caramel reaches temperature remove the pot from the stove and add in your flavoring and color.
- Let them set for at least several hours or overnight before cutting and wrapping.
How to Wrap Sea Salt Caramels
Once your caramels have set and you've cut them, then they're ready for wrapping.
For caramels cut to the size of about 1" x 1" squares I like to use pre-cut 6"x 6" wax paper sheets. They are really affordable and cut down your wrapping time by hours! If you make your caramels long and skinny you can get away with cutting the papers in half and doing 6"x3".
- Place a caramel in the middle of one end of the sheet.
- Roll it towards the opposite end of the paper.
- Carefully and tightly twist one end 3 times.
- Repeat on the other end. I like to twist it in the opposite direction of the other side.
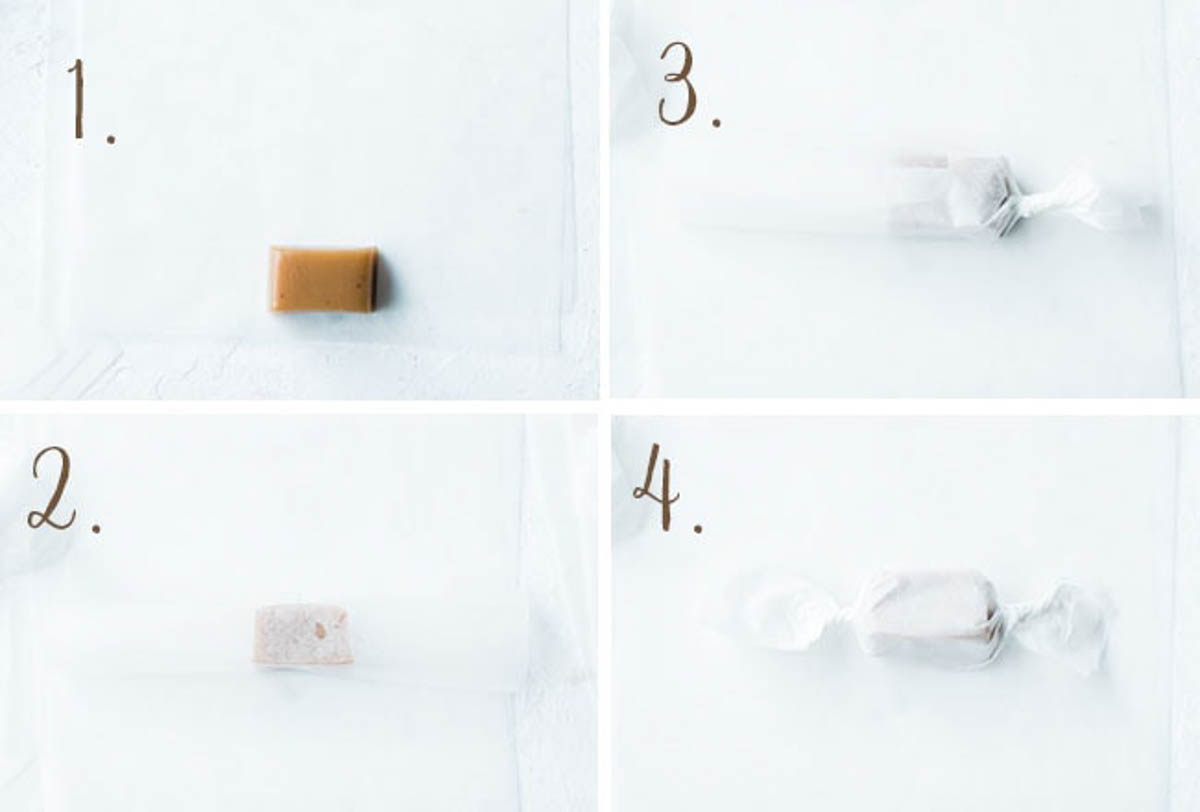
Your caramels are now completed!! and you are ready to devour and or share! These make a TON! Which is totally fine by me because I LOVE THEM!
Best Equipment for Making Caramels
The equipment when making sea salt caramels is almost as important as the ingredients since they can greatly impact the outcome.
When making homemade caramels you want to use a heavy-bottomed pan. A good quality heavy pan. Avoid cast iron and thin pans as they will not cook correctly.
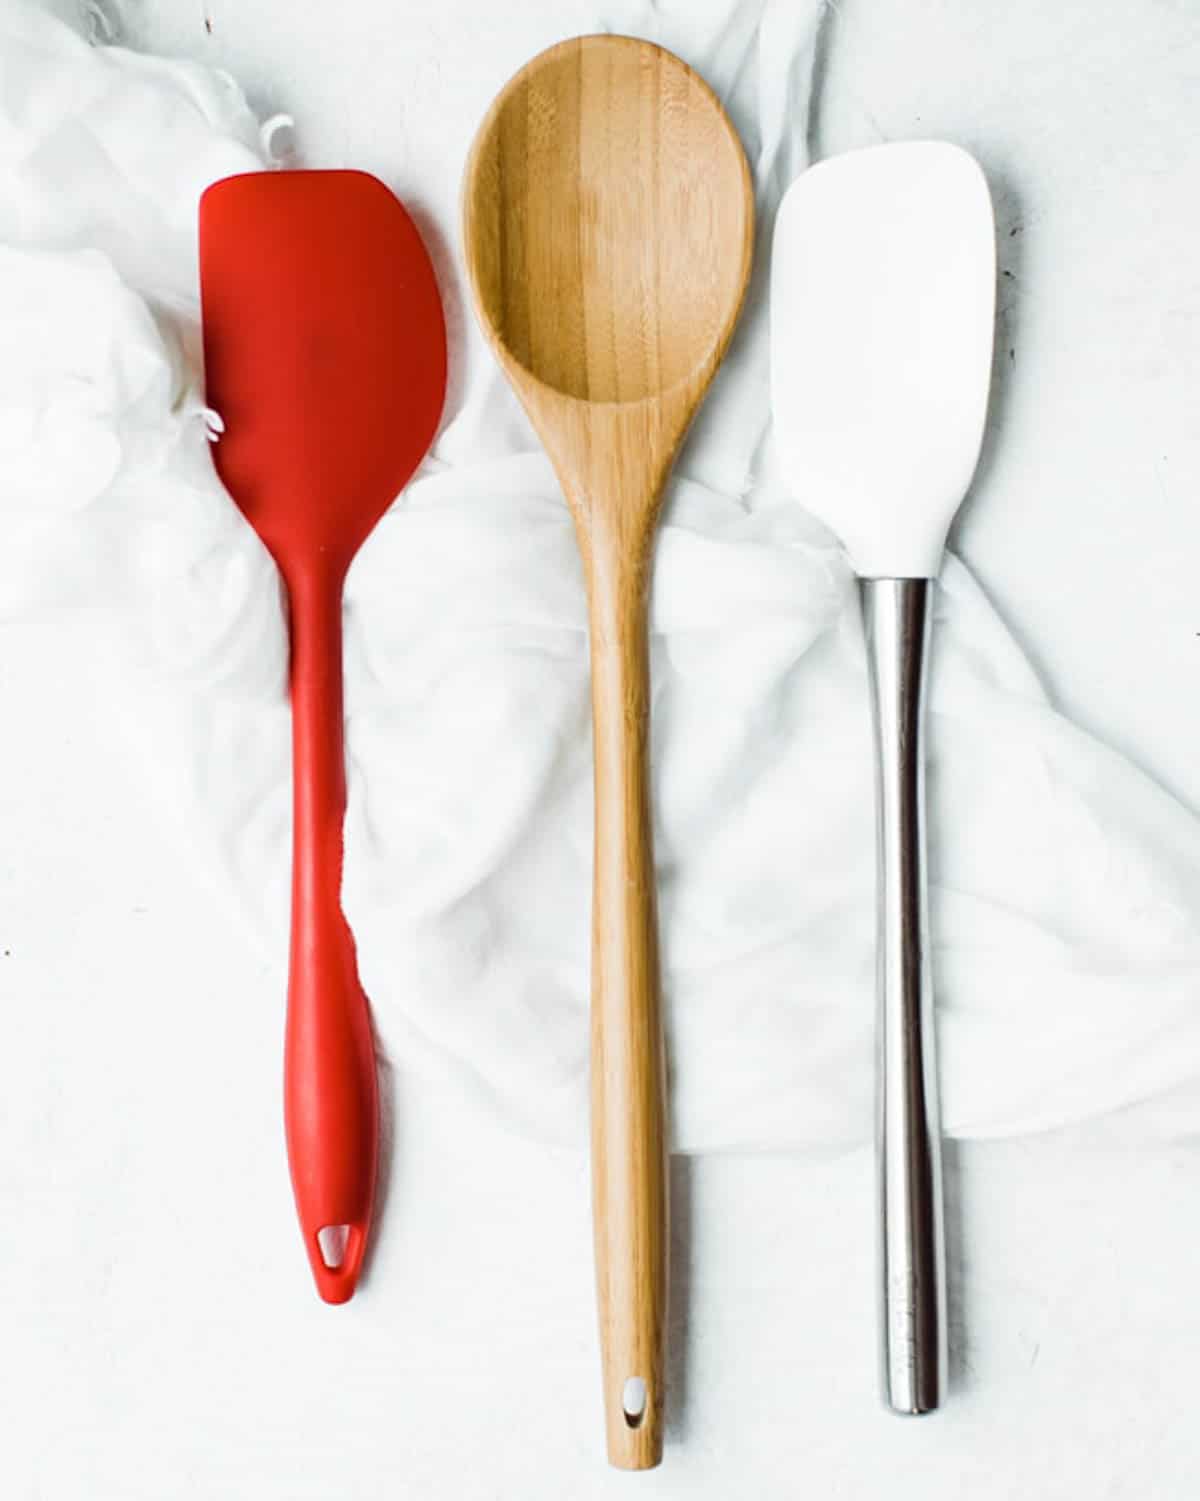
Your caramels are going to boil to a very high temperature (244 degrees F) You do not want to use a stirring utensil that will overheat and melt, or burn your hand. (I've totally done both before ha!) Make sure you stir caramels with either a wooden spoon or a spatula that can stand hit temps (silicone).
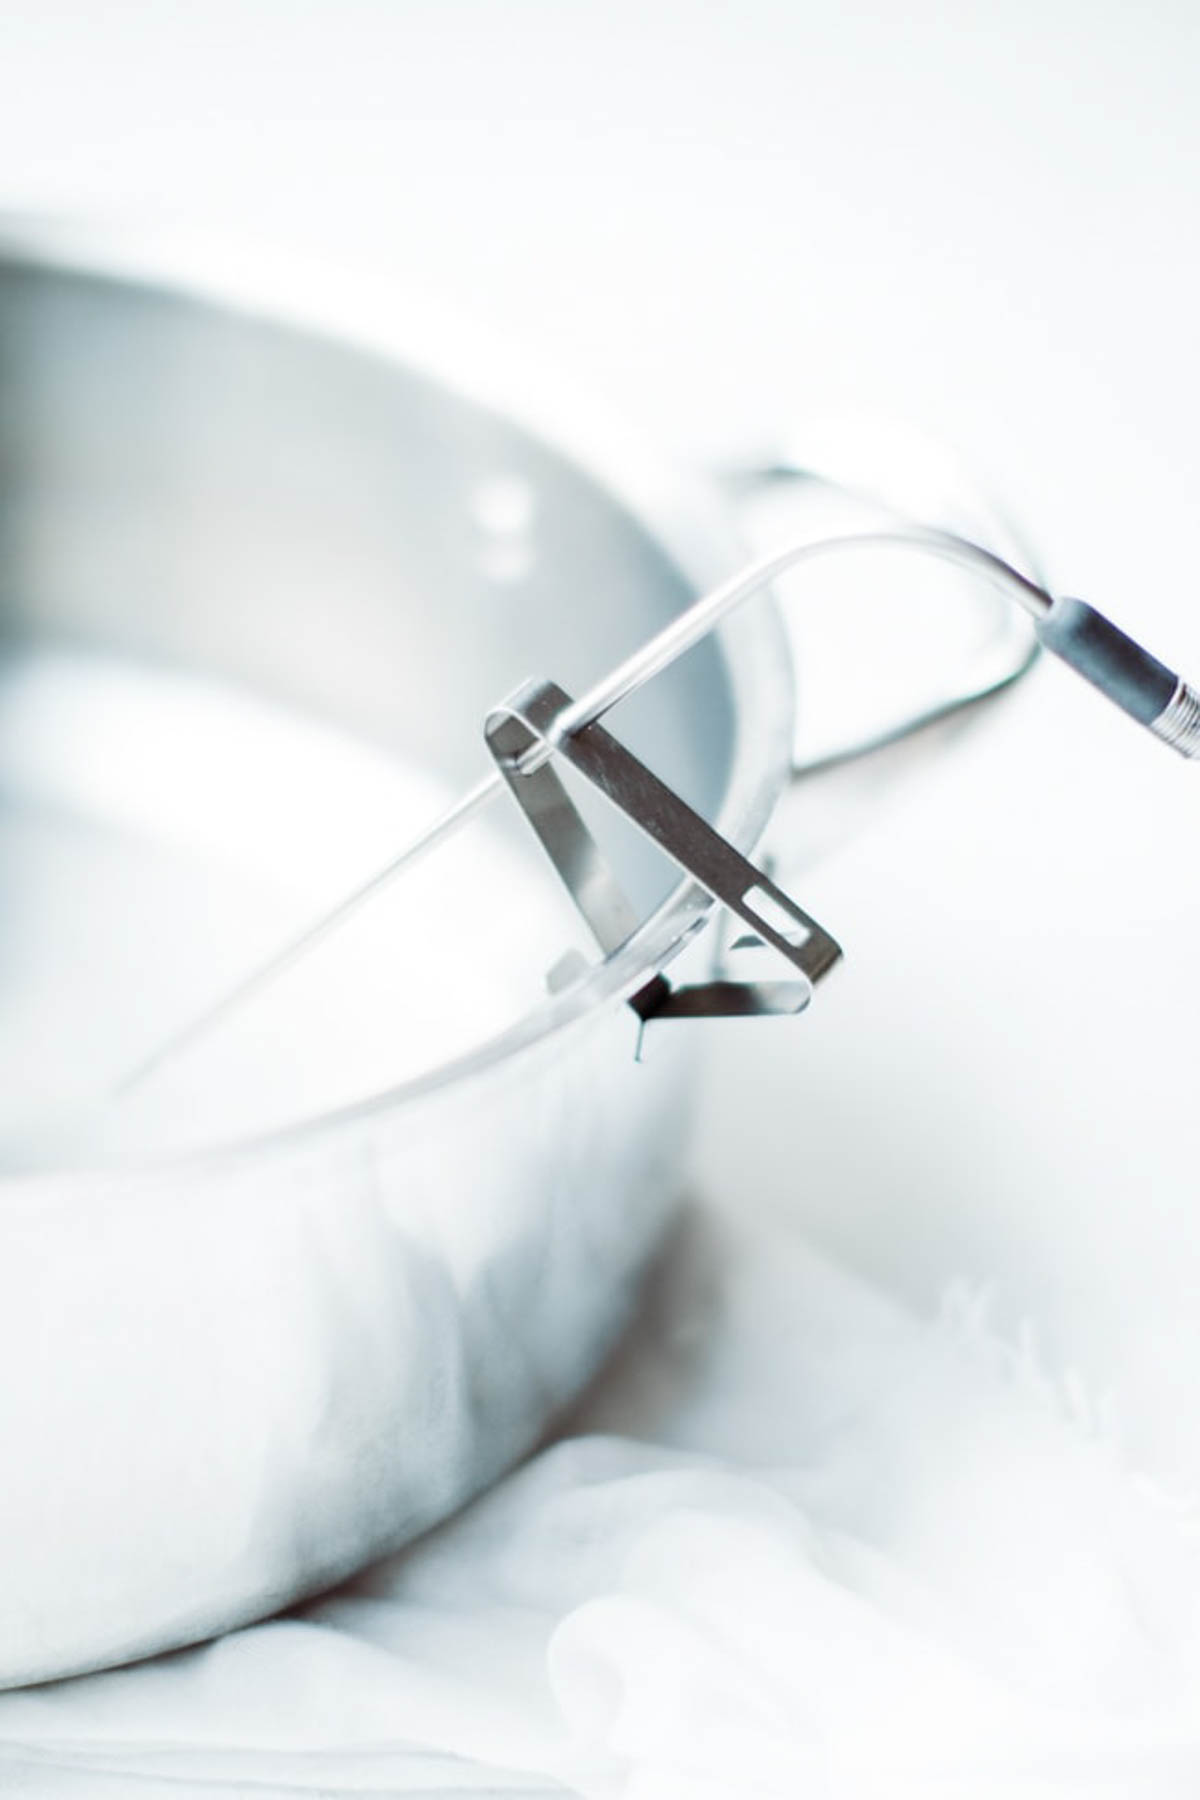
What's the Best Thermometer to Use?
It's almost impossible to guess when to take the caramels off the stove so it is IMPORTANT to use an accurate thermometer. The slightest degree can make a difference between soft chewy to hard candy caramels.
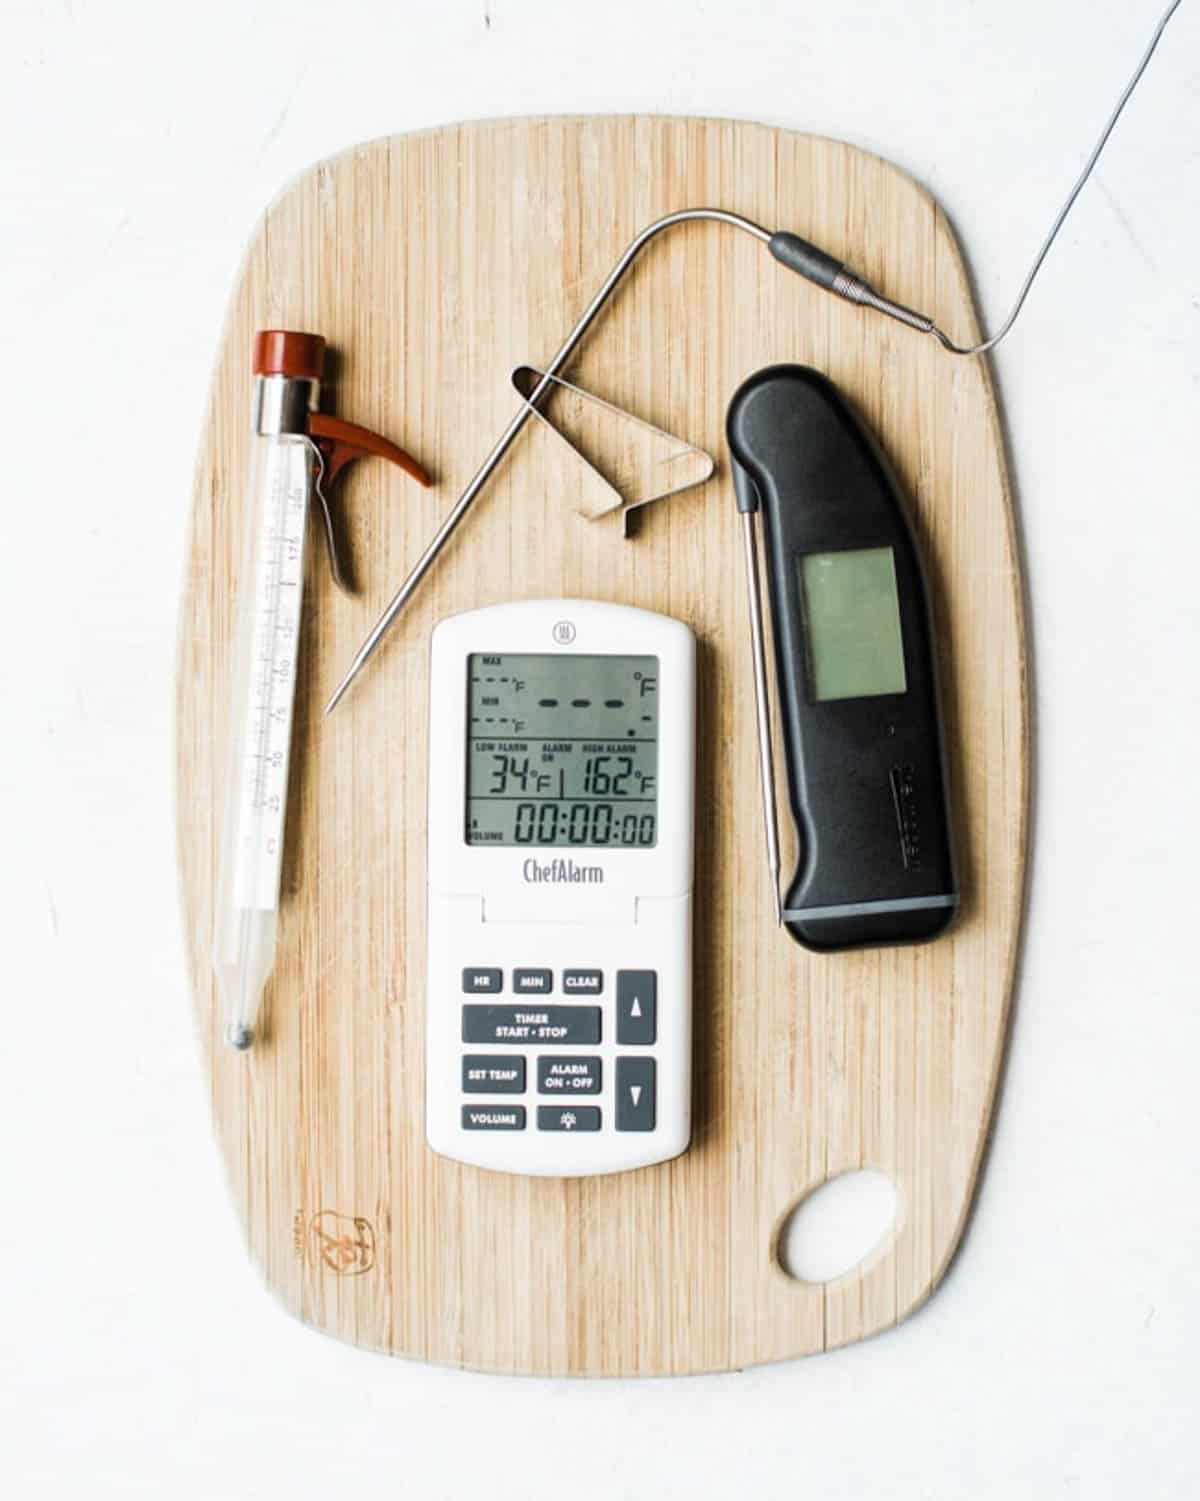
You can use any of these three thermometers, however, I don't really recommend a candy thermometer unless you are desperate.
- Candy thermometer: These are glass and pretty unstable. I've gone through so many of these that I could have bought two Thermoworks thermometers. On top of that they are not the most accurate, so if you are using a candy thermometer as pictured far left, double-check your caramels by using the cold water test. (Cold water test: in a small glass add ice and water, and drop a large drop of caramel into the cup. When the caramel is cold that will be its consistency when it is cooled to eat. If it is too soft you know to continue cooking)
- Thermoworks Chef Alarm: THIS IS THE BEST. Why? because it is the most accurate and the probe can attach to the side of the pan so you don't have to keep checking back and forth.
- Thermoworks Thermopen or Thermopop: Either of these is amazing and incredibly accurate. You do have to consistently check the temperature, and every time you remove the thermometer make sure to clean it off before re-inserting it, or you may cause the sugar to crystalize.
Expert Tips
Stir THE ENTIRE TIME your caramels are boiling.
Do not scrape the sides of the pans. Scrape only the bottom of the pan. If you bring the sugar crystals from the sides of the pan back into your candy it will 'sugar' and become crunchy and hardened in areas instead of smooth when it is all done.
If you remove your utensil out of the pan wash it off before re-inserting it back into the pan.
Put your candy thermometer into the candy after it has boiled for a bit and started to change colors don't drag it around because scraping the metal to metal together can also sugar your candy.
Once you put the thermometer in you have to keep it in until it is done, don't take it out and put it back in unless you clean it.
Double-check your caramel mixture by using the ice water method. Drop a bit of caramel in ice water, dump the water out and test the texture of your caramel. If it doesn't form a soft ball the caramel needs to cook longer. If it is firm remove it immediately from heat. If it is rock hard it is overcooked for the soft caramel method.
Keep the pan on medium heat and if you start seeing little brown specks in your candy take it off the heat immediately and turn it down. That is the candy scorching. Otherwise, cook until the candy has reached desired temperature or texture.
FAQ
Caramels wrapped in wrappers and stored in an airtight container or zip-lock bag can stay fresh for up to about 3 weeks. You just want to keep them protected from humidity and moisture. Store in the pantry or even in your refrigerator!
This means that the sugar was boiled too hot and possibly too fast. Remember altitude and humidity do play a part as well as the type of pan you use. Be sure to cook it on medium heat, constantly stirring, and remove exactly or a few degrees before it gets to temperature. If you allow it to sit in the pan it will continue to cook.
The sugar did not cook long enough to caramelize so it would harden. You can still enjoy your caramels or use them as a topping on another dessert.
This means your caramel is crystallized. This happens when the sugars are cooked unevenly. This may happen if you use a lower-quality pan with hot spots or if you introduced hotter or colder sugar into the caramel pan. This often happens from the sides of the pan or using an unwashed utensil you used for stirring earlier in the cooking process.
If you are stirring and start to see dark brown flecks in your caramel then you are burning the bottom of your caramel. Immediately remove from heat and stir vigorously until the caramels have cooled down for a few seconds. Return caramels to the stovetop with the heat turned down but still boiling.
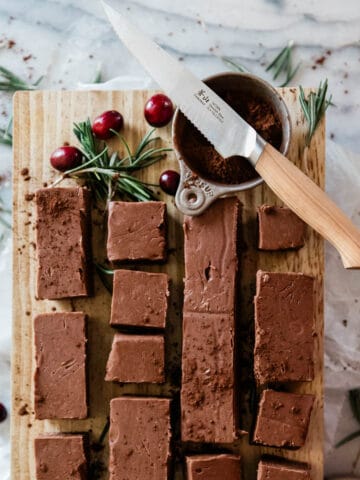
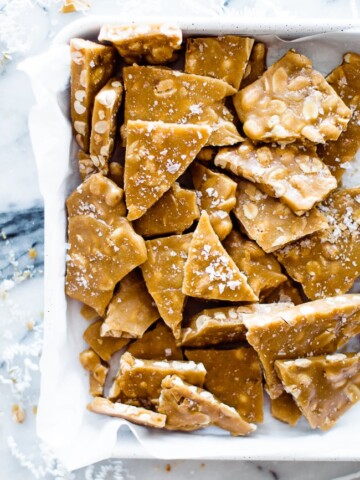
More Holiday Candy Recipes

Did you make this soft sea salt caramel recipe? Have Questions? Leave a comment!
If you tried this recipe or any other recipe on the blog then don’t forget to rate the recipe and leave us a comment below. You can also follow us on Facebook, Twitter, Instagram, and Pinterest to see what else we’re getting up to! And don’t forget to pin this recipe to save for later.
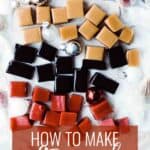
How to Make Sea Salt Caramels (regular, cinnamon and licorice flavors)
Equipment
- Candy Thermometer
- Parchment paper or wax paper 6x6 inches for 1 inch squares
Ingredients
- 14 ounce can sweetened condensed milk
- 2 cups sugar
- 1 cup butter
- ½ teaspoon salt
- 1 ½ cup white karo syrup
Cinnamon Caramels
- 1-2 teaspoon cinnamon oil
- ¾ teaspoon red food coloring make sure it has no taste
Black Licorice Caramels
- ¾ teaspoon black food coloring
- 4 teaspoon anise extract
Sea Salt Caramels
- Flaky sea salt
Instructions
- Combine all ingredients in heavy pan.
- Cook on medium heat and stir constantly. (CONSTANTLY) until it reaches 244 degrees.
- Take off stove and if desired add the oil and food coloring.
- Licorice Caramels: Stir in 1 teaspoon anise oil or licorice oil and black food coloring.
- Cinnamon Caramels: Stir in cinnamon oil and red food coloring (but make sure it has no taste).
- Pour into a 9x13 pan lined with parchment paper. Cool completely before cutting.
- Sea Salt Caramels: Sprinkle flaky sea salt over the top.


Em says
Hi trying your recipe right now.. I’ll let you know how it goes!
Amy says
I make these every year and are a tradition for my family!
I am wondering if you can double the recipe or will that mess with it?
Thanks!
Desarae says
It is better to make them in batches. It often can mess it up.
Chanae Krahn says
Thank you for the great recipe! This is become a tradition for my family and are my mom's favorite.
Tabatha says
Has anyone tried the licorice variation? My husband loves soft strawberry flavored licorice and I've tried a few different recipes to make it for him, but none have really worked.
Desarae says
Hey Tabatha, what flavoring do you use when you make them? do you use an anise oil? Maybe its in the quality of the oil? I've noticed different oils I've used over the years have different potency- sometimes my licorice caramels are strongly flavored other times the flavor is barely noticeable.
Morgan fry says
Are the measurements of time you have to heat the caramel in Celsius or fahrenheit
Desarae says
Hi! Thanks For stopping by!! The degrees are for Fahrenheit!
Jenn says
I don't know what I did wrong, by mine came out light colored. I kept waiting for them to turn caramel colored, but it had reached 240 degrees and I was afraid of overcooking. Have you ever had this happen? What might I have done wrong?
Marilyn says
Hi I was wondering if you could replace the sweetened condensed milk with heavy whipping cream? It's what I have on hand. Thanks in advance! Happy holiday season!
Desarae says
I know there are recipes that call for heavy whipping cream instead of sweetened condensed milk. I'm not sure if the proportions are correct though? if you try it let me know how it turns out!
RicaD says
Can I use honey instead of Karo Syrup?
Desarae says
I haven't tried it but from what I understand you can't. If you do try it let me know how it turns out.
MARY WOOLLARD says
WOW, these caramels look absolutely delicious! So simple to make, I cant wait to enjoy these! Thanks for the recipe!
Sarina says
I made these recently and they turned out grainy. We stirred constantly and didn't scrap the sides, only scraped the bottom. They tasted great just the texture was off. Any suggestions for next time I would greatly appreciate thanks.
Sarina
Carie says
How long does it usually have to cool for? Can I put it in the fridge?
Desarae says
They take hours to cool. I like to just let mine sit over night. Obviously, if you make them in a smaller pan they will be thicker and will take longer to cool, or a bigger pan will be thinner and cool faster :) and yes! You can cool them in the fridge.
Annie says
Hey just wondering if it is 240 degrees Fahrenheit or
Celsius (am in Australia so sorry for the confusion :)?
Desarae says
Oh yes!! Good question :) it's Fahrenheit.
kate says
I loved everything about these caramels and I have tried many recipes without success. The reason I tried this recipe is because "soft" caramels are a must with my family. One concern I had is that my caramels were a bit sticky. They are fine after being refrigerated but I am hesitant to mail them as gifts for fear that will be too gooey. Any suggestions as to how to make them just a bit firmer?
Desarae says
To make them "harder" you will just want to boil them to a higher temperature. On your thermometer it often labels where "soft ball" "hard ball" etc temps are. I believe this recipe's temp is a little higher than soft ball so just boil till its reached the desired hardness. You can always double check by using the cold water method described in post too.
fran dujardin says
Ty for this great caramel recipe I love it
Jennifer says
Hi! I was thinking of making these for wedding favors. How long do they stay nice and soft?
Desarae says
I have kept mine for weeks and they will stay nice and soft. (they were wrapped as shown in the post) The caramels should stay soft as long as you don't cook the sugars too hot, or crystalize the sugars etc (read tips section on blog post). If I know that I'm going to be storing them, I like to keep them in the fridge though, so if you are make them a week in advance or something just stick them in the fridge when you have them all wrapped.
María Angélica Zurita says
Hey! I really like to try your recipe...but i need to ask you whats means the "C" in the "2 C Sugar" in the ingredients list.
Thank you!!
Desarae says
2 cups sugar, I wrote it out in the instructions now- so hopefully there will be no confusion.
Bernadette Buckley says
I love your website. I loved your soft caramel recipe. Thank you for sharing and God bless you.
BB