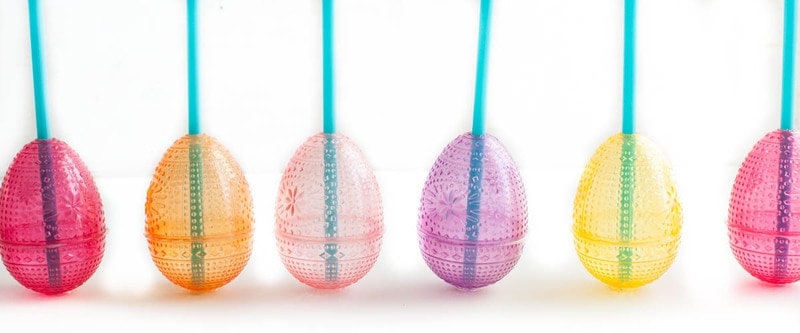
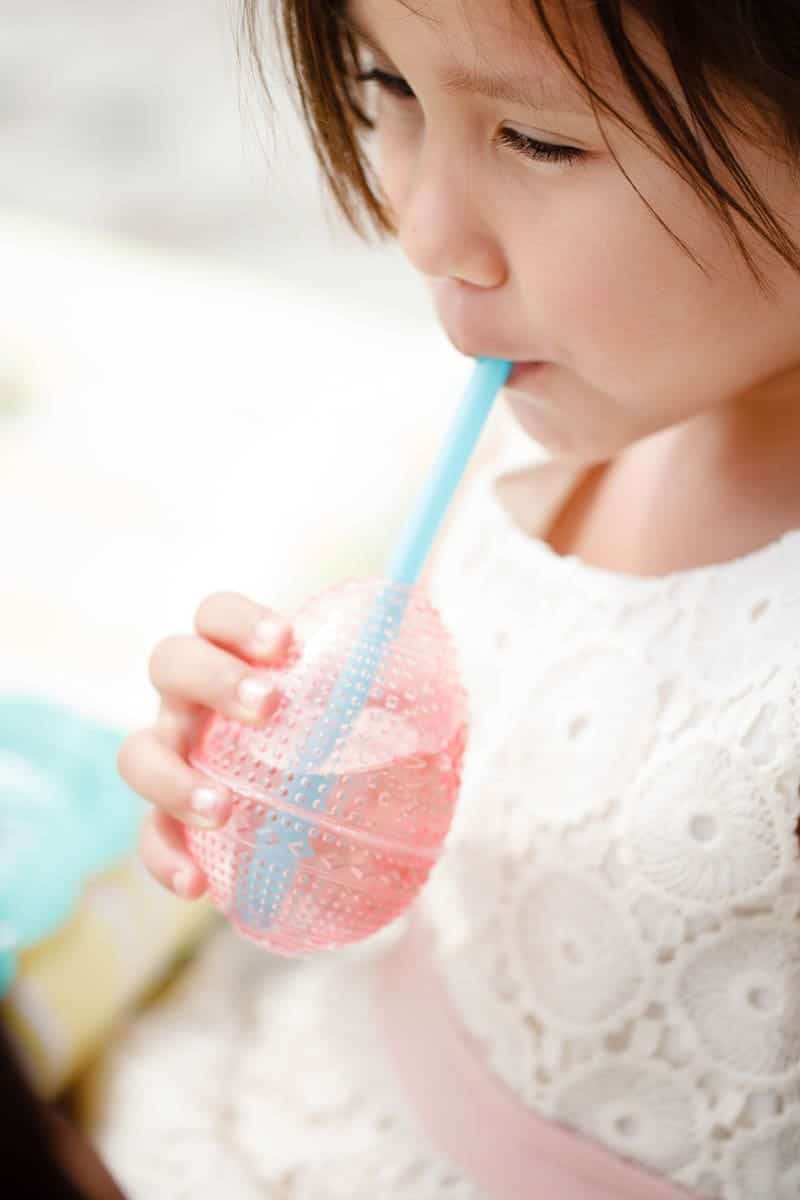
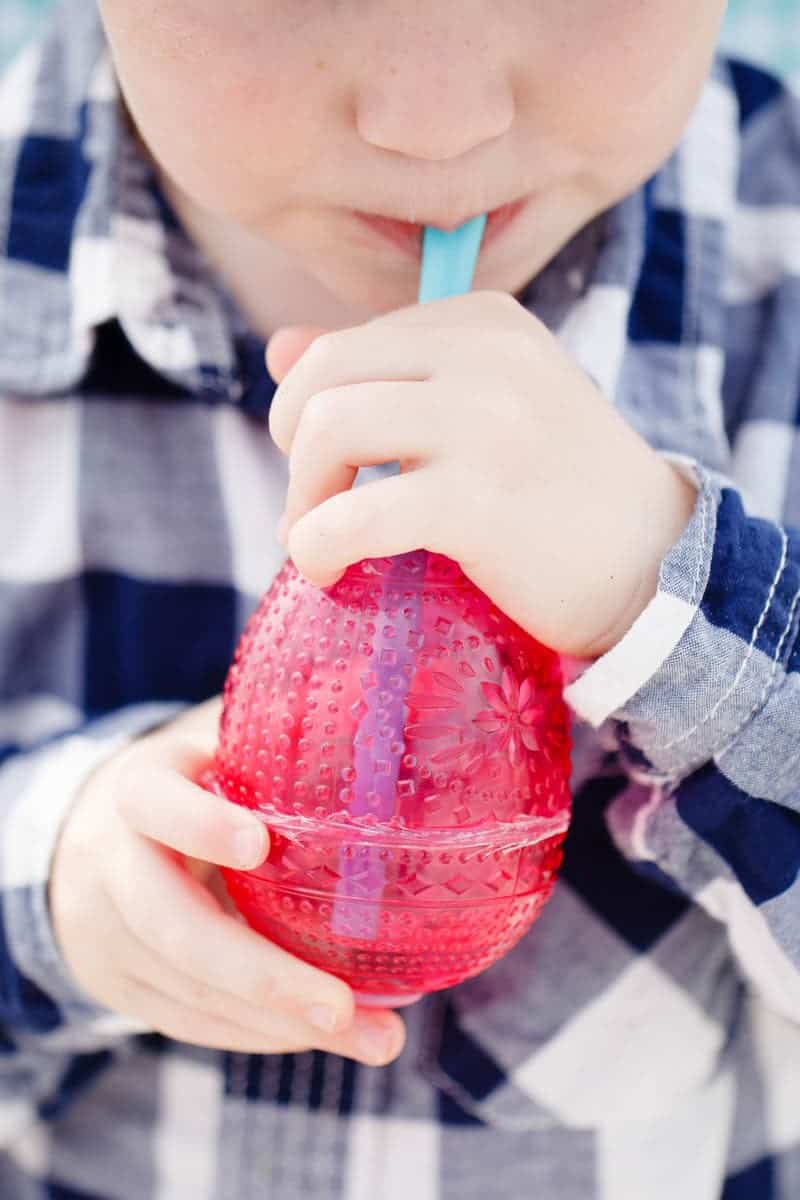
These cups.... oh these cups. Let me tell you, I had this grandiose idea to make these egg cups. But I was sure, POSITIVELY sure there was no way they would work in the end. I couldn't find the right plastic cups (I thought this kind would for sure crack when drilling) There were holes...everywhere...how are they not going to leak. c'mon. But, step by step they worked. Despite not finding the "right" eggs, these were awesome no cracklage when drilled. The hot glue really did hold the water in, without leaking (although it took a couple of attempts to figure out the best seal) and, at the end of the day the kids LOVED their special cups. melt mah heart.

These egg cups are so fun for easter. They really are so simple to make, only a couple of steps and a couple of tools. However there are a couple of tricks to make them...err.. leakproof. So before I continue I want to urge you to take your time (but also work quickly, because hot glue cools too fast) and kind of meticulous.
Supplies:
Electric Drill with a ⅜ Spade Drill Bit
Jumbo Easter Eggs (tried both these and the classic plastics and they both worked!)
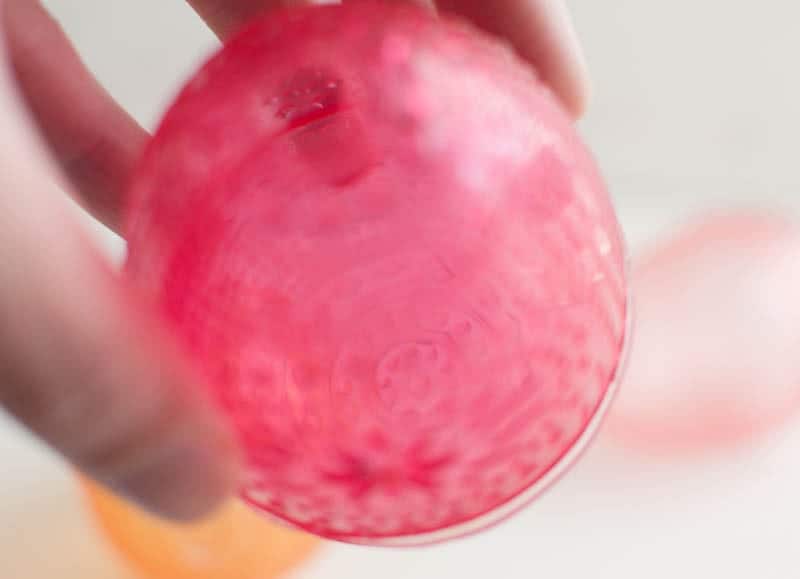
Hot Glue Gun with Glue sticks (generally all glue sticks are non-toxic)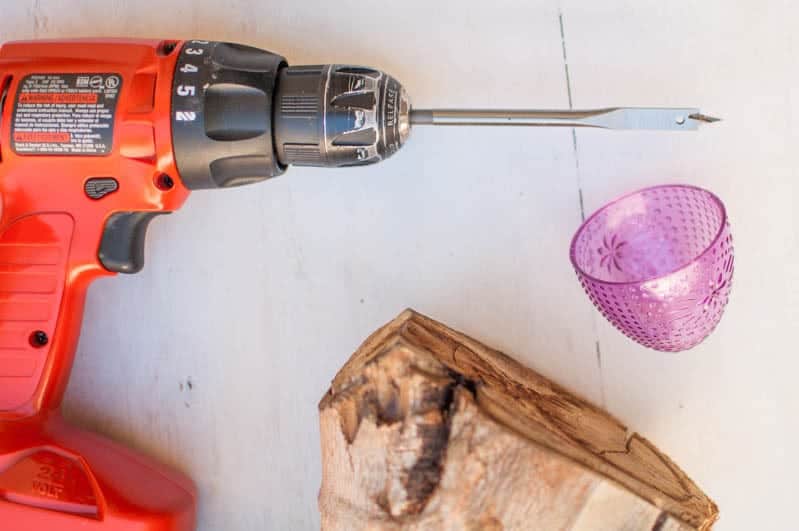 on a piece of wood or something that can be drilled into place top half of egg and drill directly in the middle.
 Press Down and Drill... and don't blow out the shavings unless you want shavings in your eye. Take it from an expert.
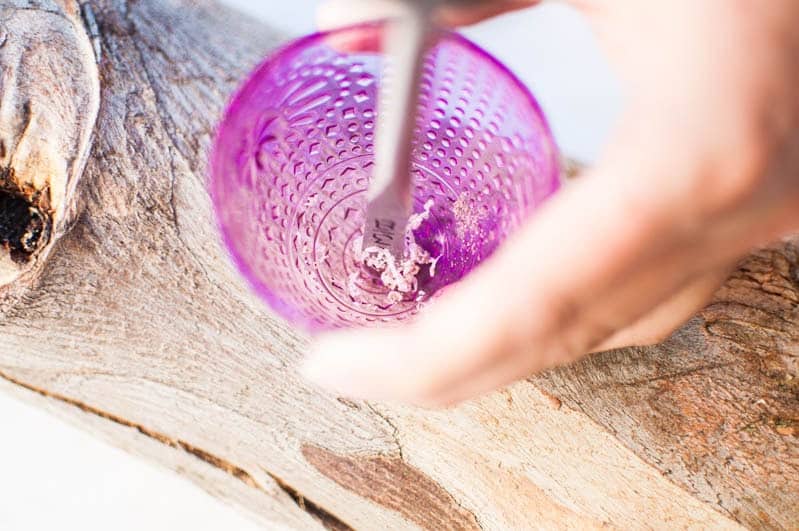 wha-la! step one done. Now start heating up your glue gun!
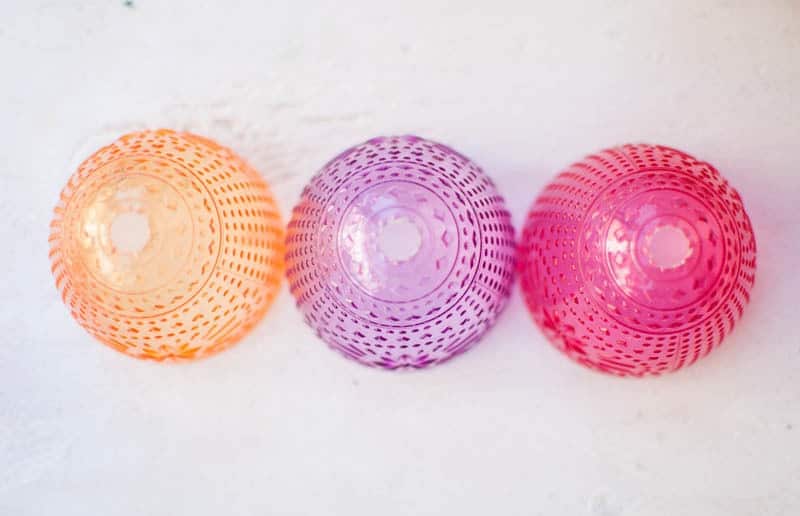 With a hot glue gun, start by sealing any holes in the bottom. I like to seal the holes on both the inside and the outside of the hole.
*do not make a big ol' dot on the outside bottom!! if it is too big than the egg will not sit flat. *
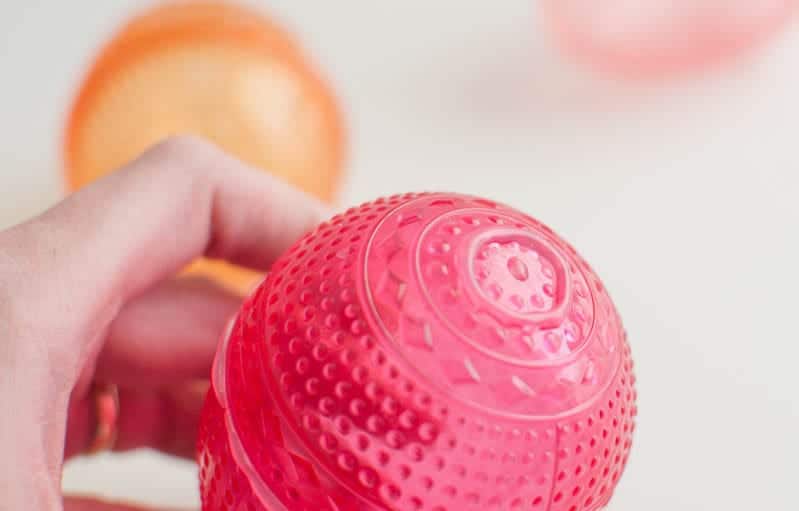
Next, make a ring around the bottom so the egg will have a non-slip place to rest. I like to do two layers. Easy peasy right?
If you want, at this point you can fill the bottom with water and make sure it is not leaking.
 The last step is the meticulous one. The Tricky One. The one where you have to work fast, but carefully. You are going to quickly (but not too quickly that you leave spaces) glue around the rim of the bottom half of the egg. You don't want too little glut or you won't get a seal, if its too blobby it will look ugly. I tried to make the eggs without having so much glue that there was the rubber ring on the outside, but when I did that it didn't seal the egg. SO when you glue around the rim of your egg, make sure you glue every part of it, no spaces AT ALL, and then quickly close (push hard) the egg halves together. Glue will seep out and create this rubber seal and ring around the egg. Do not pull the rubber/glue off.
 If you don't make it too gloppy and goopy you should have a nice even ring around the side. You can buy some spare eggs and practice. (I did, and it was worth it)
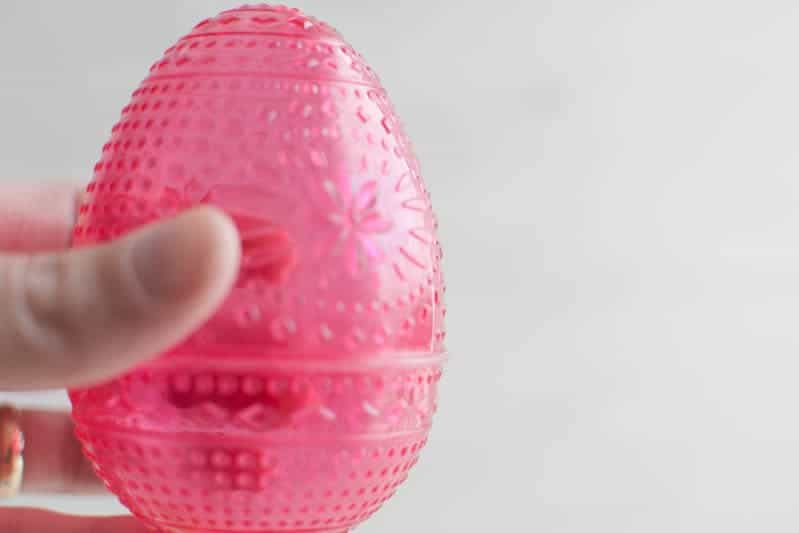
 After I have them made I filled them all with water and let them sit on a paper towel to make sure none leak. And leave them there for a bit. You might want to just start with 1 egg. Glue that egg together and fill with water. If it doesn't leak you know you are doing it right!
One of my eggs was cracked just on the side, so I emptied the water out, and did a patch job with the glue gun, it actually worked : )
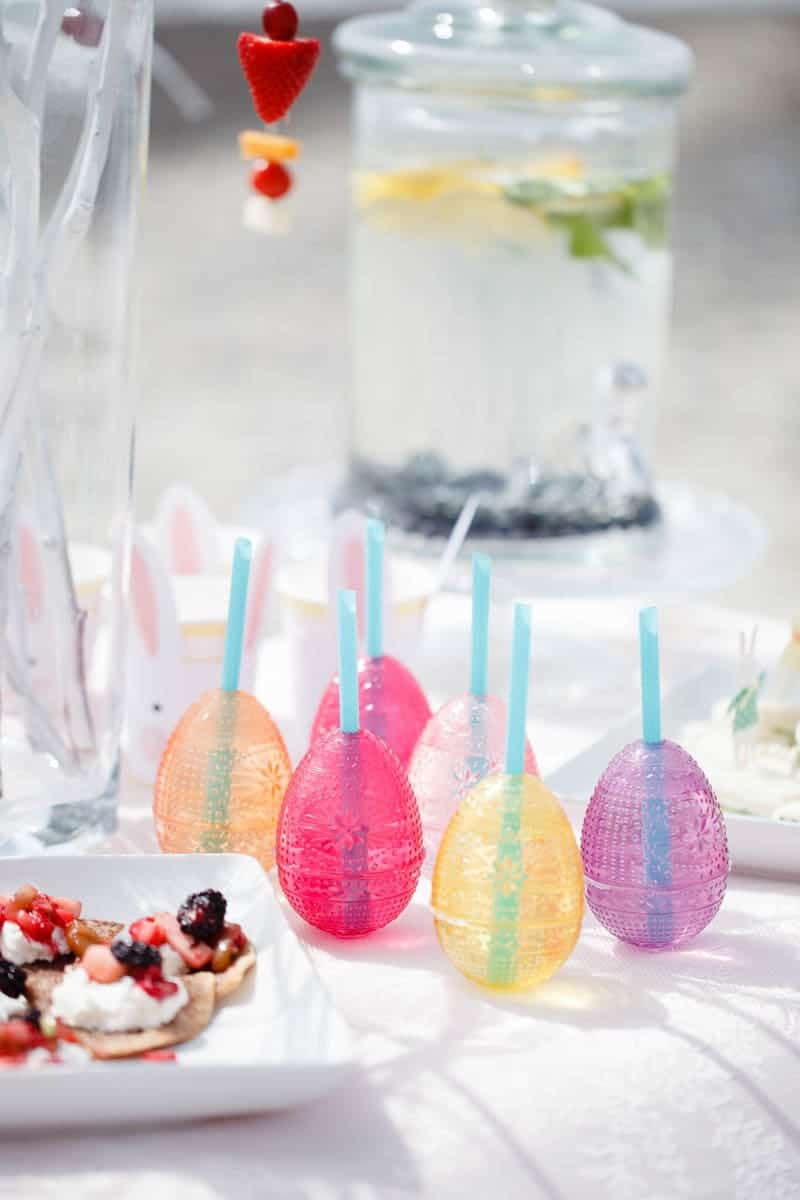
wash and dry and now they are ready to use!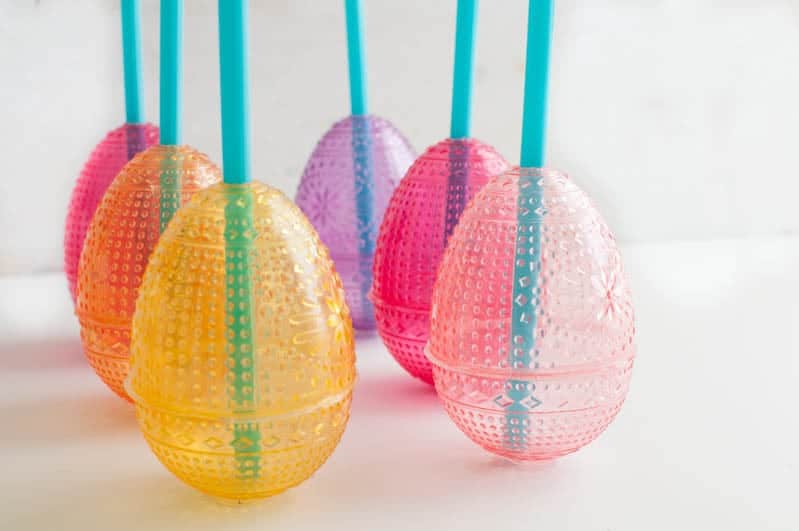 More tips: its best to put them on a really stable surface. If it is on a folding table or something that when bumped really rocks the eggs will tip, and sometimes have kind of a domino effect. Ironically if there is no straw in the egg the liquid will hardly come out, but when a straw is inserted and the egg cup tips over it spills freely. If you will have it on a easily tipping surface maybe plate them on a tray of some sort to catch them.
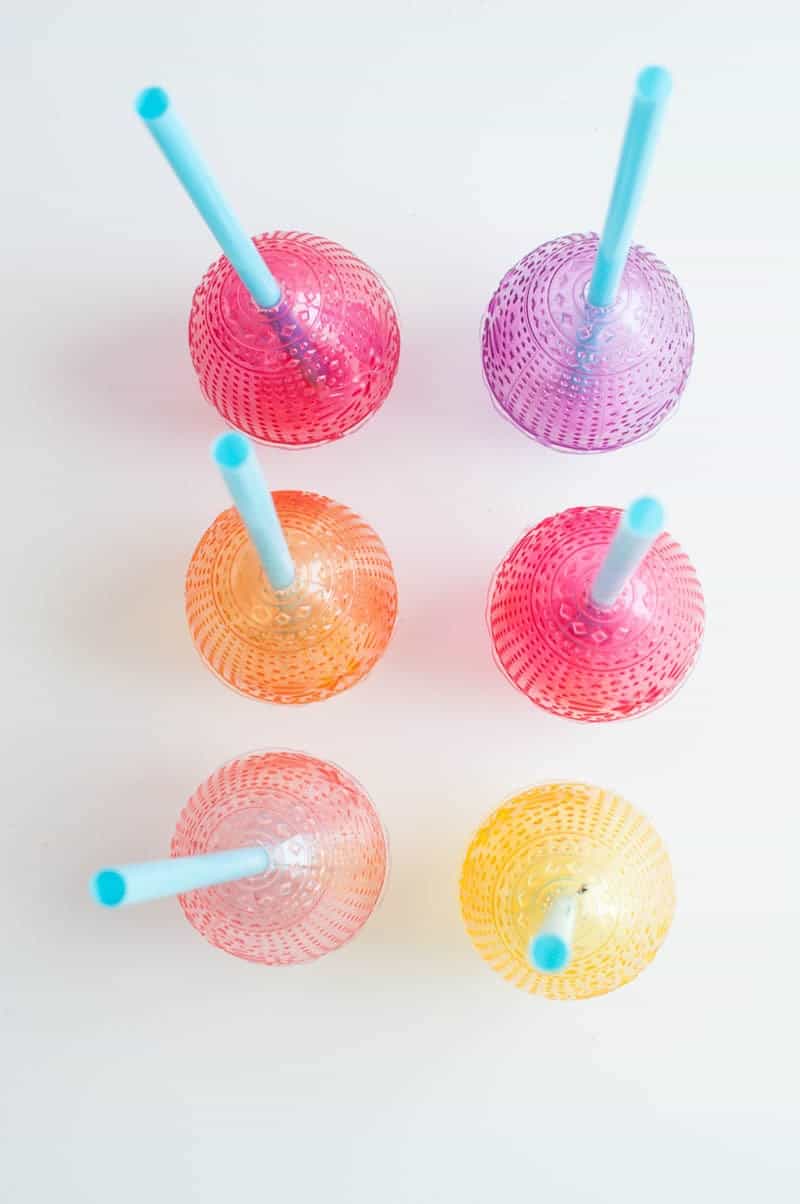
This post was done in collaboration with Small Fry, click to see their party ideas. All food, and egg cup tutorial by Oh So Delicioso.
Photography by Ashlee Raubach and Desarae Fowler


Megan says
I love this! Where did you find the eggs? They are so fun!
Desarae says
The Eggs are from Target!!