Everyone needs a cool refreshing treat every now and then, and we all love to reach into the freezer for a pint of ice cream. Everyone also know that homemade ice cream is the BEST! This ice cream maker makes ice cream in literally seconds. So you can have both the cool refreshing treat and homemade ice cream at the same time.
There are two types of people. KitchenAid lovers and people who use mixer-that-shall-not-be-named. I am a a KitchenAid lover (admirer, fan, devout user) through and through. It goes back generations, and when the girls in my family get married we recieve a KitchenAid stand mixer as a wedding gift from my Grandma and Aunts. It's not just a KitchenAid they pass on though, they transfer a passion for cooking and baking. The many hours I've spent with my Grandma and Mom over her KitchenAid making these award-winning rolls. Or great grandma's chocolate zucchini cake? I cherish those memories and grew to love every bit of those moments.
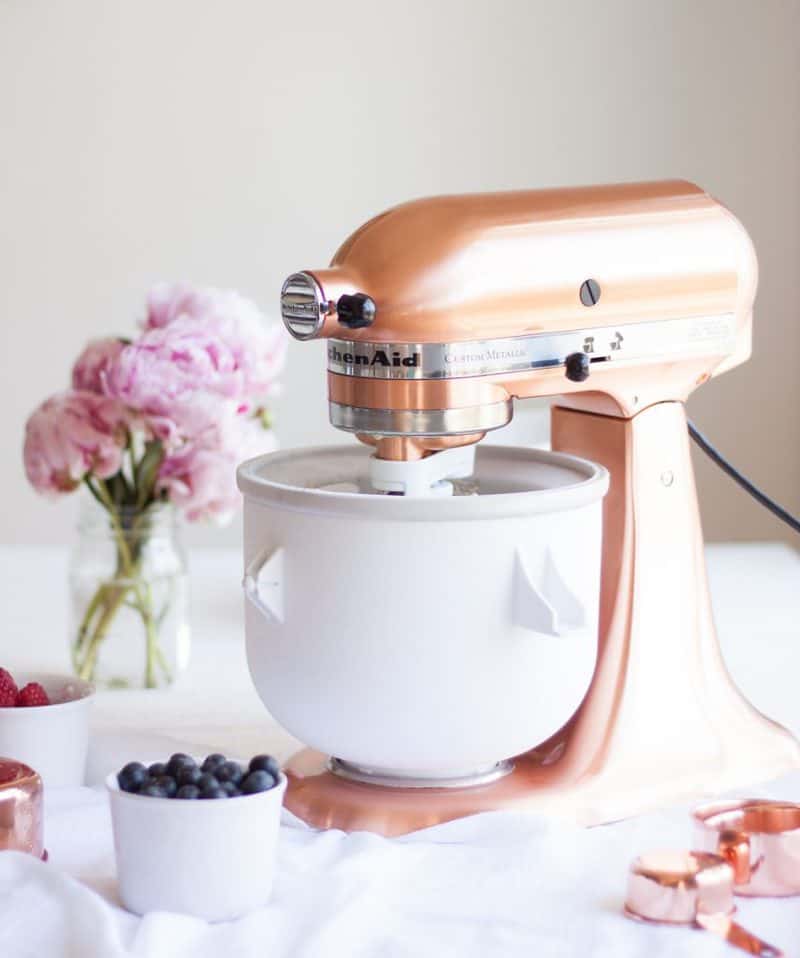
So when the opportunity arose to work with KitchenAid there was no way we could say no to a product we love and believe in. I'm gonna show you all about their ice cream maker with this BEAUTIFUL Copper Kitchen Aid Mixer. You guys, its so easy and creates to most delicious ice cream its ridiculous! and I cannot wait to make so many more ice cream varieties with this baby. If you already have a KitchenAid, the ice cream maker is totally affordable! It's a purchase you won't regret.
So, Why the chia seeds and ice cream?
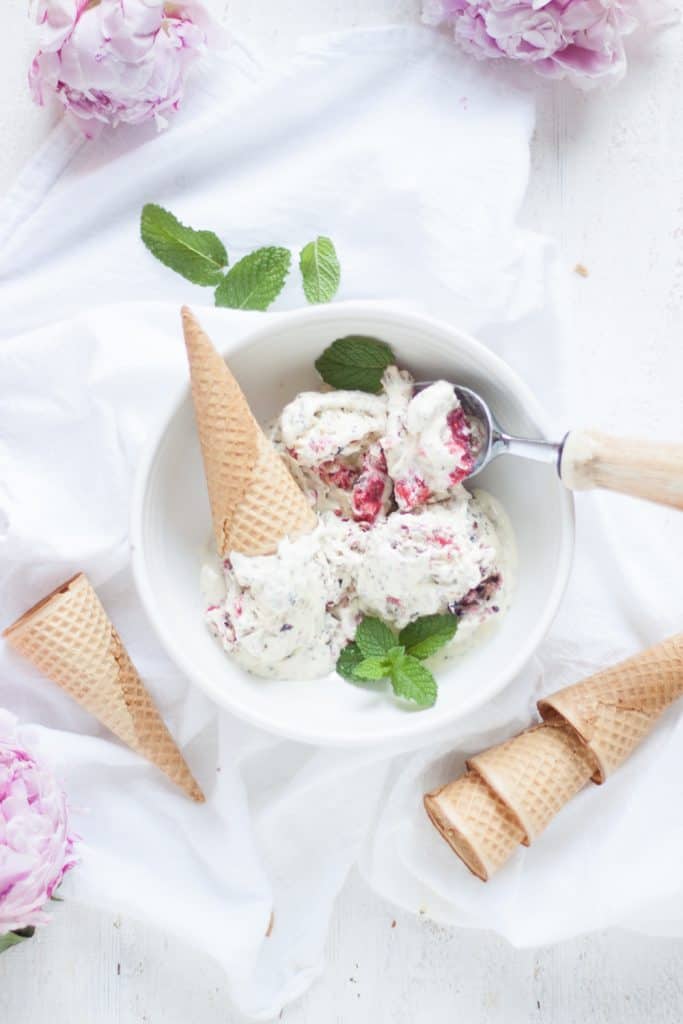
Well. I make a lot of my recipe creations based around my kids and healthy foods. While this ice cream does have some sugar it has many more health benefits for my children. My kids are skinny little things who need lots of healthy calories, fats and vitamins. Serving them this ice cream loaded with eggs, milk, fresh berries and even CHIA SEEDS is something I definitely approve for their little, constantly-growing bodies. I used a pro-biotic chia seeds... So not only are they getting that, but the massive amount of nutrition packed inside those seeds. (Fiber, Protein, Omega-3's, and at least 9 other nutrients). My kids didn't even think twice about the chia seeds, they didn't even notice them. They thought they were a treat honestly, because it kind of looks like mint chocolate chip ice cream, one of their favorite flavors.
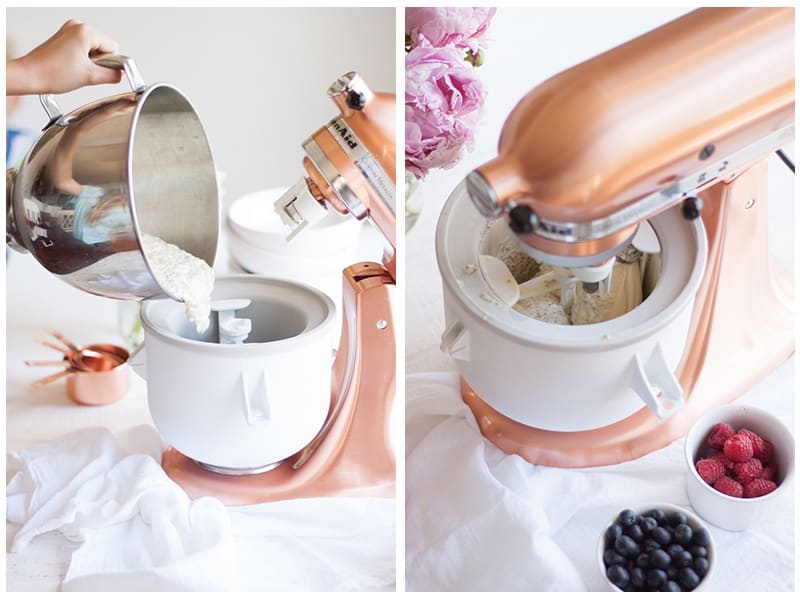
To make the Chia Seed Ice Cream I started by making a custard-type ice cream. I went with this recipe because you need you cook a custard (it calls for raw egg) and you can allow it to cool over night and let the chia seeds soak. The next morning, pull out your ice cream maker from the freezer and custard from the fridge. 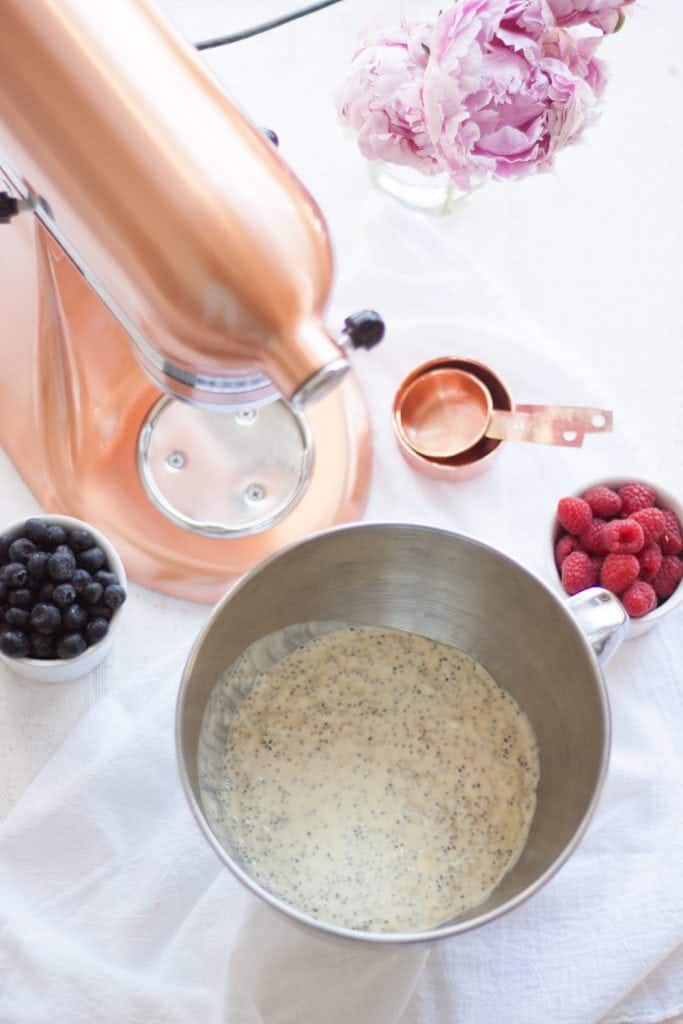
Guys, this is all you do. Dump and watch it mix. So easy. It takes about mmmm, maybe 10 minutes? for it to turn to soft serve ice cream.
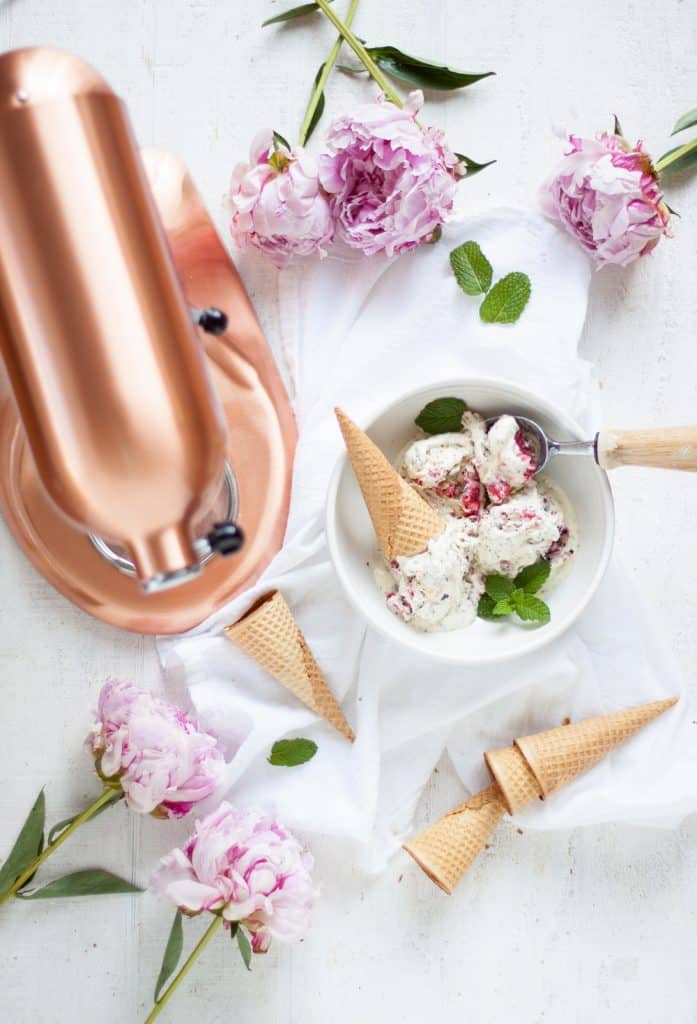
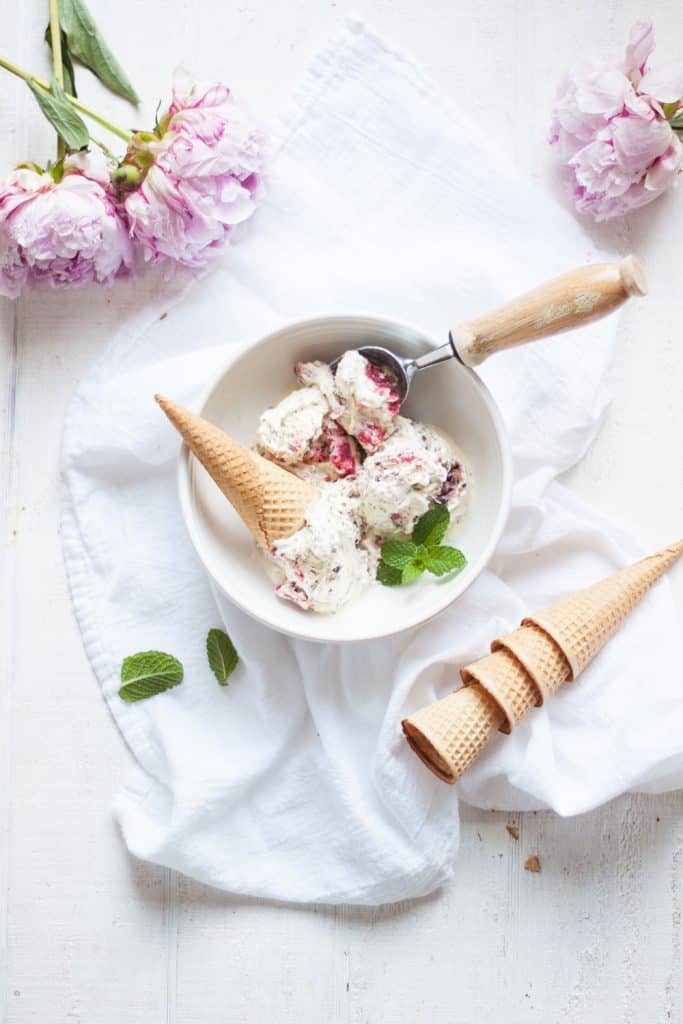
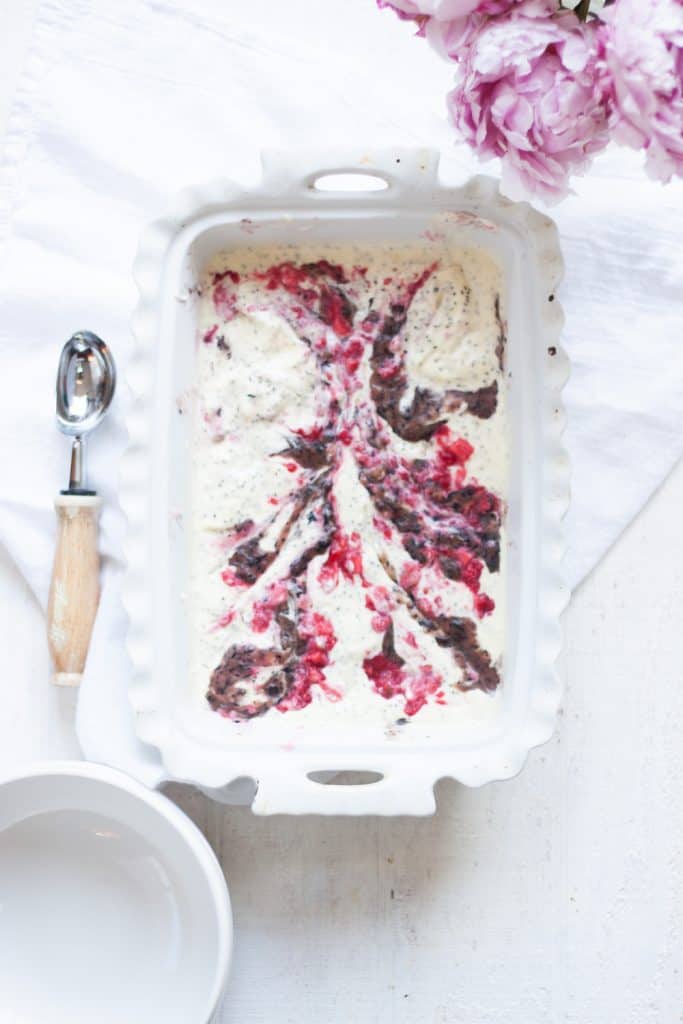
You can add the berries at this point, or any addition to your vanilla ice cream. Or you can Mix in later, and freeze for a harder ice cream. We couldn't help ourselves, and we ate so much right away, but I also swirled in some fresh berries, put the ice cream back into the freezer so we could make ice cream cones!
[show_lookbook_widget id="288191"]

Vanilla Berry Chia Ice Cream
Ingredients
- 1 cup half and half
- ¾ cup granulated sugar
- 4 teaspoon vanilla extract
- 2 cups heavy cream separated
- Pinch of salt
- 6 egg yolks
- ¼ cup chia seeds
- 2 cups of your favorite berries or favorite add-in.
Instructions
- Over medium heat, heat in sauce pan half and half until hot. Do not let boil.
- Remove from heat.
- Place egg yolks and sugar in the KitchenAid bowl. Attach bowl and wire whip to mixer. Turn to Speed 2 and mix about 30 seconds, or until well blended and slightly thickened.
- Continuing on Speed 2, very gradually add half-and-half; mix until blended. Return half-and-half mixture to medium saucepan; cook over medium heat until small bubbles form around edge and mixture is steamy, stirring constantly. Do not boil.
- Transfer half-and-half mixture into large bowl; stir in whipping cream, vanilla, chia seeds and salt. Cover and chill thoroughly, at least 8 hours.
- After KitchenAid Ice Cream Maker has frozen for at least 15 hours pull out of freezer and set up attachment. On a slow speed (speed 1) pour mixture into freeze bowl. Leave at this speed for about 15 to 20 minutes or until desired consistency is reached.
- Take fruit in a separate bowl and gently smash with a fork. Let sit until ready to add to ice cream.
- Once desired consistency is about reached stir in an additional ingredients like berries or treats.
- Immediately transfer ice cream into serving dishes, or freeze in an airtight container.
Nutrition
Emily Kemp says
This ice cream is right up my street, sounds so delicious!
Renee says
What color is that kitchen aid mixer. I love it
Desarae says
Its copper! They have a few different coppers so I have it linked in the post