I feel like to tell my kitchen table story properly I need to start at the beginning. Way back when we had one child (and one more on the way) we were also starting the grand adventure of law school. For our big move across country we wanted to save as much money as possible on a truck and sell all our furniture then buy new or used when we got to our destination. We arrived, bought craigslist leather couches and a brand spankin new table. My pride and joy for like 2 weeks.
It was kind of a splurge, and what I learned later...cheap quality! Made of soft (easly dentable/breakable) wood with a veneer top. It'd get scratched and would scratch right through the thin veneer. It looked horrible. I would use markers and those touch-up stain pens, nothing really worked. We used that table for years, because well we spent hard earned money on it, and despite the looks- it still worked.
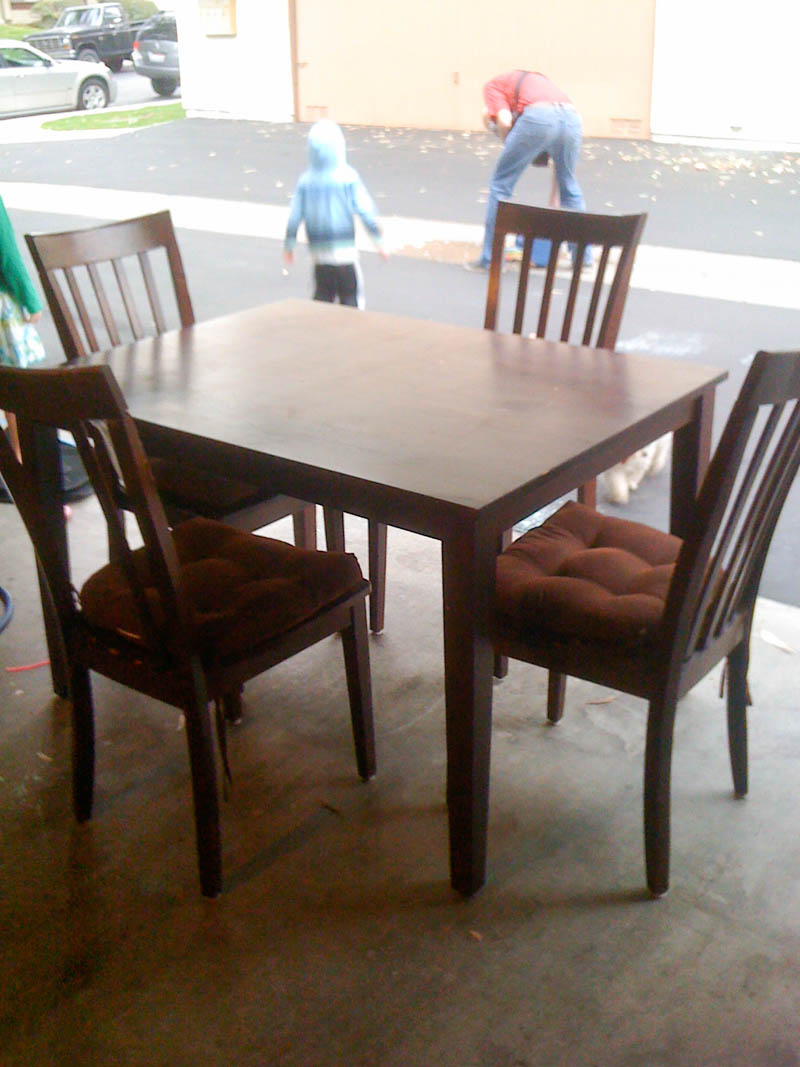
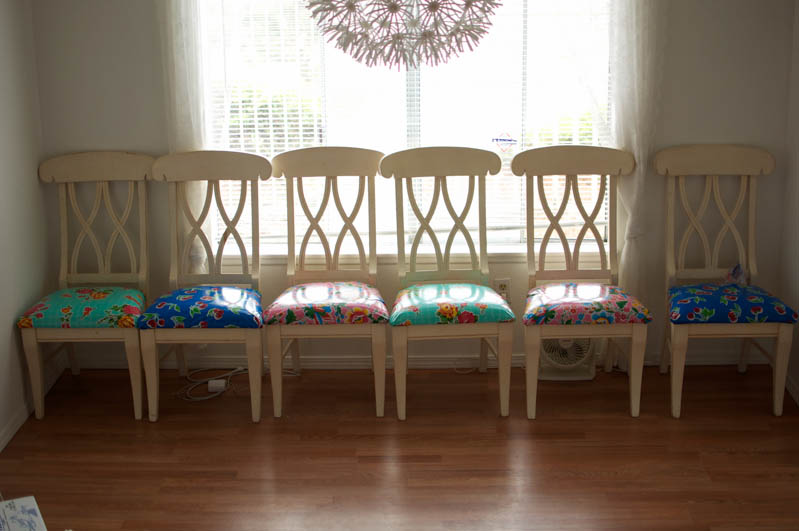
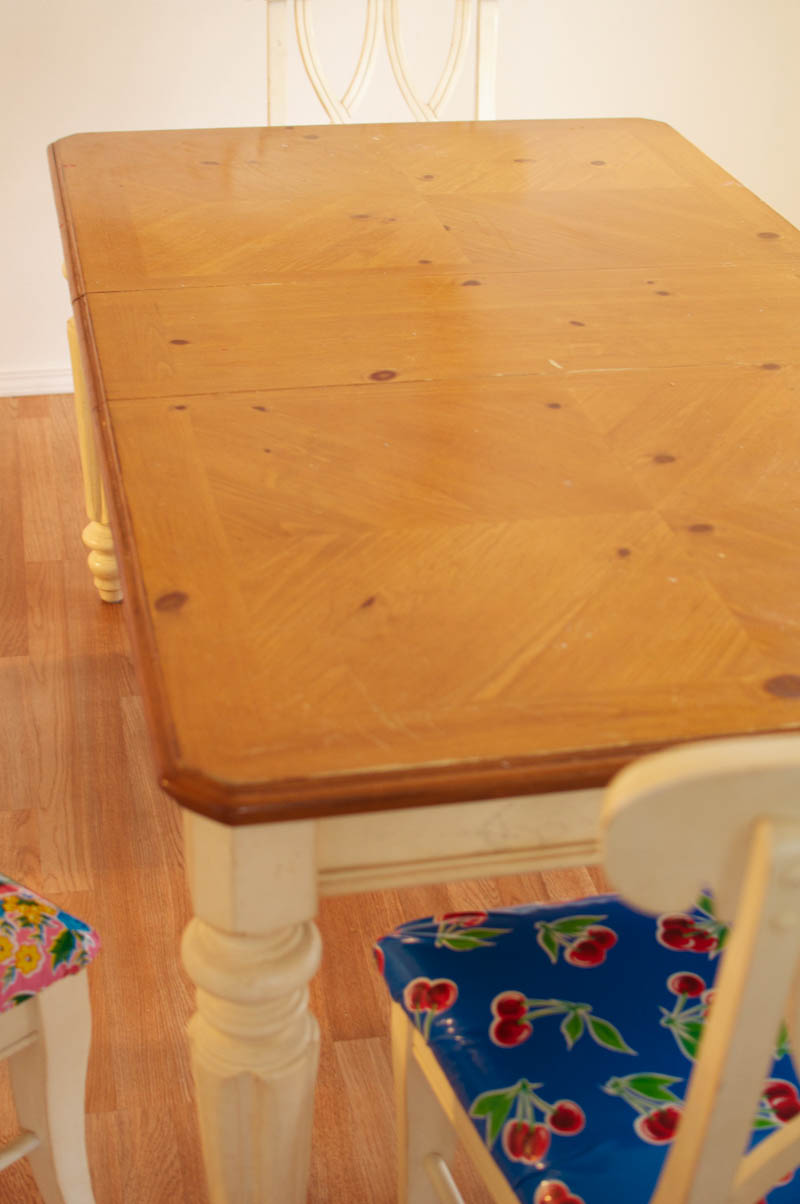
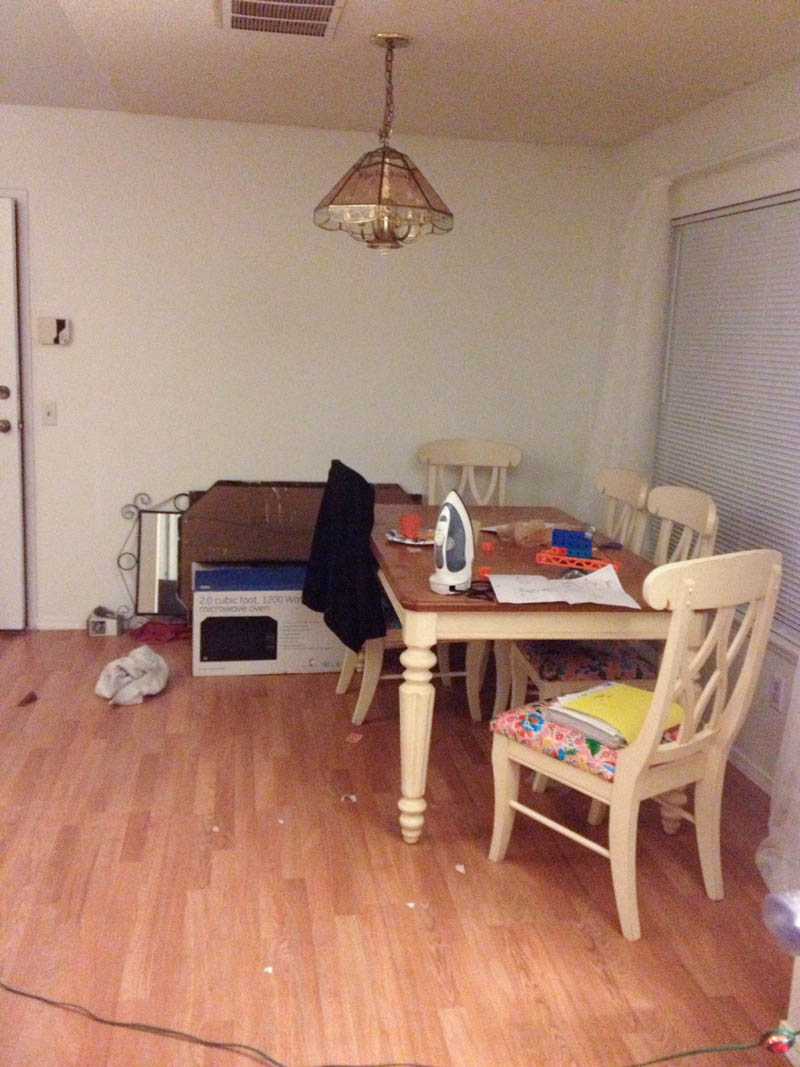
 Then we moved to SoCal, we had our third child and therefore outgrew our table for 4. Perfect excuse to buy a new one, right?? I was not going to make the same mistake twice. One day about 3 months after living here I passed by a hole-in-the-wall Korean Thrift Store and outside was this two toned table with chairs that had awesome back work. We bought it for $175. It needed a deep deep deep cleaning. I noticed on this first cleaning that the top was like trying to wash sand paper. The finish wasn't smooth, like it was starting to wear off. And the seats...well they were beautiful. (cough cough)
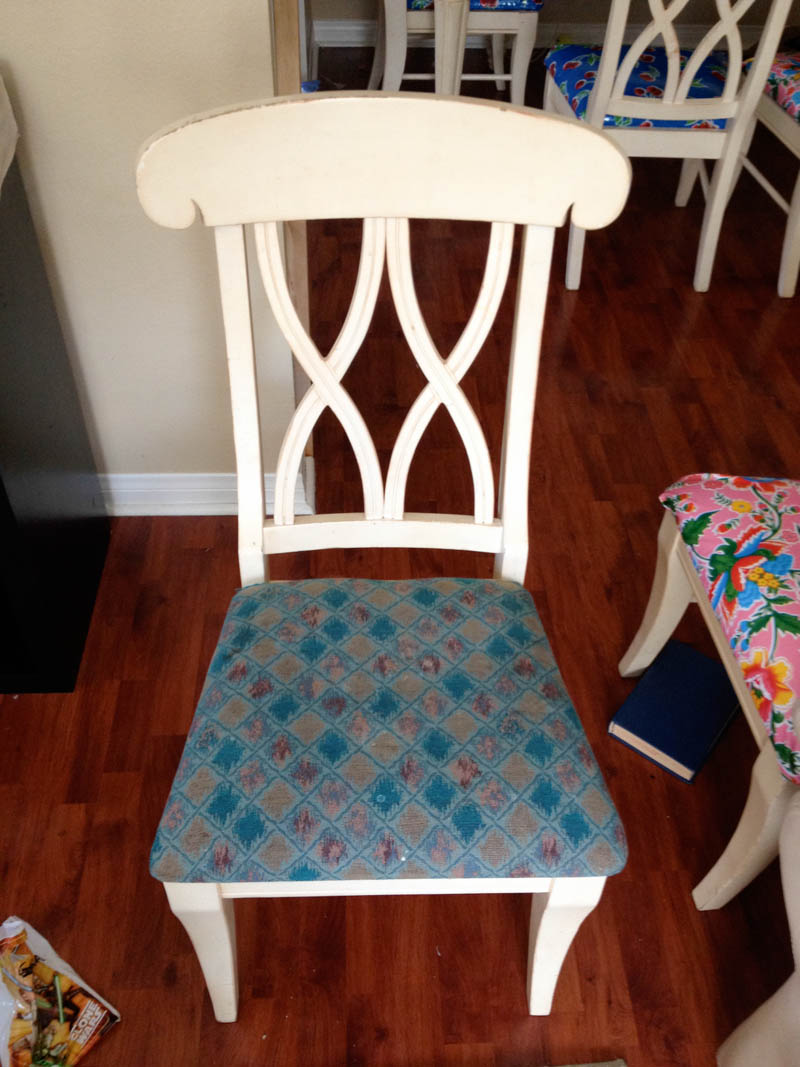
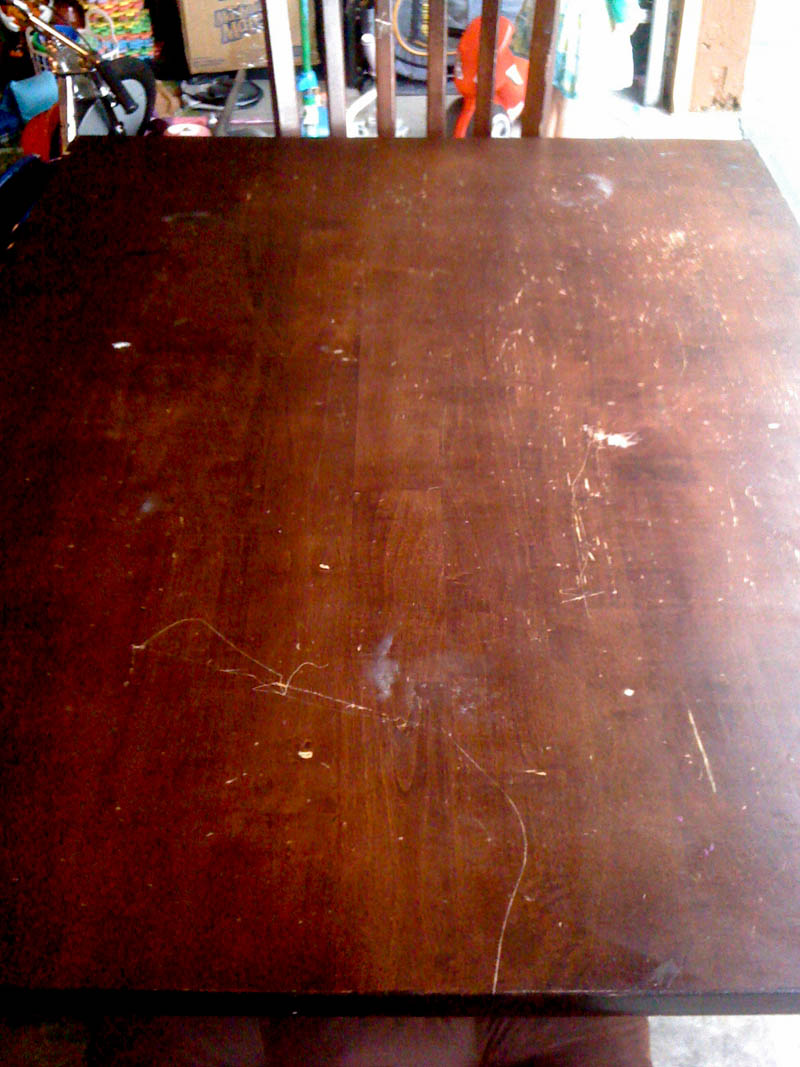
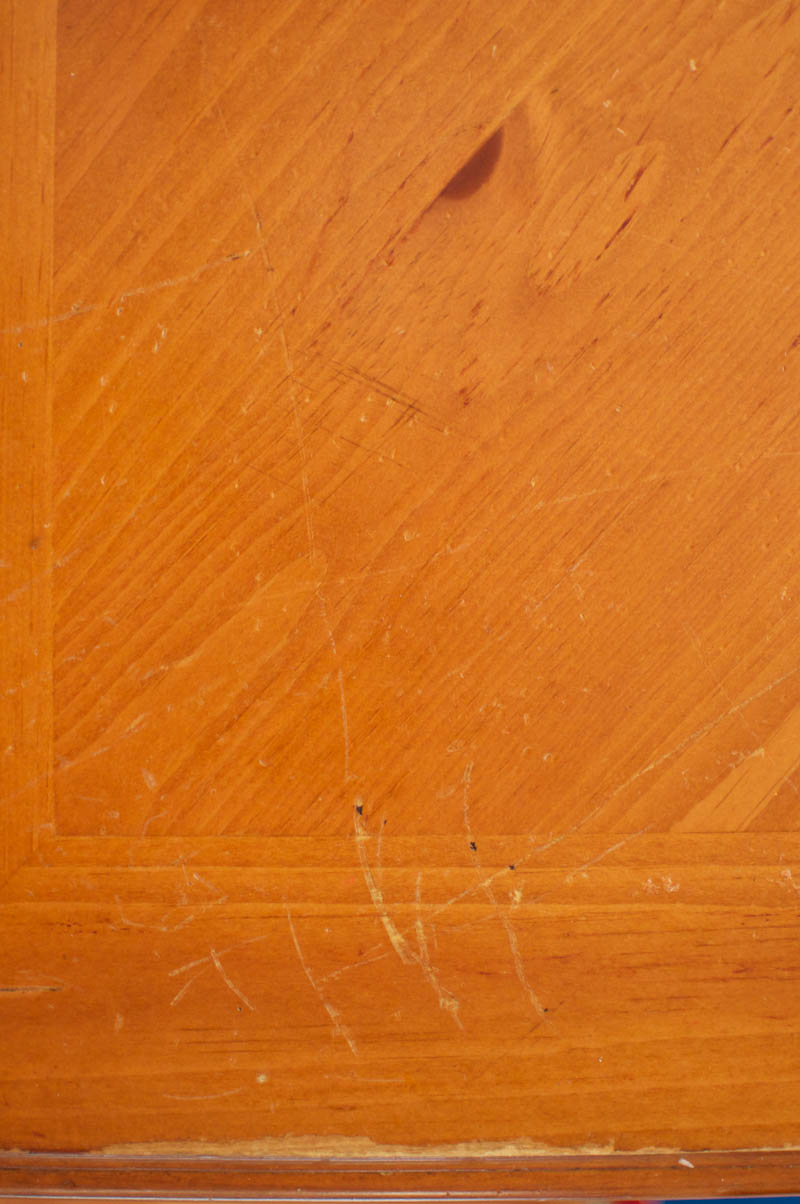
Next..... I was sick of trying to scrub sandpaper. Plus, my kids had already done some pretty little artwork themselves. AND (this is embarassing) there was something grezzzzy hanging out in the grooves despite lots of scraping. oh. and I hated this orangey color. I wanted something darker, but not too dark that will show every scratch and crumb.
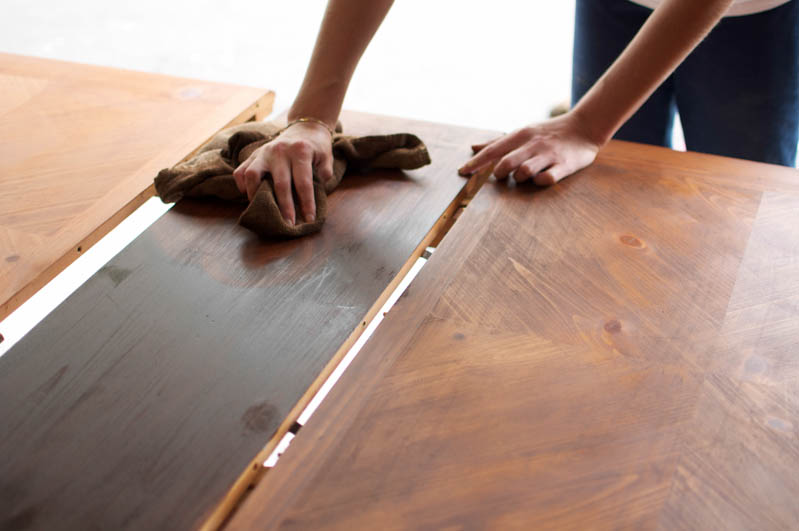
After I taped off the white (I liked that part of the table, ALOT) so no stripper would ruin it.
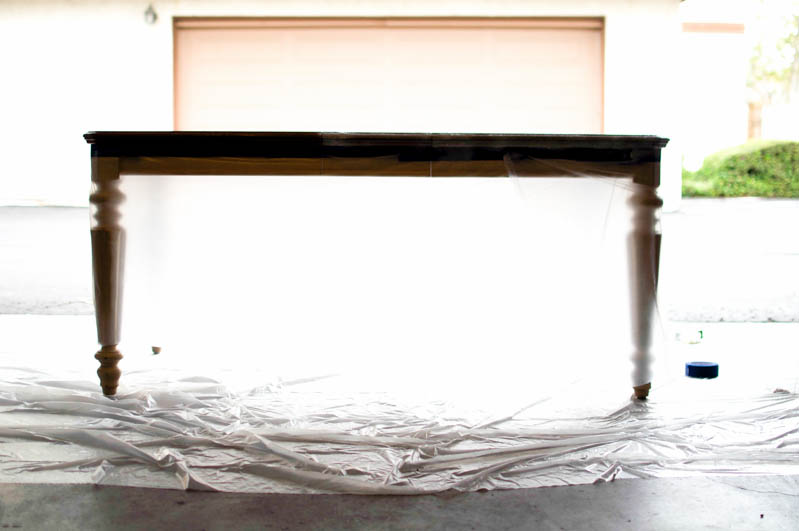
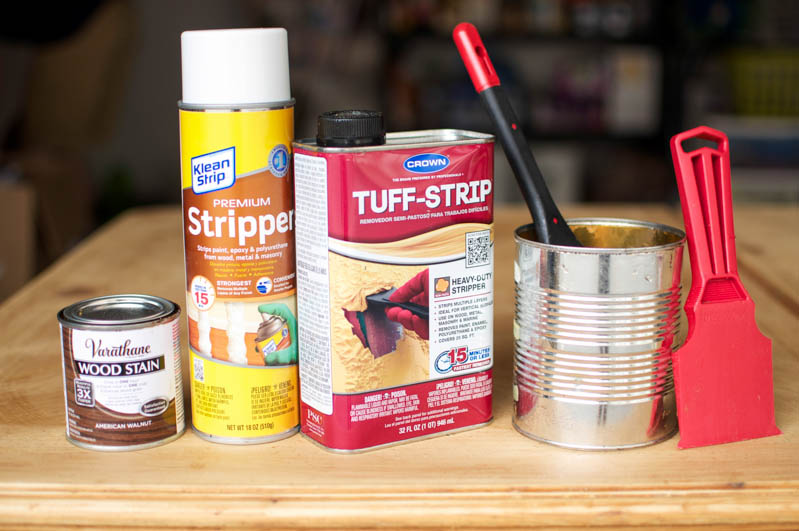
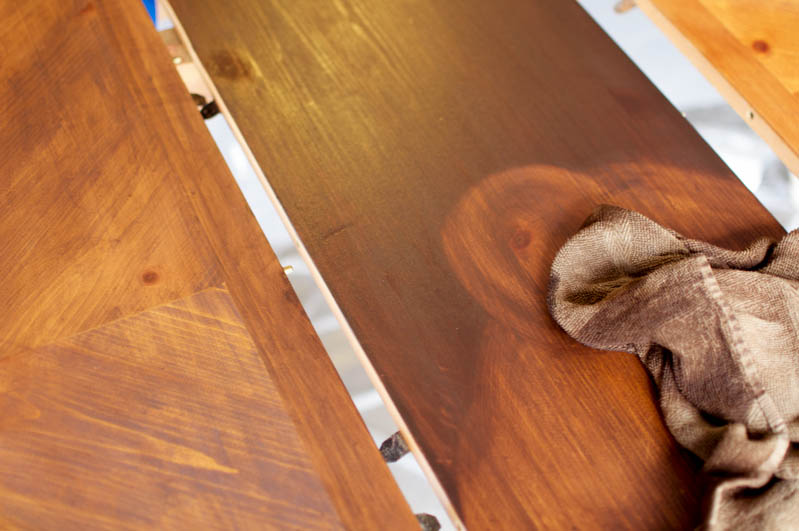
I used a heavy-duty stripper, heavy (laytex doesnt work- ouch!) gloves, this scraper was PERFECT for the grooves.I had picked out a stain, and the hardest hardest urethane possible. What a project. I actually started with a spray stripper... yeah, it barely covered half the table. And didn't even take off the top coat. Don't do spray ok? This is a baaaad idea: That gold bottle below.....trash it. go with the liquid stuff. 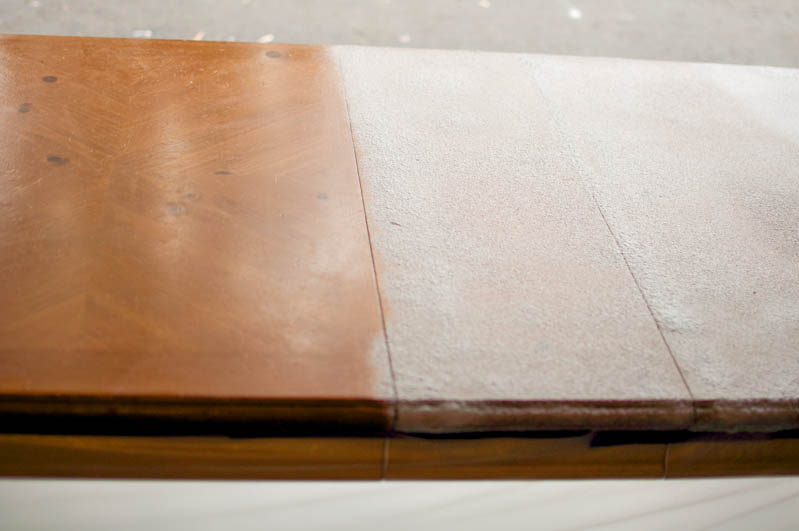
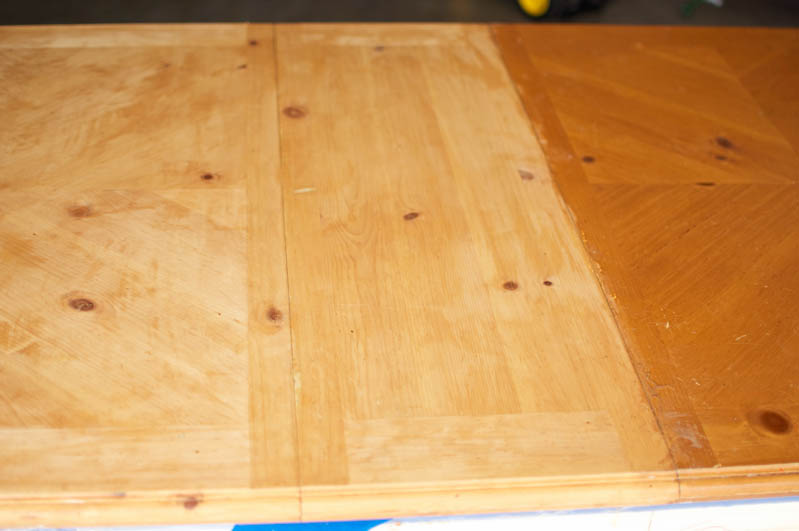
This is just after one coat of stripper, I knew from here it was going to take a few more coats....and probably some sanding.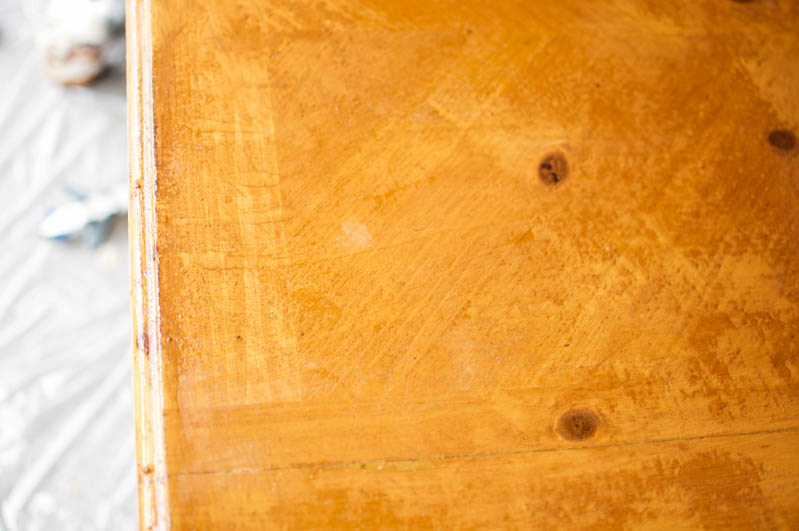 This is after about 3 coats of stripper and scrapping
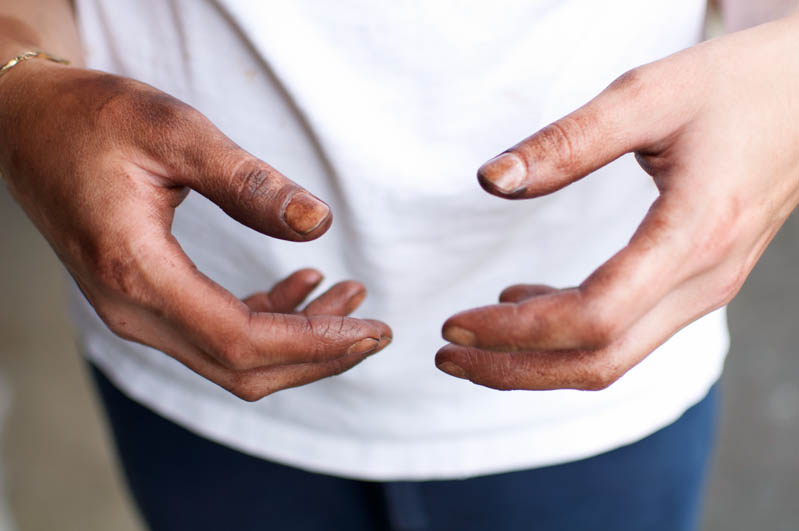
::Note to self:: in your excitement to stain (the most exciting part!!) dont forget to wear gloves. :( it'll take days to come off.
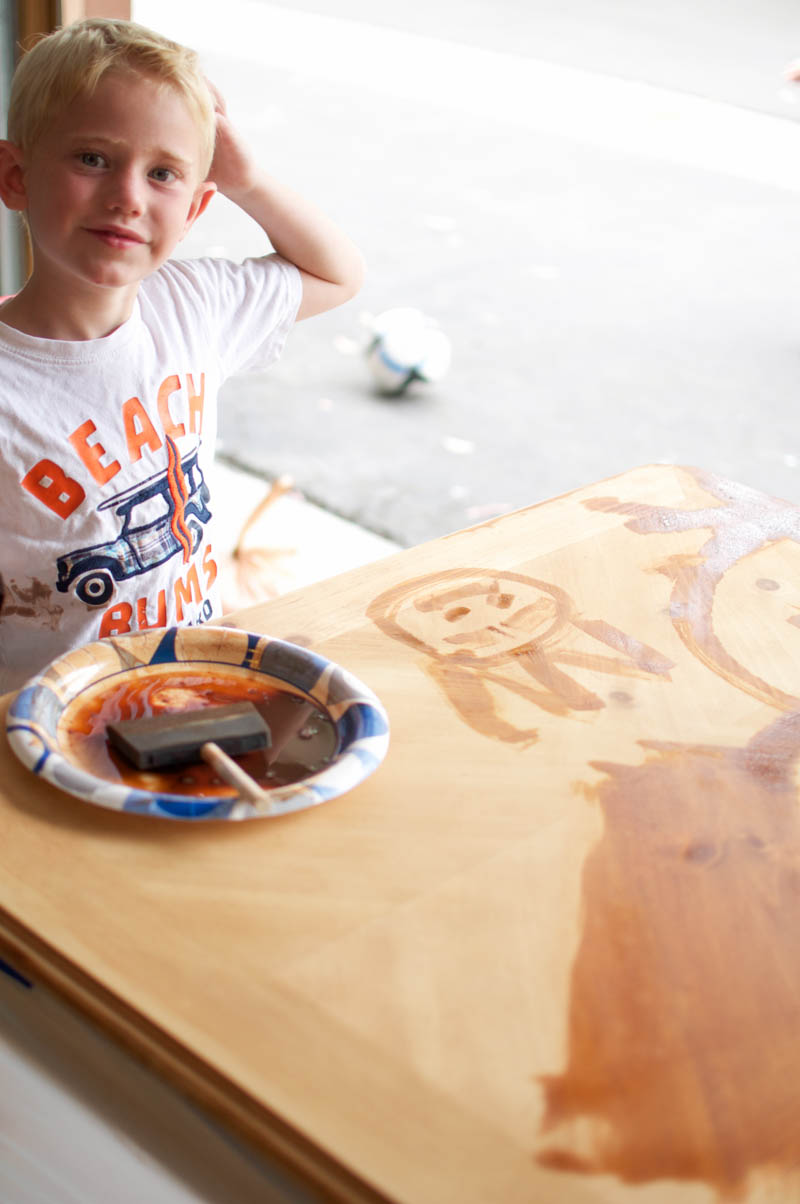
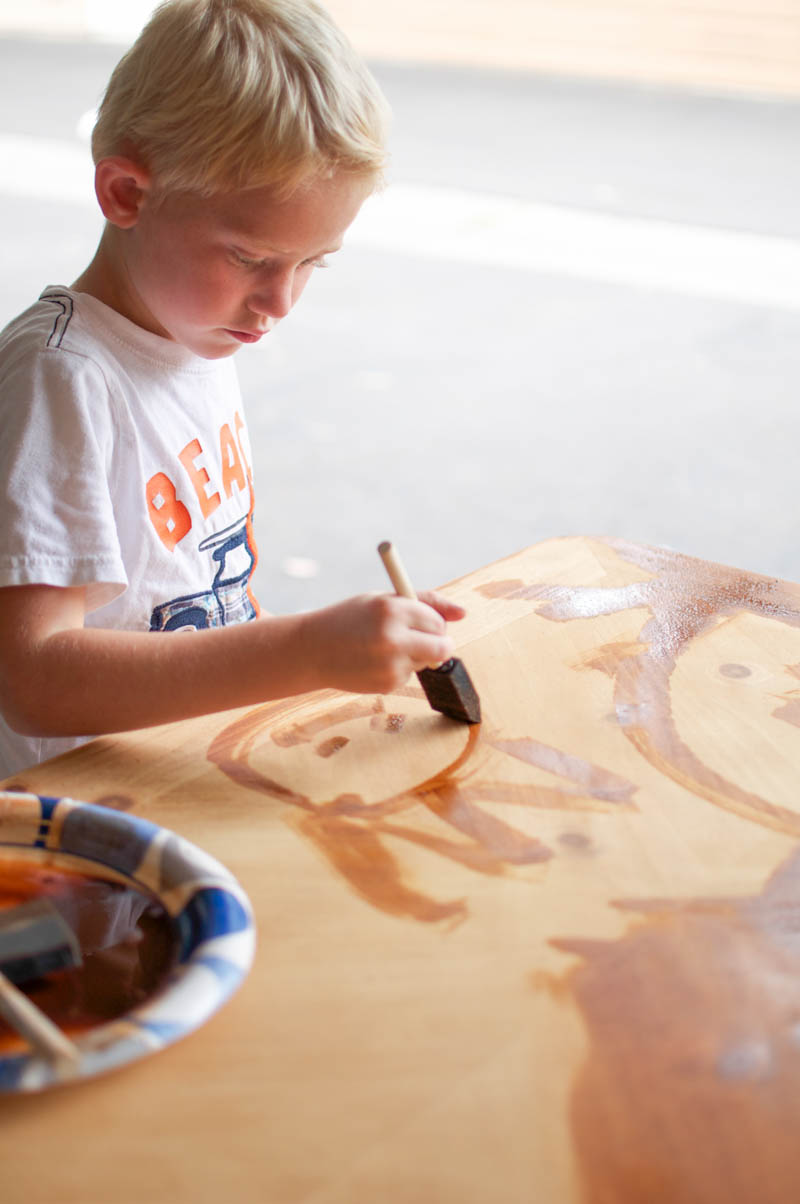
Also my motto::ALWAYS INVOLVE CHILDREN
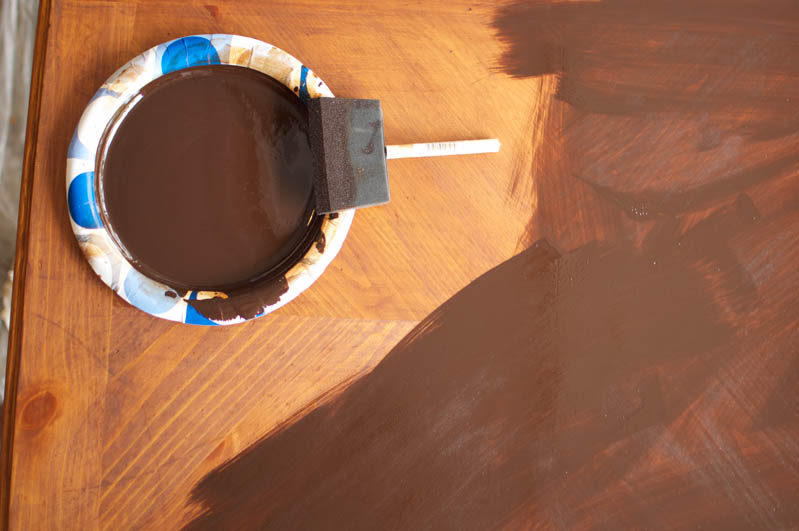
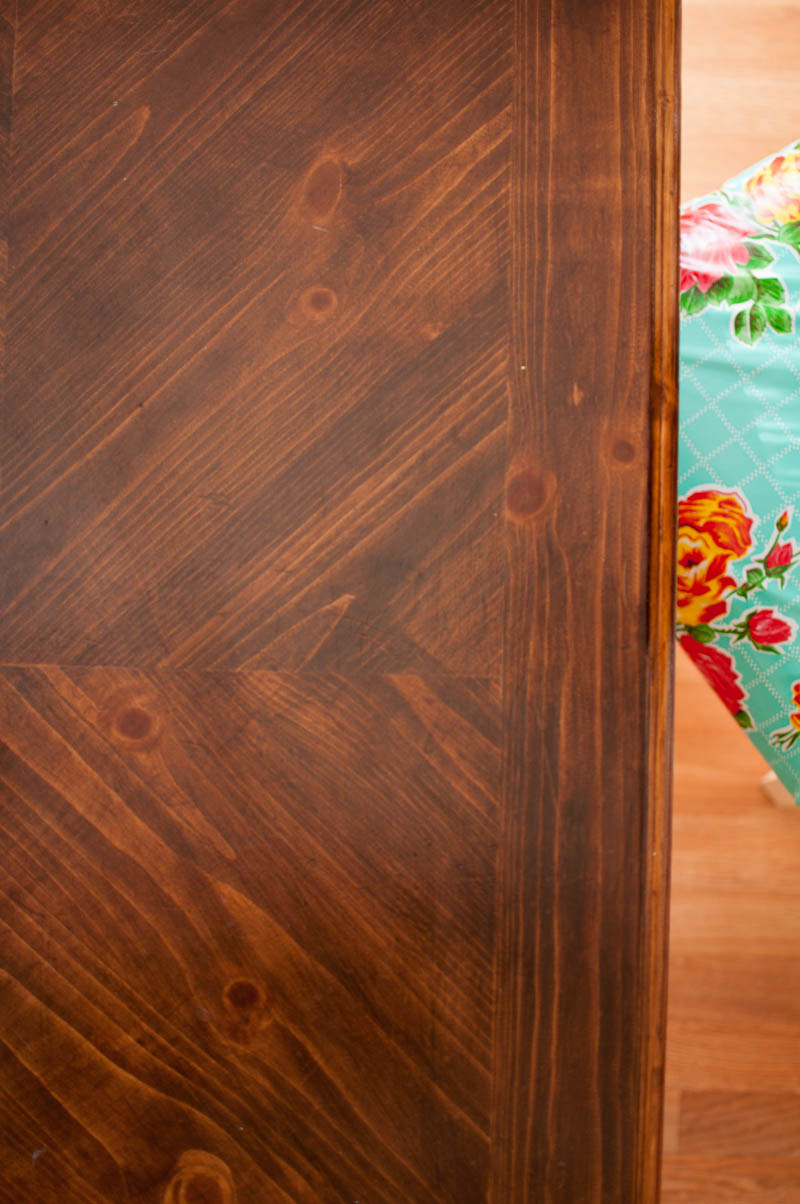
I had picked out an American walnut for my stain. It looked perfect on the sample....BUT as I was staining the table it was looking way more red than I wanted. So I went to my craft stock and pulled out a dark walnut stain from a few projects ago....I mixed it with the american with the dark walnut and did another coat. For some reason it was really really thick, so I spread it on and then used a clean old rag to wipe off. It was perfect.
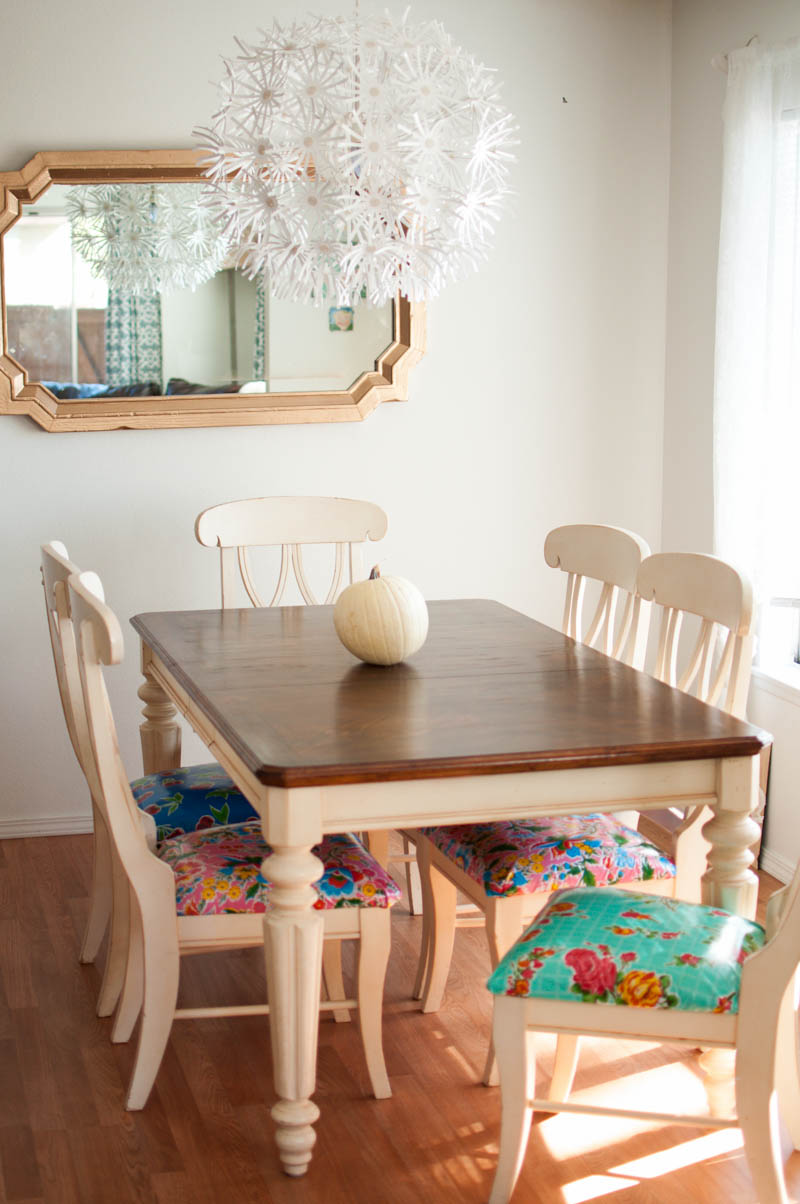
AFTER::
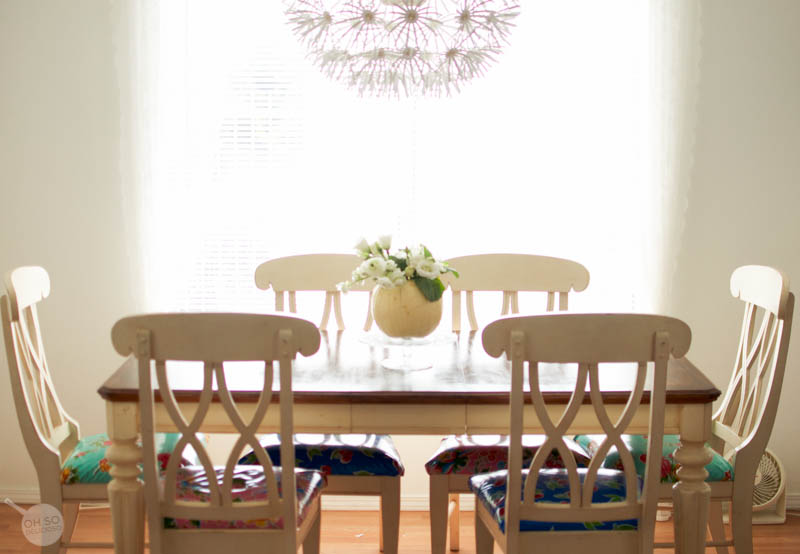

Ok, so I know this is a picture heavy post. (those are honestly my favorite...I'm a visual person) but, I'm so happy with the results. The kitchen table is more than just a piece of furniture. It's where your family grows and bonds together. Make meal time important in your home. It doesn't always have to be healthy- hey I have had pretty importantly deep conversations over hot dogs. It wasn't the hot dogs that was important it was that all my kids were gathered around talking about their day, the silly or serious, sad or exciting day. It all comes together at the table. Not much different than our big thanksgiving meal- so make your table extra special this year...all year.
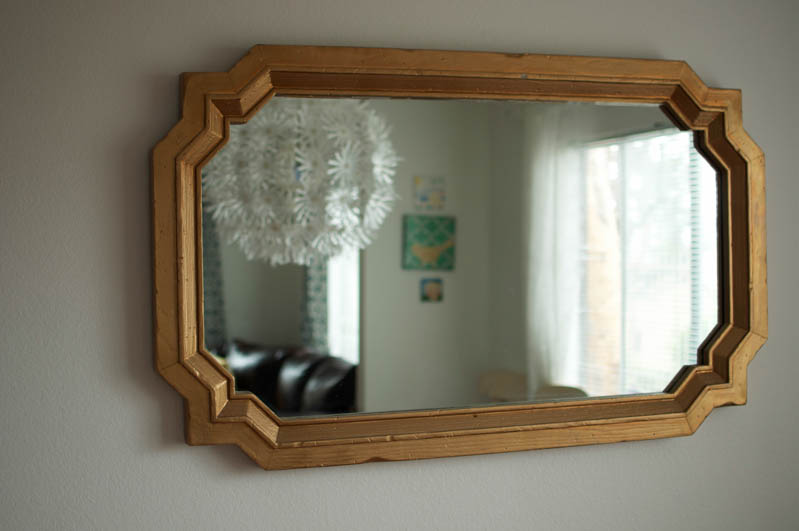
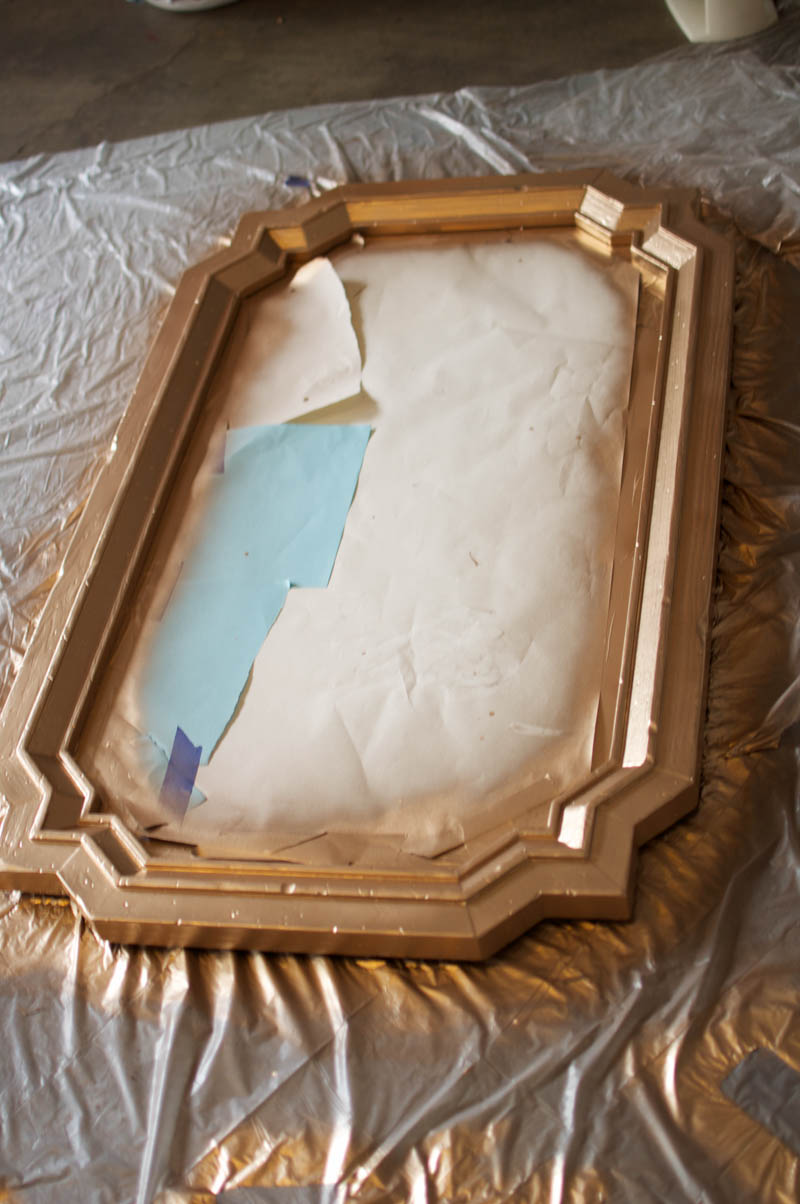
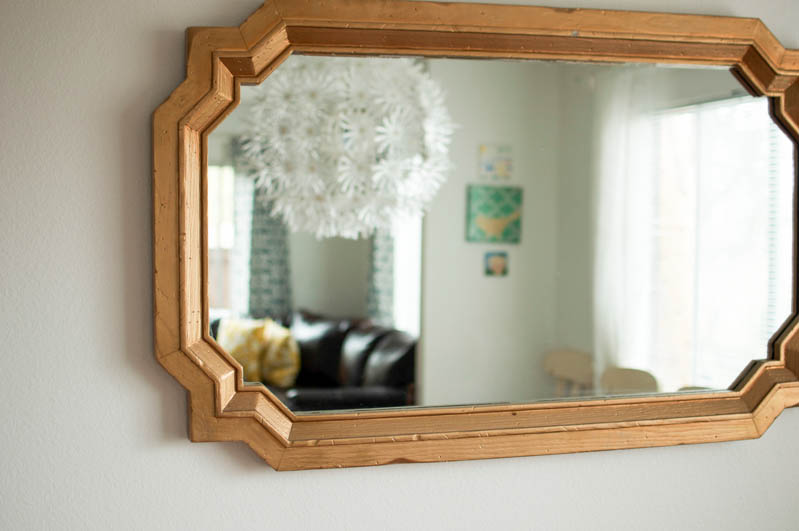
Another thrifting treasure is this mirror. Gigantic heavy thing needed a few new coats after three moves. She sure is shiny now.


Marlene says
What is the name of the paint you used on the chairs?
Nissa says
Hi! Do you have anymore info on the chair covers? I LOVE the chair covers and can't find a print I love quite that much!!!!
hannah says
I'm wondering how the chair covers have held up over time. I'm worried little climbers or buttoned pockets will rip the cover. Was this vinyl or oilcloth?
Desarae says
Hi Hannah! That is a great question. It's bee about 3 years since I recovered the chairs with vinyl. They are holding up wonderful. I have one chair where I suspect I pulled the vinyl too tight and it has torn. Otherwise I've been so happy with them. They are beautiful patterns and such an easy clean up after every meal with my 4 little messy kids.
kbhoags says
Hi! Do you know what type of wood your table is? We're working with a table that seems to have the exact same type, and we're having trouble with staining it--the stain is going on WAY too dark, and won't even wipe away with a cloth to lighten it. I'm thinking the type of wood must just be really receptive to stain and was wondering if you had a similar problem/if you used a conditioner or anything before staining.
Thanks!
Desarae says
I don't know what wood it is? I got mine at a thrift store and it didn't have any original tags like they sometimes do underneath. I had the similar problem.I didn't intend on mine being this dark either! Mine went really dark and also took on orange/red color from the stains.I so I ended up getting another stain color and mixing it. I stained it so it was all even and sanded it a little bit to try and lighten it.
Tiffany says
I would love the brand of vinyl you used? I want to do mychairs with it.
Tiffany says
Have you found out the brand of vinyl you used? I really want to get some for my chairs. Thanks
Amber~FPH says
Although I can't see your images, I did see the one on Pinterest and froze. We have that same exact table and had to make it over, not once, but twice. The first time was due to our twins beating the heck out of the top with their spoons and forks when they were babies. We ended up going shabby chic after that because that soft wood was just ruined. We painted it, distressed it and made a template of the top for glass. The latest re-do just happened last week. New paint, antiquing, new fabric for the seats and the top? I do a paint treatment that looks like wood with grain. We absolutely love it. I will be photographing it for my next post. :)
Desarae says
I'm sorry about the pictures! We have had some technical difficulties recently :/ working to fix them! Can't wait to see your post.
AMOORE says
Wish I could see your pictures wonder why they won't show?
Aubrey says
Hi Ammore, So sorry! We are having a few technical problems with our images! We are working to fix them now and will have the photos up soon! Thank you for your patience.
AMOORE says
I love to see the pictures but they won't load.
Christina says
I have this EXACT set and am looking for refinish ideas. Love your color! I think I'm going to do a chocolate brown vinyl seat cushion. I need to do the legs and chairs because they've been thru the ringer. What did you use to seal the tabletop and how has it held up for you? I'm considering the stuff they pour on bar-tops. There's lots of teen homework and my sewing machine at this table. Hmmmmm...
Desarae says
YAY!! What a project to re-do the legs and chairs, but it will be worth it. I am curious about what they use on the bar-tops!? Do you know? I used Spar Urethane and it has held up amazing- my kids are very rough, but its not as smooth and shiny as I would like. So if you find something else perfect let me know!
Sarah says
I love the colors and vinyl on the chairs as well and would love to know where you found it!
Desarae says
I got them at a fabric store here is SoUthern California called M&L Fabrics. If I can figure out the brand I'll let you know.
Julie says
Love your table and chairs! What did you find was the best way to cover the chairs? And where did you find the lovely vinyl you used?